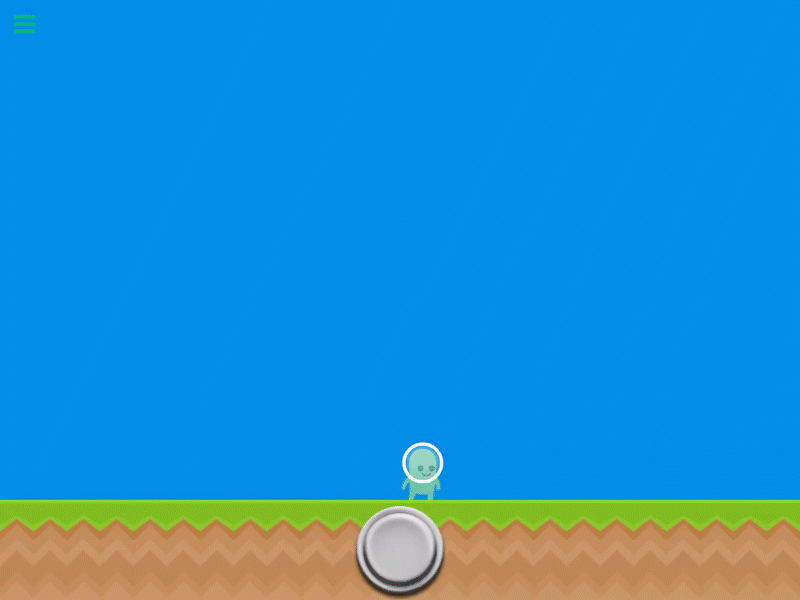
Shoot with Button
Description
The Shoot with Button behavior will allow you to make any object shoot a projectile using an on screen button. If there is no button in your scene, the behavior will automatically add a button to your Global UI layer (deleting the behavior will not remove the button from your scene). This behavior contains predefined properties to make the creation of certain games easier. It's perfect for shooter games.
The Shoot with Button behavior offers a lot of properties to customize the feel of your game. Try modifying the properties so your game doesn't feel like a generic shooter.
This behavior will Trigger an event once when the bullet projectile impacts an object.
Rigged Objects
This section describes the live-rig update and requires a build with Rigged Objects. A public release date has not been assigned. Existing sprite/object workflows remain supported.
Object A is the shoot button; Object B is the character. Choose a shooting clip with Body Part → Upper Body (or an appropriate arm group) so the character can shoot while walking or jumping. Start with its Animation Priority equal to movement.
The controller releases its masked shooting layer on completion. Projectile settings still determine the actual bullet; a rig animation does not automatically select a muzzle bone for spawning. Use Get Bone Transform when building a custom bone-positioned effect or shot.
A compatible Rigged Object opens the rig clip picker; an ordinary animated object keeps the sprite-frame picker. On a wide picker, selecting a clip starts its small looping preview. In a narrow picker, tap the play icon beside a cycle to reveal the preview; close it to make more room for cycles. Then choose Full Animation, Body Part, or Additive. The preview shows that clip on its own; test combined animations in your scene. Speed Multiplier controls rig clip speed; the frame FPS control is for sprite animations. Set Transition Duration for a softer change. On a compact screen, compare clips under Animation, tap Next for Playback settings, then Select Animation to confirm.
Body Part requires a named bone group from the exported rig. Additive can use Whole Rig or a group and adds changes from the clip's first frame. Custom rigs must define their own groups in Art Studio, save, and update the Rigged Object export. The behaviour still targets the complete character.
If the target is supplied dynamically by an Object ID, choose a reference asset in the Asset Library when prompted. That determines which animation picker opens without replacing the dynamic target. At runtime the target must use a compatible rig asset and selected clip/group identities; matching names on an unrelated skeleton is not enough.
See Body Parts and Animation Blending for modes, priority, parent motion, and custom-rig setup, or follow Walk, Crouch, Jump, and Shoot together.
Properties
Triggers Once on Event
| Object A |
This is the button that will be used to make Object B shoot. It will automatically select a button added to your Global UI layer. If there is none, one will be created automatically. |
| Object B |
This is the object that will be doing the shooting. By default the current object is selected, but you can tap the graphic to change it to any other object in your scene. Also note, that when selecting an object the blue target represents where the bullet will shoot from. You can move the blue target any where, and it will update the emitter location. |
| Sound |
You can select a sound effect to play when you shoot. |
| Bullet Graphic |
This is the graphic that represents the projectile you're shooting. Note that the size of the graphic is how big your bullet (and collision shape) will be. |
| Emitter Position |
This is the position where the projectile/bullet will shoot from. By default the bullet will shoot from the centre of the object. You can also use the Object B selector to visually change the emitter position by moving the blue target. |
| Initial Speed |
This is the speed that your bullet will shot at. Note, that if the "Physics" toggle is on, your bullet will slowdown due to other forces (gravity, air resistance etc.) The default value is 30 m/s. |
| Distance |
This is how far the bullet can reach before it no longer exists. The default value is 32 meters. |
| Shoot Angle |
This is the angle that the bullet is being shot from the object. ie. You can shoot from the front of the objet instead of the top. The default value is 90 degrees. |
| Bullet Rotation |
This value sets the rotation of the graphic that represents your projectile. Change this value if your bullet is facing the wrong direction. The default value is 0 degrees. |
| Spray Range |
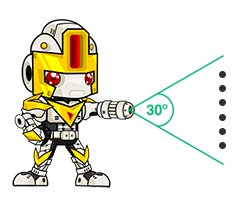
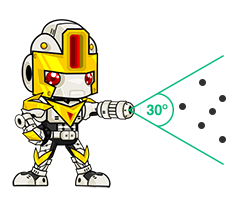
This is the spread of the bullets emitting from the object. If you have multiple bullets you can increase this angle to have them spread further apart. This is useful for creating a machine gun type weapon. The default value is 30 degrees. |
| Spray Variance |
This value adds some randomness to the spread of the bullets (Spray Range). The higher the number, the more random your bullets appear to be. This is great for simulating recoil for a machine gun type weapon. The default value is 0%. |
| # Bullets |
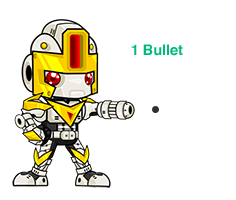
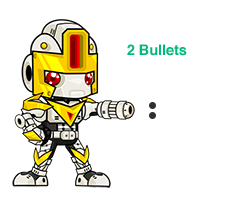
This is the amount of bullets that will emit when you press the shoot button. The default value is 1. |
| Delay |
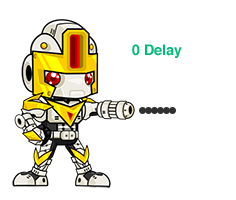
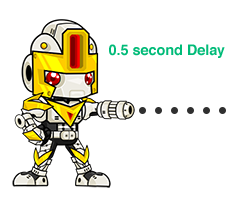
This is how long the gun will wait before emitting another bullet. This is useful if you want to slowdown the stream of projectiles and create a space between them. The default value is 0.5 seconds. |
| Physics |
This toggle controls whether or not the bullets will conform to the physics engine. If this is on, gravity and other external forces will impact the speed and direction of your bullet. By default this toggle is off. |
| Destroy on Impact |
Toggle that controls whether or not the bullets die when they collide with other objects. If this toggle is off, and physics are off your bullets will bounce around the scene. By default this toggle is on. |
| # Alive Bullets |
This value controls how many bullets can be on screen at one time. Once you have shot this amount of bullets and they are still alive in the scene, you will not be able to shoot any more. |
| Play Animations |
When this toggle is on, your object will play an animation when the shoot button is pressed. You must select an animation from the Custom Animations panel. |
| Custom Animations |
On the left panel, you can select an animation cycle to play when you press the shoot button. |
| Animation Priority |
On the left Custom Animations panel, you can prioritize your shoot animations so it does not conflict with another playing animation. The animation system will play a cycle with a higher priority. So if another animation behavior is interrupting your shoot animation, try increasing the priority. |
Outputs
| Object ID |
Outputs the object's ID. |
Examples
If you want to make a shooter game you can simply add this behavior to your player object, and it will automatically create a button on your Global UI layer, and make your character able to shoot. By modifying the properties you can create a wide range of weapons from pistols, machine guns, rocket launchers, or other projectile based weapons.