

Assign Controller
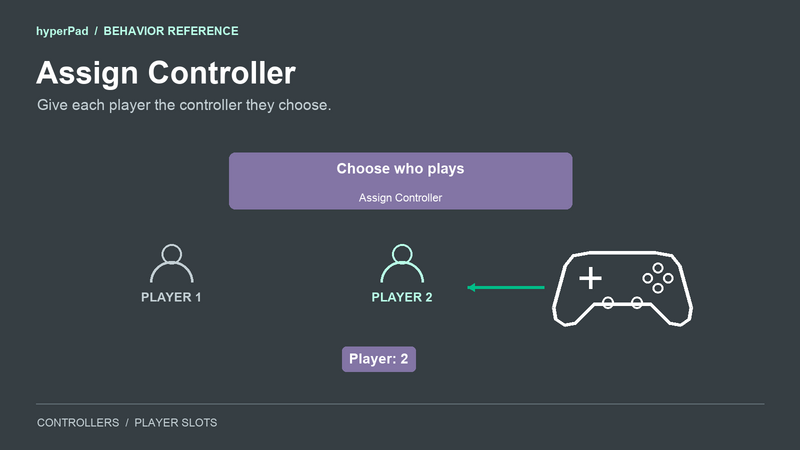
Use Assign Controller to choose which controller drives a player in your game. Player 1 and Player 2 can both use Left Stick and Bottom Button while receiving input from different controllers.
Find it in Interaction > Controls.
Properties
| Property | Default | What it does |
|---|---|---|
| Player | 1 | The player slot to assign. Use a positive number, or 0 to unassign the selected controller. |
| Controller ID | Empty | The connected controller to assign. Drag in a deviceID from Controller Event or Controller Status, or read one from a record in Get Controllers' controllers array. |
Supply a connected controller's ID before running this behavior. Get Controllers provides an array of dictionaries; it does not expose deviceID as a separate output.
Input and event connections
The assignment is attempted each time this behavior executes. Its bottom event connection runs after the attempt, whether success is true or false. Read success before showing a confirmation in your game.
A controller can belong to one player slot at a time. Moving it to another slot leaves its previous slot without that controller. Assigning it to an occupied slot unassigns the controller that was already there.
Assigning a controller to its current slot succeeds without creating another assignment change. Controller Status reports changes when an assignment changes.
Outputs
| Output | What it contains |
|---|---|
success | true when the connected controller was found and the requested assignment was applied. false when the supplied controller is unavailable. |
deviceID | The controller ID you supplied to this assignment attempt. |
playerIndex | The player number you requested. 0 means you requested unassignment. Check success before treating this as a confirmed result. |
Connection guide: select a controller for Player 2
This is an illustrative controller-selection screen. It selects a fixed player slot, rather than finding the next player automatically.
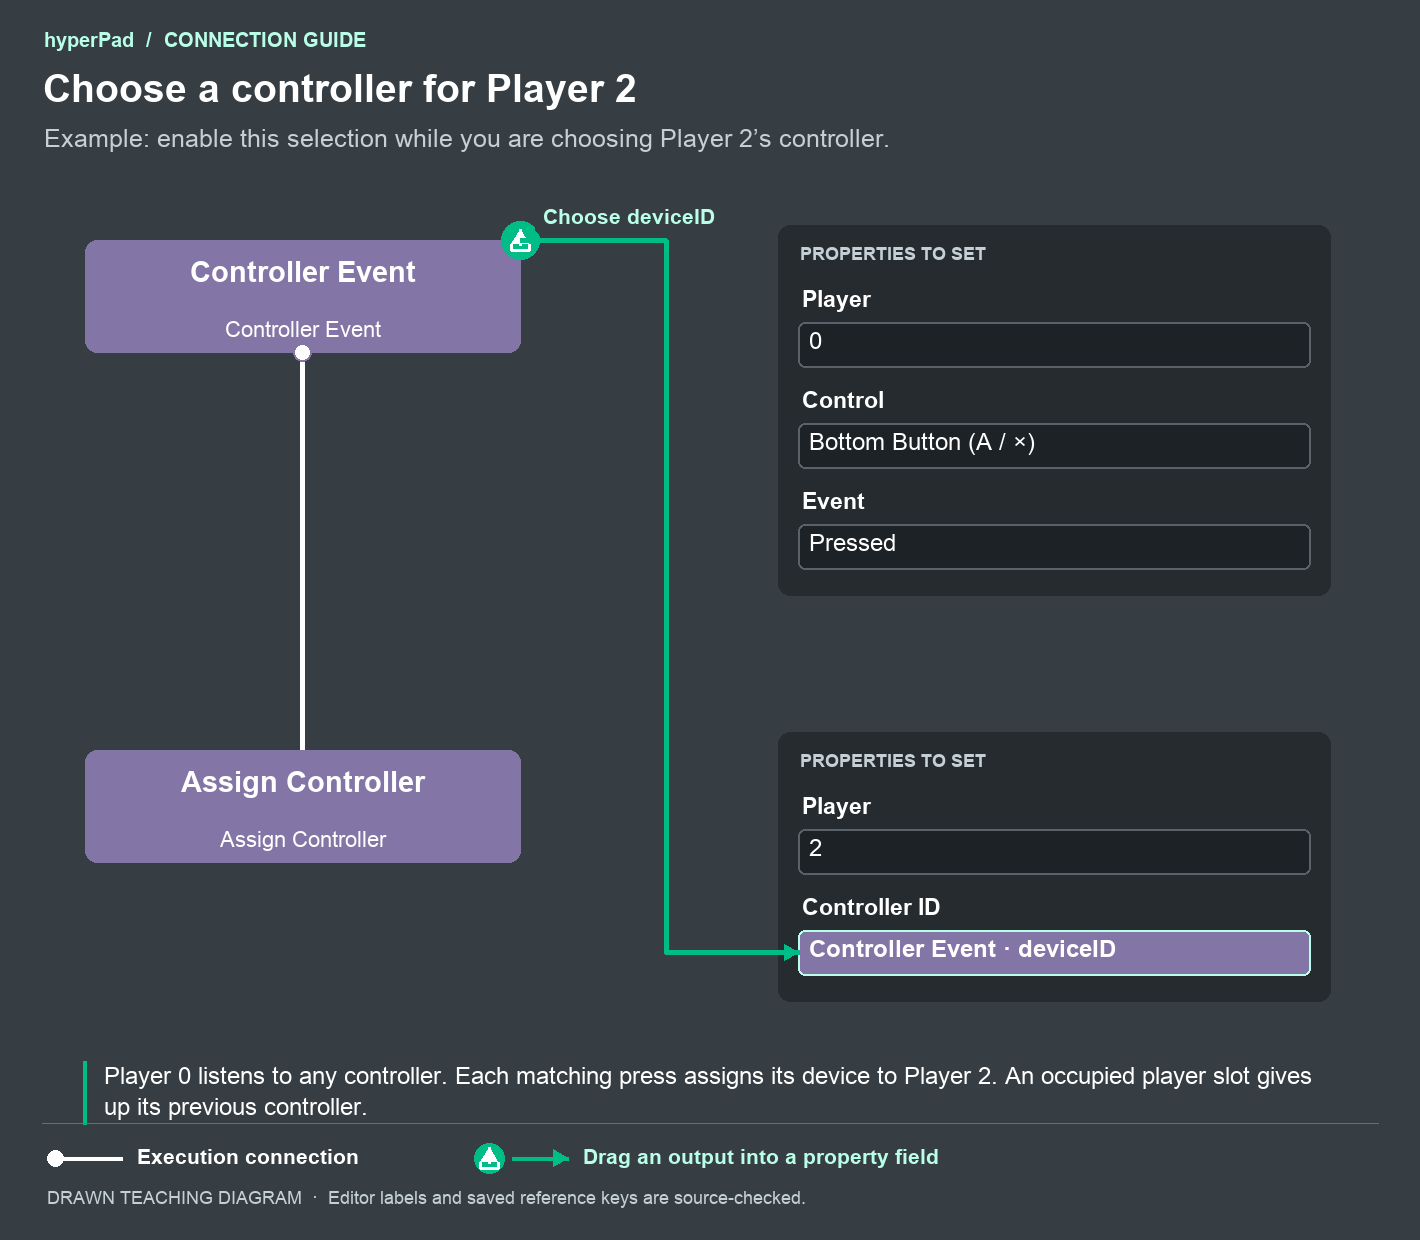
- Add Controller Event to your player-selection UI.
- Set Player to
0, Control to Bottom Button (A / ×), and Event to Pressed. - Connect its bottom event connection to Assign Controller.
- Set Assign Controller's Player to
2. - Drag the green
deviceIDoutput from Controller Event into Assign Controller's Controller ID property.
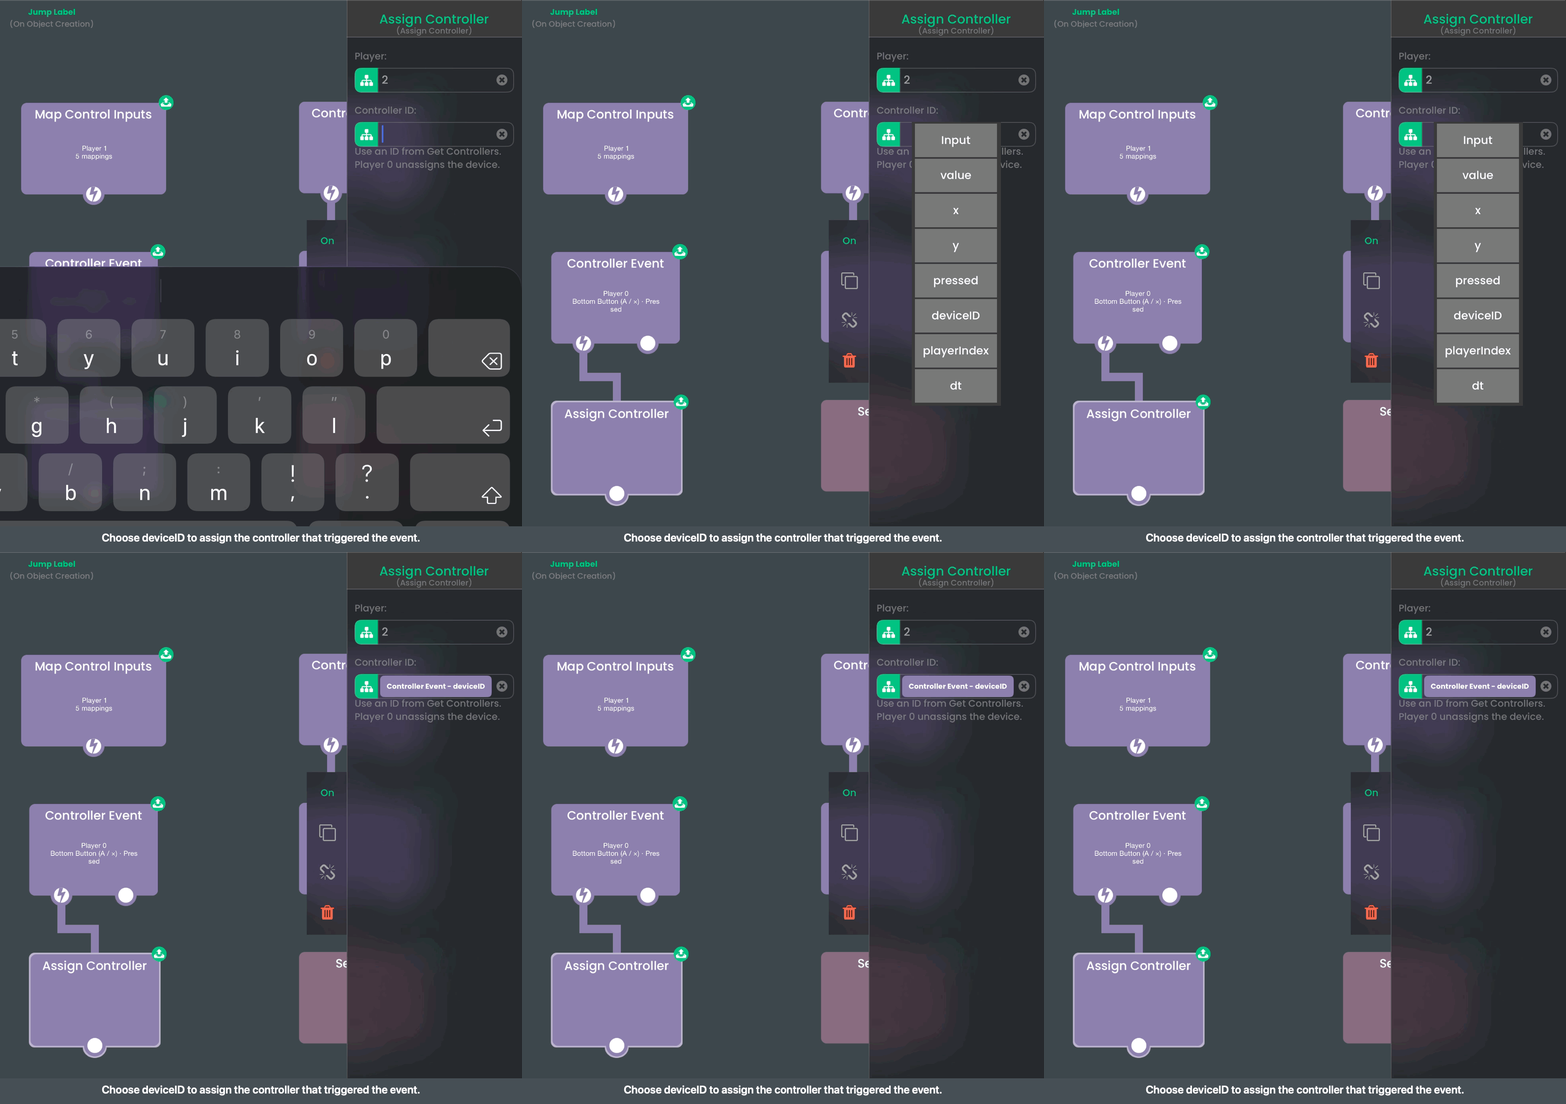
When a player presses the bottom face button, that controller is assigned to Player 2. The printed symbol can differ by controller brand.
Use this selection behavior only while your UI is choosing Player 2. Every matching press attempts the same assignment. If the slot already has a controller, another controller's press replaces it. Add your own confirmation and selection flow around this example for a full multiplayer lobby.
Keep player choices separate from device IDs
A newly connected controller starts in the first free positive player slot. Assign Controller lets your game change that automatic choice.
Assignments apply to the current play session. A deviceID is a session identifier, so saving it for a later launch does not preserve a controller choice.
Rebinding choices are saved separately for each project, player, and binding. If you assign a replacement controller to Player 2, Player 2 keeps the same saved button choices. This behavior does not change those bindings.
You can use positive player numbers beyond 1 and 2. The behavior does not set a player-count limit; the platform limits how many physical controllers can be connected. Assign Controller uses devices that are already connected and does not perform Bluetooth pairing.