

Art Studio: Drawing Tools and Canvas Controls
Drawing is where you paint pixels, create editable text, make frame animations, and prepare textures or 9-slice panels. You can combine these tools in one Art Studio project and return to the project later to keep editing.
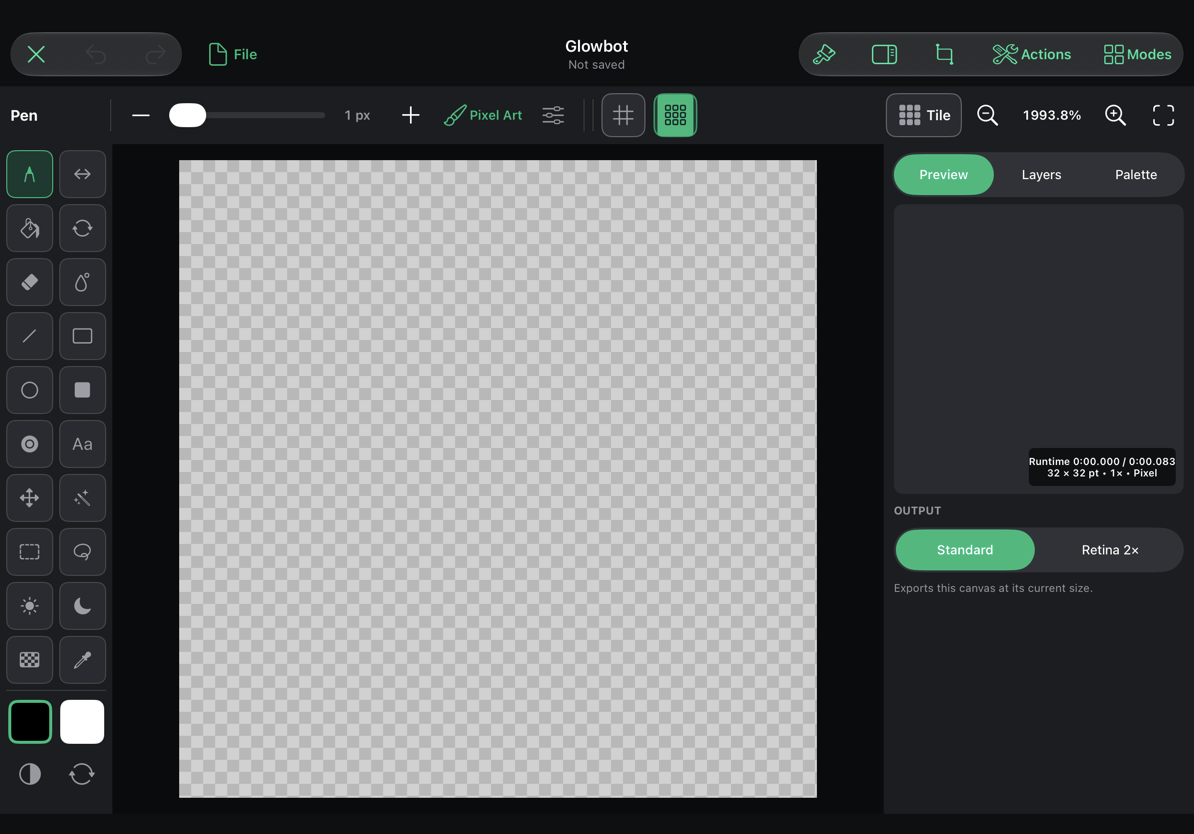
Find your way around
- Top toolbar: close, Undo/Redo, the File menu, and menus for workspace actions and modes. Use File to save the editable project or export a game asset.
- Tool palette: choose a drawing or selection tool. The options above the canvas change with that tool.
- Canvas: the checkerboard means transparency. It is a viewing aid and is not part of the exported image.
- Zoom controls: show the current percentage and provide zoom and fit controls. The pixel grid appears only when zoomed in enough to show it clearly; toggling the grid does not change your zoom.
- Inspector: Preview, Layers, and Palette are the regular tabs. Contextual panels appear when you choose tools such as Transform, Text, or an adjustment.
- Timeline: appears when Modes → Keyframe Animation is enabled. See Frame animation.
On a narrow window, controls may use icons or move into menus, and the inspector sits below the canvas. Scroll the control rows or inspector to reach the remaining options. Hover an icon with a mouse to see its tooltip.
Move around without drawing
On iPad, pan with two fingers and pinch to zoom. With a trackpad, scroll with two fingers to pan; hold Command while scrolling to zoom. A mouse wheel zooms around the pointer. Trackpad pinch also zooms. Use 0 to fit the canvas or ⌘1 for 100%.
A single finger, Apple Pencil, or primary-button drag uses the selected drawing tool. Double-clicking is not a canvas zoom shortcut: on editable text, the Transform tool uses it to begin text editing.
Choose a tool
These are the single-letter shortcuts when the canvas has keyboard focus. They do not replace text you are typing into a field.
| Tool | Key | Use it for |
|---|---|---|
| Pen | P | Freehand pixels or brush strokes, depending on the chosen brush preset. |
| Mirror Pen | V | Symmetrical drawing with vertical, horizontal, or both mirror axes. |
| Fill | B | Fill connected pixels, or matching pixels throughout the target with Global mode. Tolerance controls how closely colors must match. |
| Replace Color | A | Replace the sampled color using the selected edit scope. |
| Eraser | E | Remove pixels to reveal transparency or layers below. |
| Smudge / Blend | N | Drag existing color into nearby pixels. Adjust strength and brush size. |
| Line | L | Draw a straight line between two points. |
| Rectangle | R | Draw a rectangle using Outline or Fill. |
| Ellipse | C | Draw a circle or ellipse using Outline or Fill. |
| Linear Gradient | G | Blend colors along a dragged line. |
| Radial Gradient | K | Blend colors outward from the starting point. |
| Text | T | Create or edit a text layer. |
| Transform | M | Move, scale, rotate, or otherwise transform the selection or layer. |
| Magic Select | Z | Select a connected region of matching pixels. |
| Rectangle Select | S | Drag out a rectangular selection. |
| Lasso | H | Draw a freehand selection boundary. |
| Lighten | U | Build up a lighter tone as you repeatedly pass over pixels. |
| Darken | J | Build up a darker tone as you repeatedly pass over pixels. |
| Dither | Q | Apply a patterned blend useful for pixel shading. |
| Eyedropper | O | Sample a color from the artwork. |
For shapes and gradients, drag to preview, then use the visible Apply control or Return to commit. Cancel or Escape dismisses the preview. The preview lets you change a shape's options before committing it.
Pixel art and painting
Choose a Pixel Art brush for an exact square tip with integer pixel placement. For soft painting, choose a paint brush and open Brush Settings (⌘B). Size, hardness, opacity, flow, spacing, pressure, tilt, and texture offer different ways to shape a stroke. Pixel Art keeps its precise raster behavior; pressure and softness do not change its pixels.
The geometric tools have their own Pixel/Smooth choice. Choose pixel rendering for crisp sprite edges; smooth rendering adds antialiasing. Runtime texture filtering is a separate output choice: changing your drawing tool does not automatically change how the asset is sampled in a game.
Use [ and ] to change brush size. With Lighten or Darken, a modest intensity gives you more control; you can pass back over an area without lifting to build up the effect.
Color and palettes
Use the primary and secondary color swatches to open their pickers. X swaps the colors; D resets them. In the Palette tab, choose a palette or organize its swatches. Number keys 1–9 select the first nine palette colors. The picker supports precise color entry, useful for repeating the same colors across assets.
Work in layers
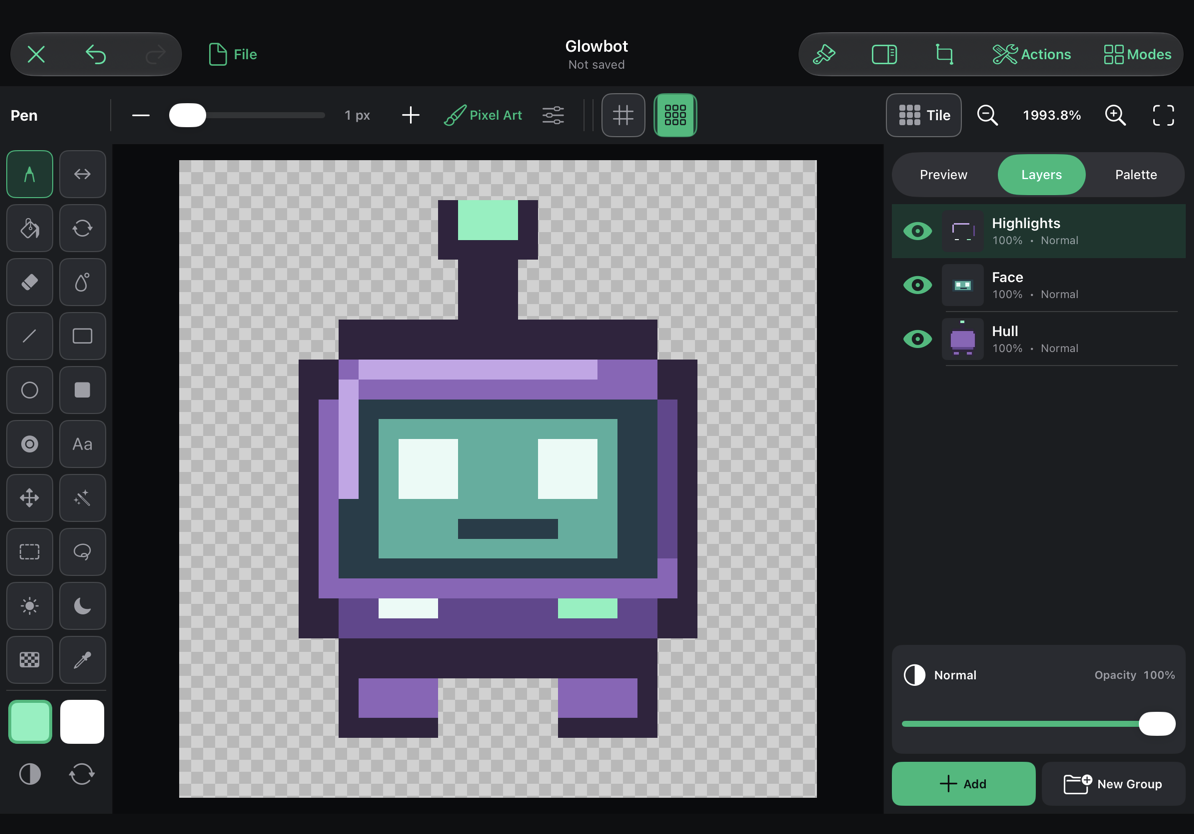
Open Layers, choose New Layer, then Pixel Layer or Text Layer. Select the row you want to edit before drawing. A layer thumbnail shows that layer's artwork, while the canvas shows the visible composite.
Use the eye button to hide a layer and the opacity control to fade it. Hiding a layer does not delete it. Open a layer's context menu with a long press or secondary click for operations such as Rename, Duplicate, Merge Down, masks, and adjustments. Keep separate layers for parts that you expect to recolor or animate independently.
| Layer feature | What it does |
|---|---|
| Blend mode | Changes how a layer combines with those below: Normal, Multiply, Screen, Add, or Erase. |
| Alpha Lock | Keeps the existing transparency while you recolor the layer. |
| Clipping Mask | Limits the layer by the artwork below it. |
| Layer Mask | Hides or reveals parts of a layer without erasing its source pixels. Create a reveal-all mask or build one from the selection. Choose Artwork or Mask as the edit target. |
| Groups | Organize related layers; group visibility lets you hide a collection together. |
| Merge Down | Combines the selected layer with the layer below. Save a project copy first if you want to retain those separate parts. |
Useful layer shortcuts: ⇧⌘N adds a pixel layer, ⌘J duplicates, ⌘E merges down, ⌘[ / ⌘] move a layer backward/forward, and ⇧⌘L opens Layers.
Select, transform, and crop
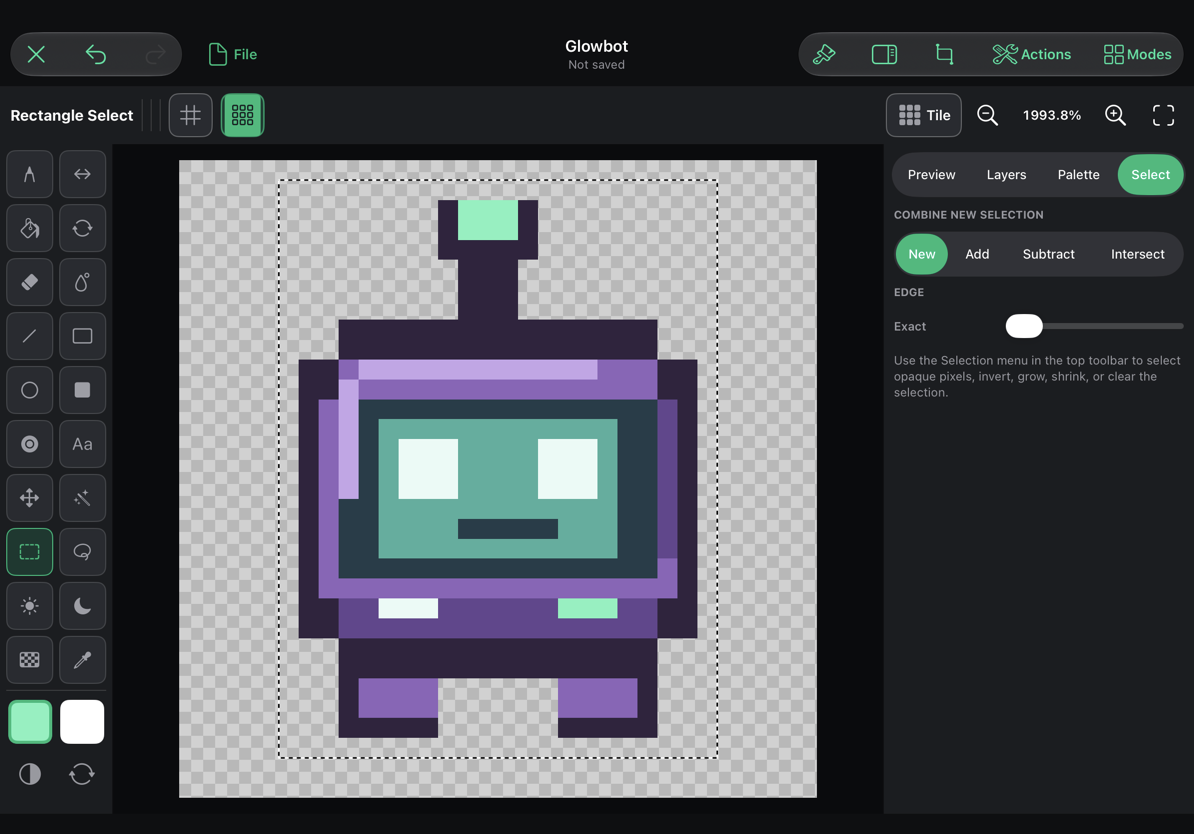
- Choose Rectangle Select, Lasso, or Magic Select.
- Make a selection. With the rectangle or lasso tools, drag rather than making a single click.
- Choose New, Add, Subtract, or Intersect to control how the next selection combines with the existing one. Feathering softens its edge; leave it at zero for hard pixel edges.
- Paint within the selection, copy it, delete it, transform it, or crop to its bounds.
In New selection mode, clicking away from an existing rectangle/lasso selection clears it; clicking inside keeps it. ⌘D, Escape, or Clear Selection provides an explicit way to deselect. ⌘A selects all, and ⇧⌘I inverts the selection. The Selection menu also offers Select Opaque Pixels and one-pixel grow/shrink operations.
Choose Transform (M, or ⌘T) to work on the selected pixels or layer. Use the inspector's transform mode, numeric values, interpolation, and scope; apply when the result looks right. Arrow keys nudge a selection one pixel, or ten pixels with Shift. An edit's scope matters: the current frame, current layer, all layers in the current frame, or selected animation cels are different targets. Check the displayed scope before committing.
Crop to a selection
Make the selection first, then choose Actions → Crop to Selection (⌥⌘X). This crops immediately to the selection's rectangular bounds. With no selection, the same menu item is named Crop Canvas…. The canvas dimensions change for the document, including its layers and frames. Undo restores the previous dimensions and artwork.
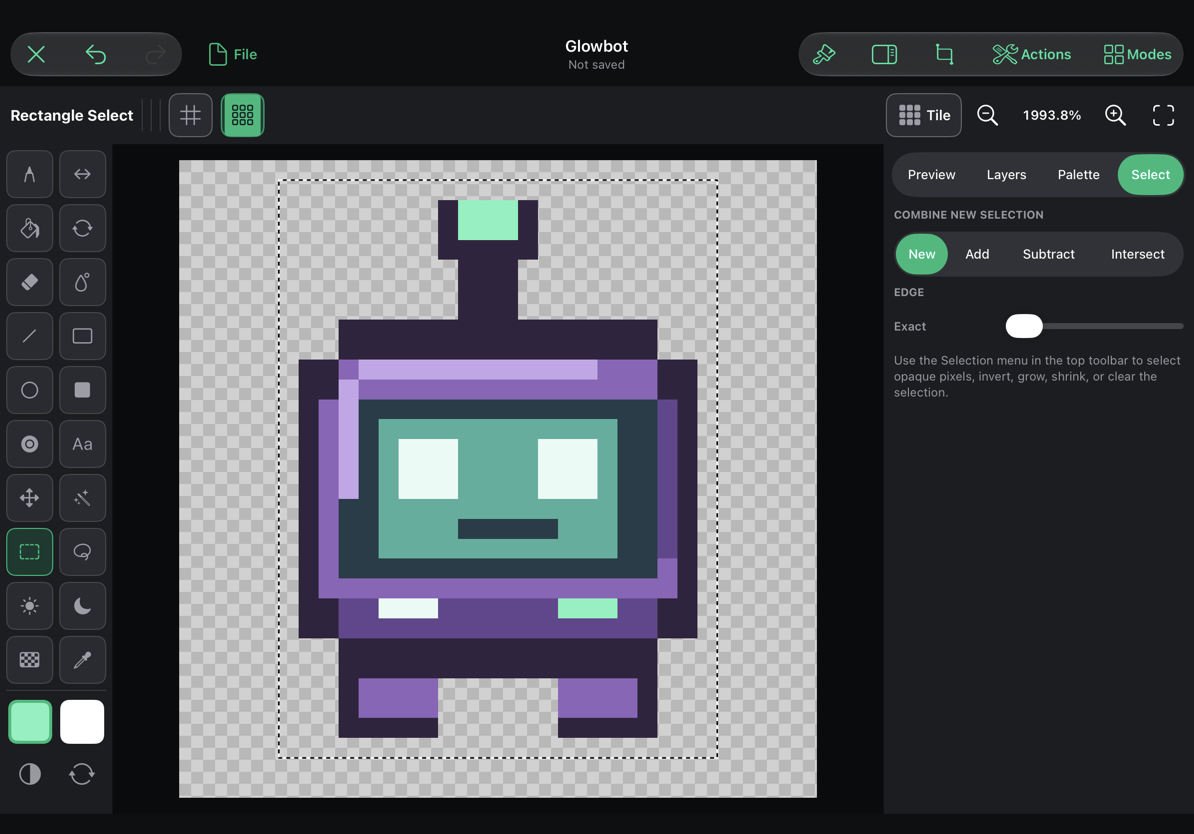
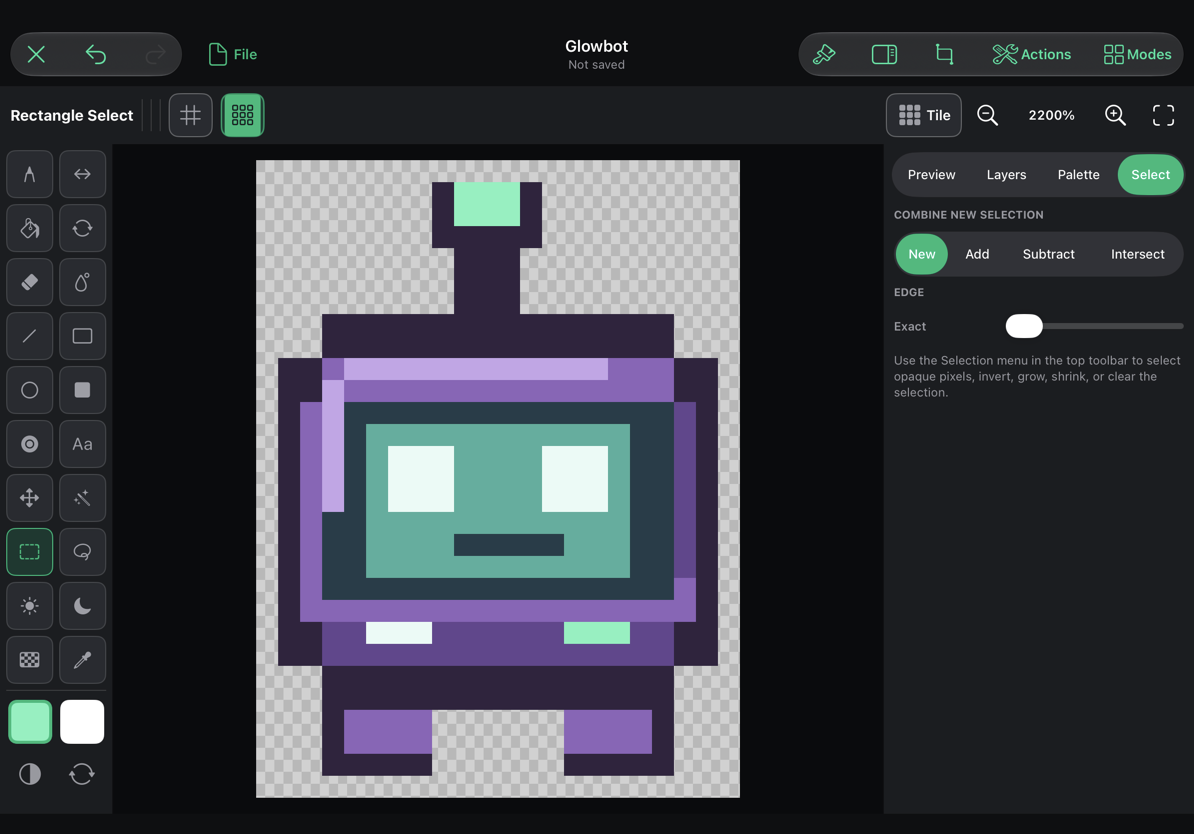
With no selection, Crop opens its inspector instead. Crop to content removes unused transparent borders. Resize Canvas… (⌥⌘C) is a separate action: choose the new width and height, an anchor for the existing artwork, and whether to scale the content. Increasing the canvas without scaling adds room around the artwork.
Keep text editable
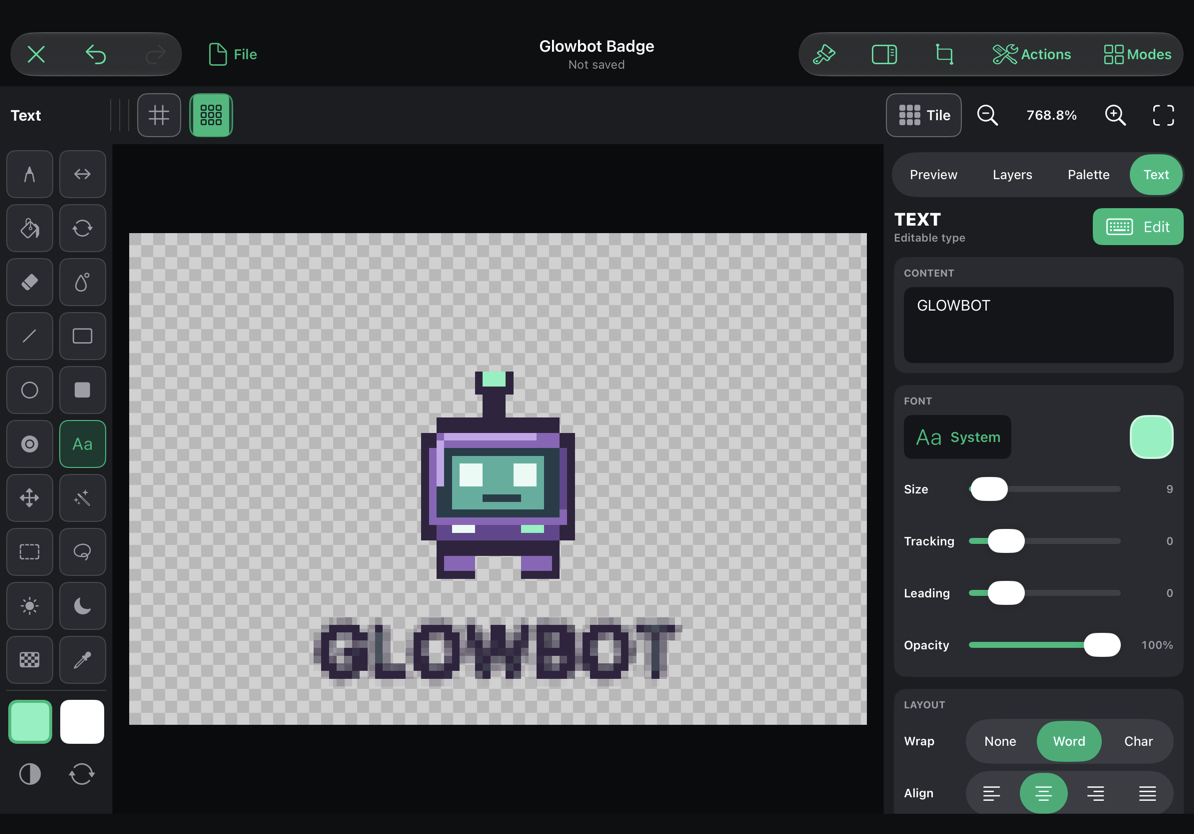
Choose Text, or Layers → New Layer → Text Layer. Enter the words and use the contextual text inspector for the font, size, wrapping, alignment, tracking, line spacing, outline, and shadow. Use Transform to reposition or resize the text. With Transform active, double-click/tap the text to edit it directly on the canvas.
The badge example uses mint text with a one-pixel dark outline to keep it readable against light backgrounds.
The saved Studio project retains editable text. Exported game graphics contain its rendered appearance. Rasterize Text Layer converts it to pixels for painting or pixel adjustments; use that only when you are ready to give up text editing on that layer, or duplicate it first.
Finish with adjustments
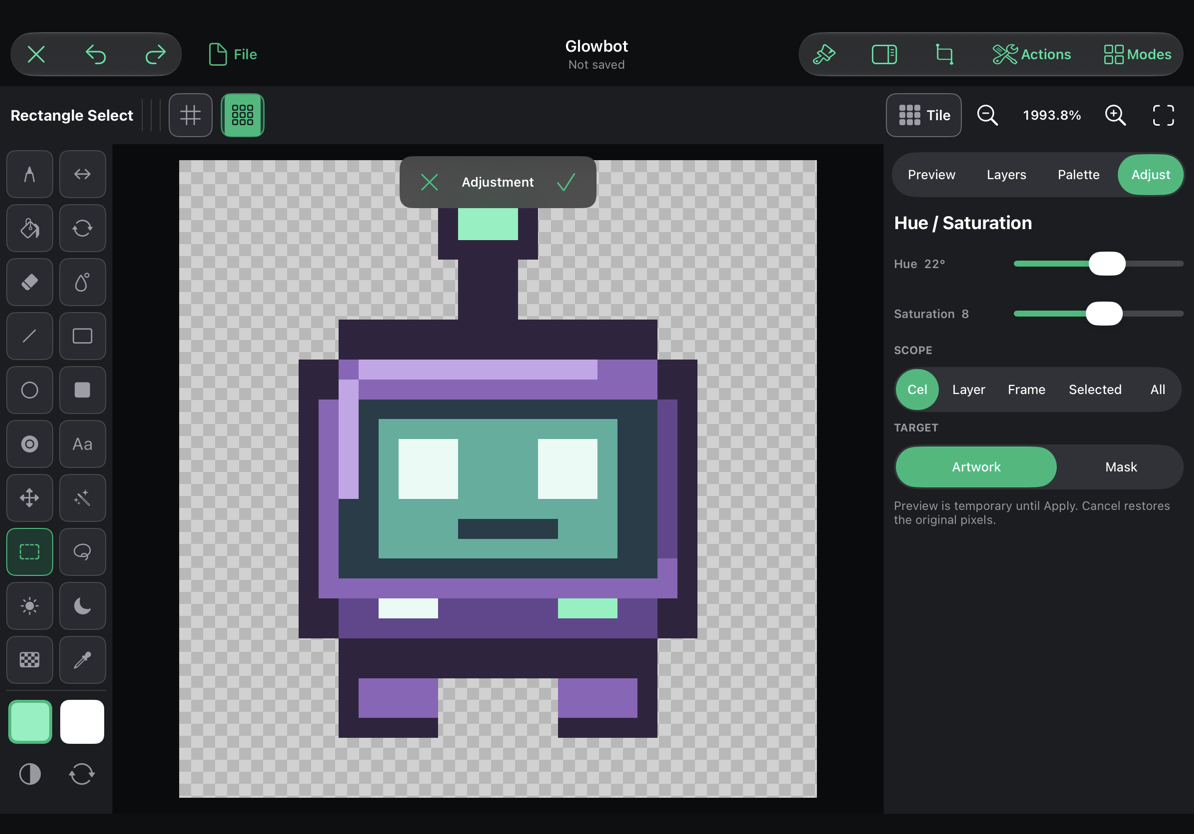
Open a pixel layer's context menu and choose Adjustments:
- Brightness / Contrast: change overall lightness and contrast.
- Hue / Saturation: recolor artwork or change color intensity.
- Levels: adjust black, midtone, and white levels.
- Blur: soften an edge or painted detail.
- Sharpen: increase edge contrast.
Adjustments preview before they change the document. Check the scope and Artwork/Mask target, then choose Apply or Cancel. A selection can limit the affected area. Text layers must be rasterized before these pixel adjustments become available.
Save the editable version with File → Save Project (⌘S). Use the export choices in File when you need a game asset. Continue with your first sprite, frame animation, or tiles and 9-slice artwork.