

Art Studio Tutorial: Draw Your First Sprite
Build a friendly 32 × 32 robot using filled rectangles, a small palette, and three layers. You do not need a drawing tablet or an imported image. The next chapter turns the same robot into a blinking character.
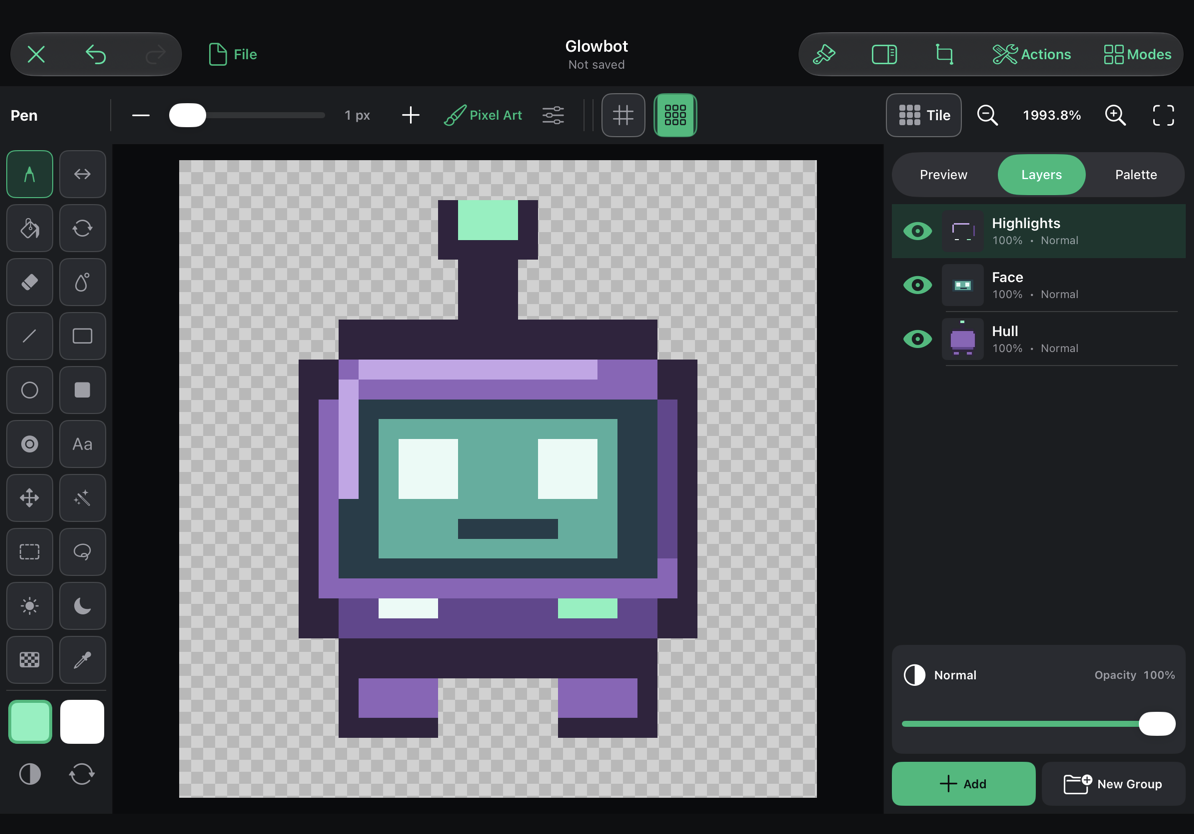
1. Start a small project
Create a new Art Studio project, choose Graphic under Start with, name it Glowbot, and set its logical width and height to 32 × 32. This opens the Drawing workspace. Retina output can stay enabled. It controls the output resolution; the canvas is still the logical pixel grid you are drawing on.
Use Fit to see the entire canvas. Turn on the pixel grid when you want help counting pixels; zoom in if its lines are not yet visible. In the options, choose pixel rendering for Rectangle. We will use Fill, not Outline, and layer smaller rectangles over larger ones.
Use these colors as a starting palette. Enter the hex value in the color picker, or choose similar colors by eye.
| Color | Hex | Purpose |
|---|---|---|
| Deep plum | #31243F | Silhouette and feet |
| Orchid | #8D64BA | Body |
| Plum shadow | #65468F | Lower and right edges |
| Lavender | #C5A5E9 | Highlights |
| Deep teal | #233D49 | Face surround and mouth |
| Sea green | #4BAF9D | Face panel |
| Mint | #79F2BD | Antenna and indicator light |
| Pale mint | #E9FBF6 | Eyes and shine |
2. Build the hull
Open Layers and rename the first layer Hull. Choose Rectangle (R) and Fill. Drag a deep-plum rectangle for a wide head/body, leaving a few pixels of empty space on every side. Apply the shape. Add a second rectangle across it to make the side edges extend farther than the top and bottom; the stepped corners will read as a rounded pixel silhouette.
If you want to match the example precisely, the following coordinates are zero-based: (0, 0) is the upper-left pixel. Both ends of each rectangle are included.
- Deep plum:
(8, 8)to(23, 25), then(6, 10)to(25, 23). - Orchid:
(8, 10)to(23, 23), then(7, 12)to(24, 21). - Plum shadow:
(8, 22)to(23, 23). - Two deep-plum feet:
(8, 26)to(12, 28)and(19, 26)to(23, 28). Add a smaller orchid patch to the top of each. - Add a short antenna above the body. Give it a deep-plum stem and a mint tip.
Each shape has an Apply/Cancel preview. Apply before starting the next rectangle. If something looks wrong, use Undo and draw it again.
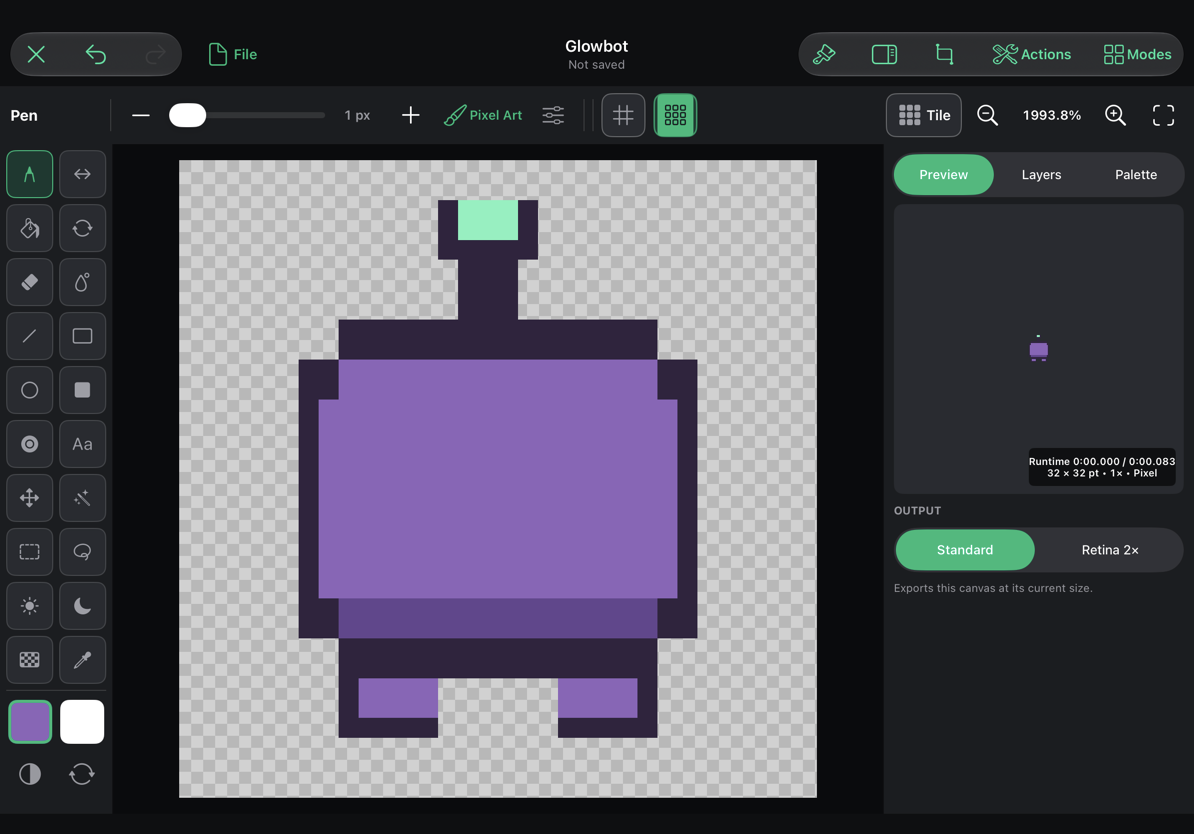
Do not worry about matching every pixel. A clear silhouette and consistent outline matter more than exact coordinates.
3. Add a separate face
Choose Layers → New Layer → Pixel Layer and rename it Face. Keeping the face separate means you can blink the eyes later without repainting the body.
- Draw a deep-teal face surround from
(8, 12)to(23, 20). - Draw a sea-green panel inside it, from
(10, 13)to(21, 19). - Add two pale-mint eyes:
(11, 14)to(13, 16)and(18, 14)to(20, 16). - Draw a small deep-teal mouth across
(14, 18)to(18, 18).
A one-pixel line can be drawn with Line or Pen instead of a thin filled rectangle. Use whichever feels easier.
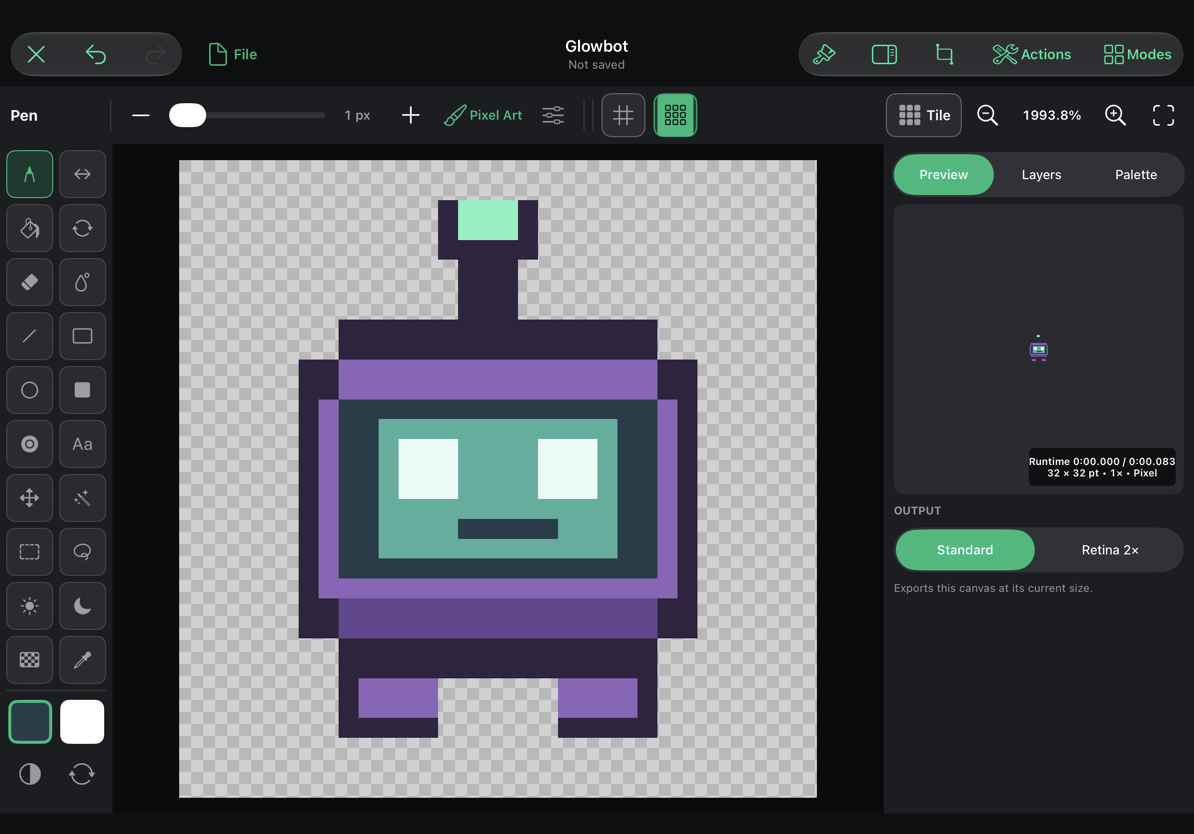
Toggle the Face layer's eye button once. The body should remain while the facial artwork disappears. Turn it back on. This confirms that you are editing the intended layer.
4. Add highlights
Create a third pixel layer named Highlights. Add a lavender line along part of the body's upper-left edge, a darker line on the right edge, and two small lights near the bottom. Leave some outline visible.
Use a small number of highlight pixels. If every edge is equally bright, the body loses its sense of volume. Here the upper-left side is lighter, so the right and lower edges remain darker.
5. Inspect and save
Use 100% (⌘1) to check that the eyes and silhouette still read at the sprite's real size, then Fit to return to the drawing view. Turn off the grid to judge the finished artwork.
Choose File → Save Project. This retains the layers and other editable Studio content. When you need to place the robot in a game, use File to export a still image game asset. Saving the project and exporting an asset are separate steps.
You now have a reusable base character. Try changing only the body palette, adding a differently shaped antenna, or giving the face an expression. Keep an editable copy with Save As before making a major variant.