How to Use hyperPad: Build Your First iPad Game

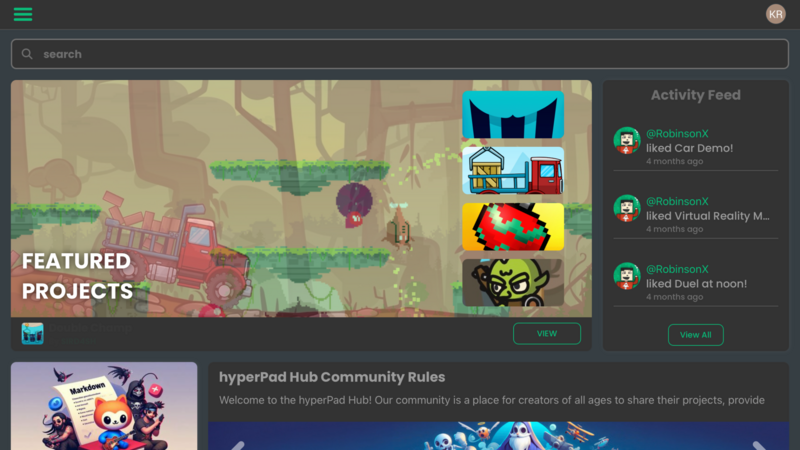
hyperPad lets you build and test a 2D game directly on iPad with Scenes, Objects, Graphics, Attributes, and visual Behaviors. The fastest way to learn it is to build one small mechanic, test it, and add the next part only after the first one works.
This guide gives you that first workflow. For a current screen-by-screen project, follow Build OrbitRun with Smart Shape: Part 1.
1. Create a small project
Start with one clear outcome, such as moving a character to a goal, collecting one item, or avoiding one obstacle. A small mechanic gives you enough structure to learn the editor without spending your first session building menus and extra levels.
2. Set up the Scene
A Scene holds the Objects the player sees and interacts with. Use one Scene for your first playable area. You can add a title screen or another level later.
The Interface Overview identifies the main parts of the editor. The Tool Palette explains the tools used to select and change Objects in a Scene.
3. Add Objects and Graphics
Objects are the pieces of your project: the player, a platform, a button, a score label, or an obstacle. Add only what the first mechanic needs.
Give each Object a clear role. A player Object might receive touch input. A coin Object might respond to a collision. A label might display a score stored in an Attribute.
4. Make the Objects interactive
Behaviors define what happens in the project. Some Behaviors listen for events, such as a tap or collision. Others perform actions, such as moving an Object, changing a value, or playing audio.
A simple collectable flow can be:
- The player collides with a coin.
- The collision starts the logic.
- The score increases.
- The coin disappears.
- A sound plays.
Use the Behavior Interface Overview to learn the editor and Behavior categories.
5. Store values with Attributes
Attributes let the project remember information. Use them for values such as score, health, speed, or whether a door is unlocked.
For the collectable example, start the score at zero. Each collision adds one. Connect that value to a text Object so the player can see it change.
6. Test after every small change
Play the project after each Behavior chain. Check three things:
- Did the event happen?
- Did the correct action run?
- Did the value or game state change as expected?
If something fails, inspect the first connection that did not run. Short Behavior chains are easier to debug than one large system.
7. Build a complete first loop
A useful first project needs a start, a playable action, and an ending. For example:
- Start: the Scene loads with a score of zero.
- Play: the player collects five items.
- End: a message appears and offers a restart.
Once that loop works, add polish such as animation, audio, or a second Scene.
8. Share, improve, and publish
Playtest on the iPad and ask someone else to try the game without instructions. Watch where they hesitate. Fix the clearest problem first.
You can share a project through the hyperPad community for feedback. App Store publishing is a separate export and submission workflow, so finish and test the project before preparing the store build.
What should you learn next?
Choose the next lesson based on the mechanic you are building, not a long feature checklist. If the project needs controller input, use the current controller support tutorial. If Behavior order matters, learn how a Behavior Bundle runs connected Behaviors from left to right.
Start one playable mechanic in hyperPad Starter. Keep the first Scene small enough to test in one session.