

Phone Controller Pairing
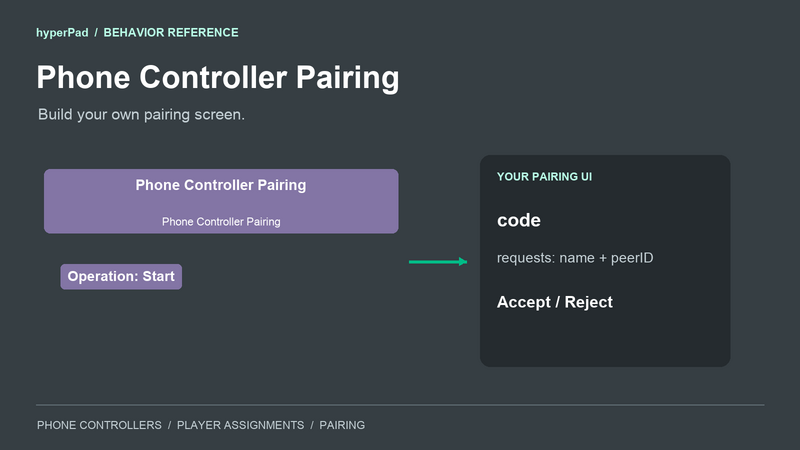
Build a pairing screen that fits your game. Phone Controller Pairing gives you the pairing code and pending requests, plus operations to accept or decline a phone.
You can find it in Interaction > Controls. To open the provided screen instead, use Pair Phone Controller.
Connections
- Input connection: Runs the operation you selected.
- Output connection: Runs after the operation. With Start, it also runs when pairing information changes while the behavior is enabled.
Get Info reads the current information once. Start keeps your UI updated as the code becomes ready or the request list changes.
Properties
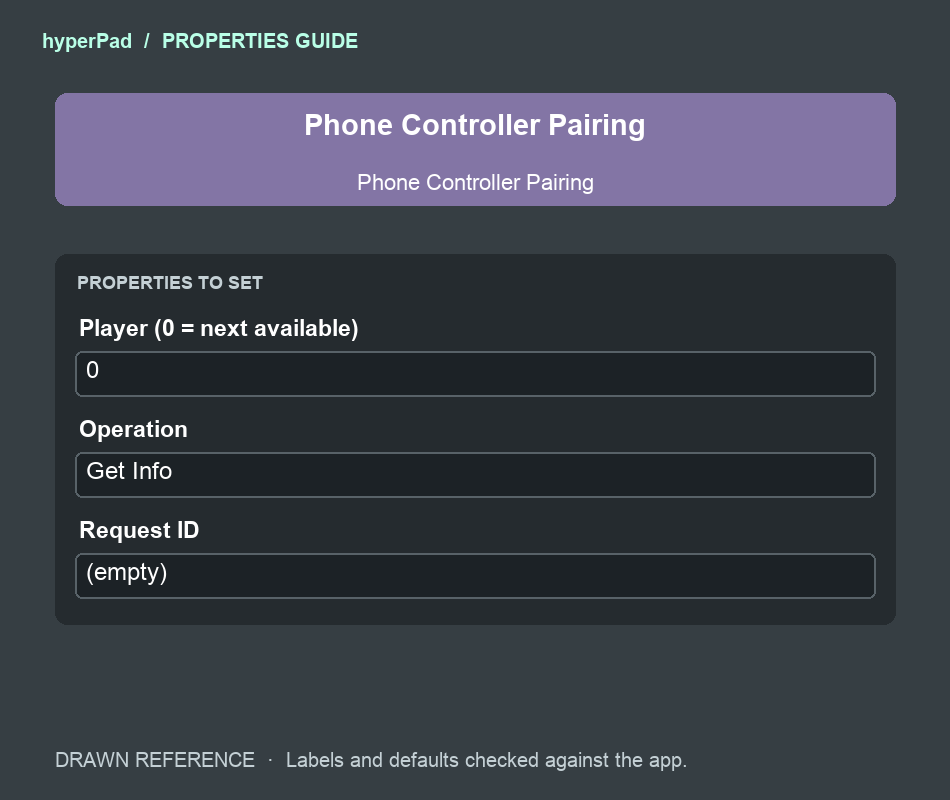
Properties guide. Labels and defaults match the Behavior Editor.
- Player (0 = next available). Default:
0. The player requested by Start or Accept.0chooses the next free slot. A positive number requests that specific slot. - Operation. Default: Get Info. Choose the operation below.
- Request ID. Default: Empty. For Accept or Reject, supply the
peerIDfrom the selected pending request.
An occupied player slot is never replaced automatically. Use Assign Controller to change assignments after a controller connects.
Operations
- Get Info: Reads the current pairing information without opening a screen or starting a session.
- Start: Starts accepting requests for five minutes. Watches pairing changes while this behavior is enabled.
- Stop: Stops accepting new requests. Phones already accepted stay connected.
- Accept: Approves the pending request identified by Request ID. Uses Player to choose a free slot.
- Reject: Declines the pending request identified by Request ID.
Use separate behaviors for your Start, Accept, Reject, and Stop buttons. Keep the Start behavior enabled while your screen needs updates. Disabling it stops its updates. To stop accepting requests, run Stop.
Outputs
code(Text): The current six-digit pairing code. It can be empty while an online code is being prepared.pairing(Boolean): Whether the game is accepting new requests.requests(Array): Pending requests. Each item containspeerIDandname.endpoint(Text): The pairing WebSocket address. Use it with the code if your custom UI generates a pairing QR code.message(Text): A reported pairing or connection error. Empty when no error is reported.expiresAt(Number): The time when pairing expires, as Unix time in milliseconds.success(Boolean): Whether no pairing error is reported. This does not confirm that a phone connected or that a selected request was accepted.
Use Controller Status for connection events. Use Get Controllers for a list of connected devices. The requests output contains phones waiting for approval, so it is a different list.
Example: show the pairing code
- Add a Label named Pairing Code to your pairing screen.
- Add Phone Controller Pairing. Set Operation to Start and Player to
0. - Add Set Label and select the Pairing Code label as Object A.
- Connect Phone Controller Pairing to Set Label with an output connection.
- Drag the green output icon from Phone Controller Pairing into Set Label's Text field. Choose code.
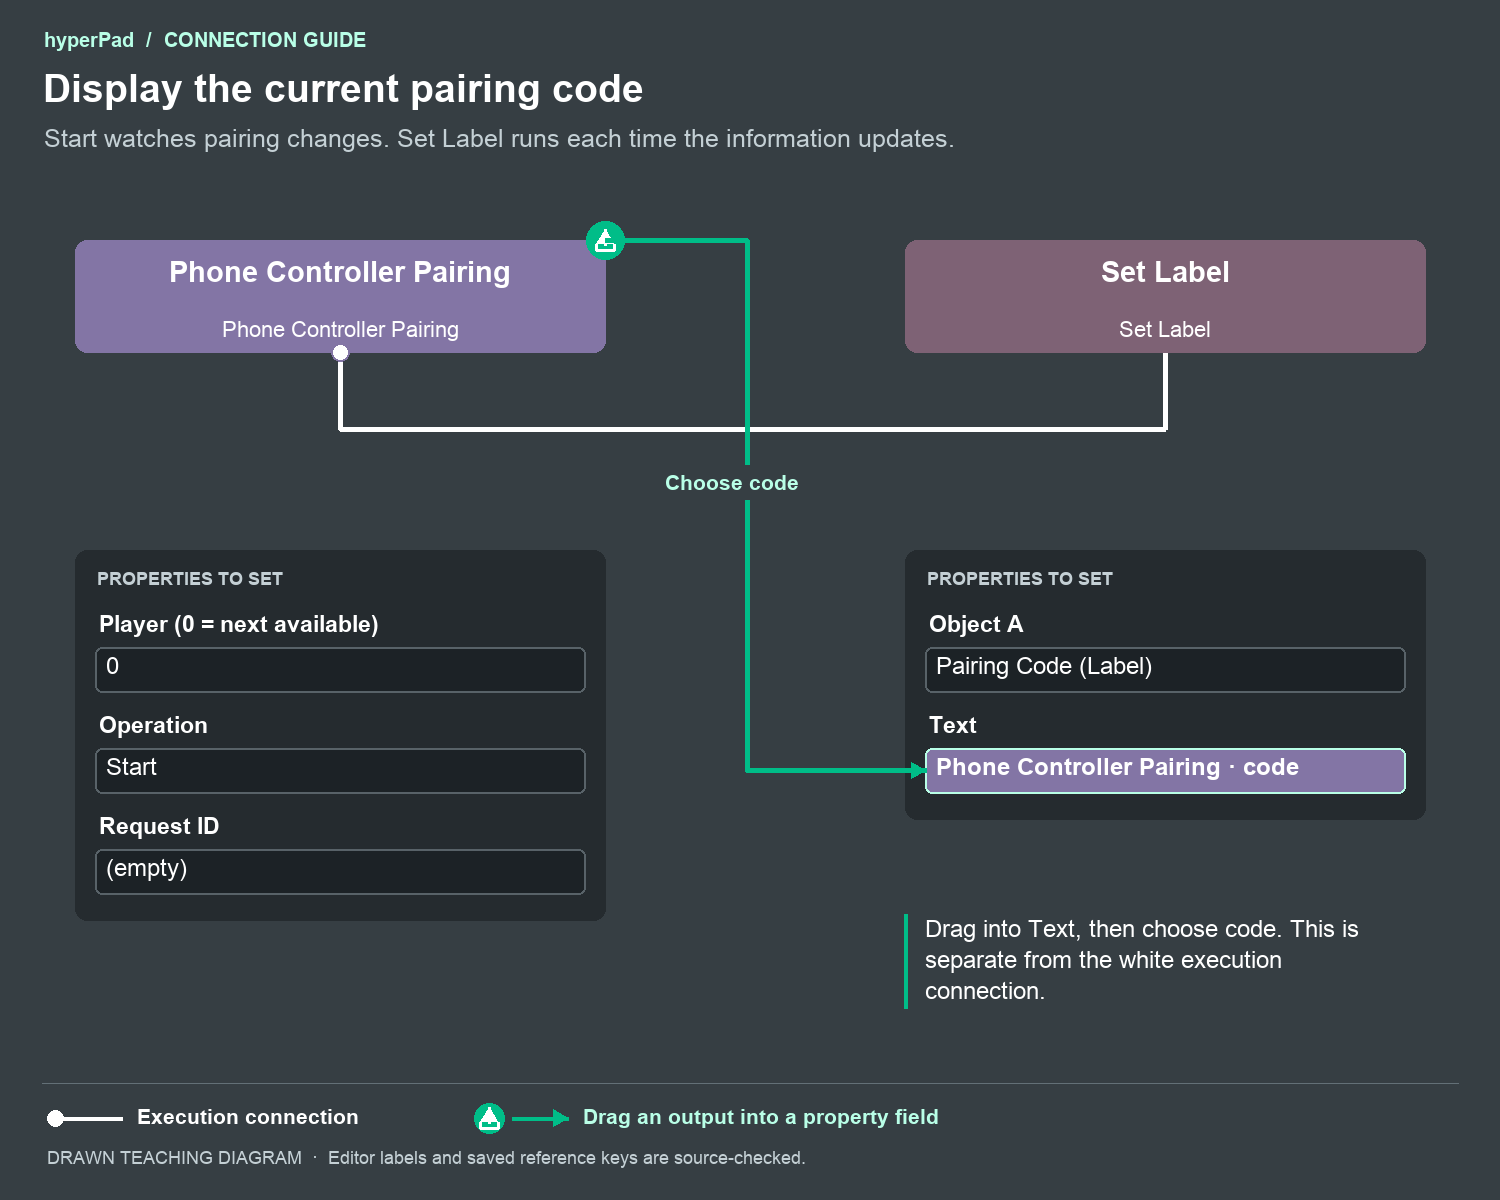
The white connection runs Set Label. The green arrow shows the separate output drag that fills its Text field.
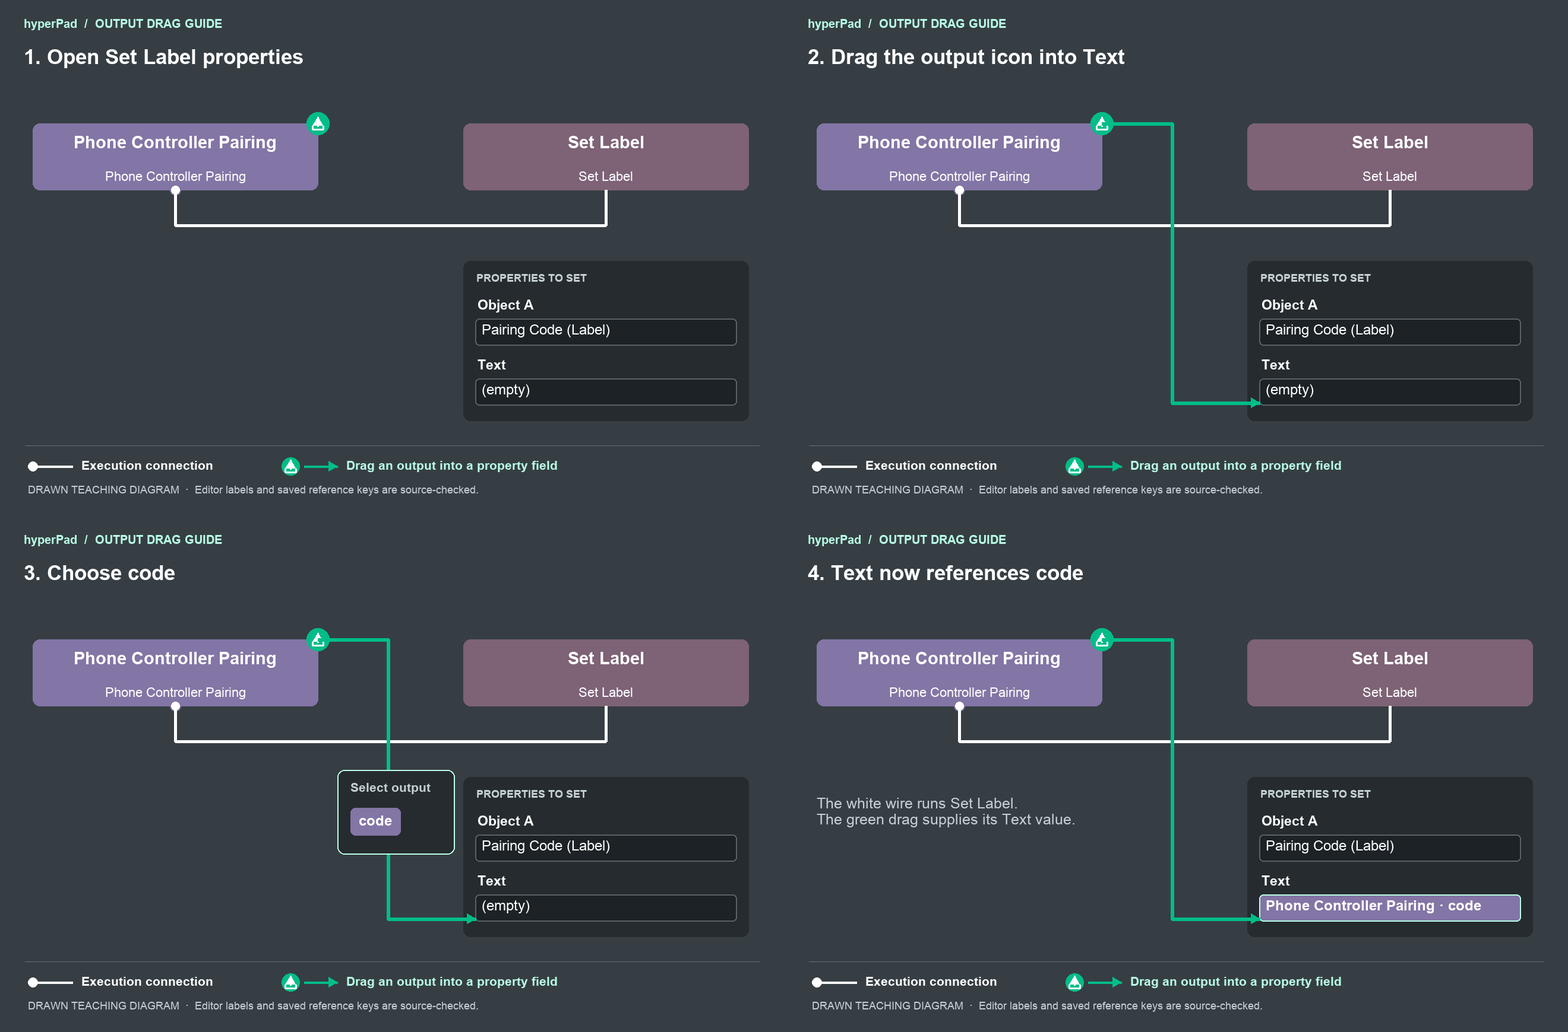
Drawn teaching animation. Choose code after dropping the output into Text.
Run your game. The label updates when the code is ready. You can show a waiting message while code is empty.
Example: accept a selected request
- Run Start and use
requeststo populate your device list. - For each request, show its
namein a row. Keep that row'speerIDwith it. - Add Phone Controller Pairing behind the row's Accept button. Set Operation to Accept.
- Put the selected request's
peerIDinto Request ID. Keep Player at0or choose a free player slot. - For a Decline button, use another Phone Controller Pairing behavior with Operation set to Reject and the same Request ID.
requests is an array of dictionaries. Read the selected item, then read its peerID key. Supply that text to Request ID. Dragging the whole requests array into Request ID does not select a phone.
A request ID identifies a phone waiting for approval. After approval, read the connected controller's deviceID from Get Controllers or Controller Status. Use that device ID with Assign Controller.
Custom QR codes
If your UI has a QR-code generator, encode a JSON object with these fields:
{
  "version": 1,
  "endpoint": "<endpoint output>",
  "code": "<code output>"
}
Replace the two placeholders with the behavior's current outputs. Generate the QR code once code is ready. Players scan it with Scan Pairing Code in Controller Mode. The provided Pair Phone Controller screen generates its QR code for you.
Browser games need an available online pairing service. These operations use that service; they do not configure or deploy it.
After pairing
Your phone controllers work with Controller Event, Map Control Inputs, and the controller selection behaviors. The phone shows the standard controls your game uses for its player. During a controller rebind, it shows the full control layout so the player can choose a new input.
You can keep pairing separate from your controls UI. Controls Overlay handles displaying and changing bindings. Rebind Input lets you build your own binding controls.