Importing Your Game Assets

Let's jump right in. hyperPad lets you import a wide variety of assets. This part explains the supported formats, the specifications, and the different types of assets.
You can import individual images and animation frames, complete sprite sheets, fonts, particles, sounds, and music into hyperPad.
Why Import Your Own Assets?
Mechanics make a game work. The art, music, and style are what players connect with. When you import your own assets, your game gets:
- Originality: It stands apart from templates and pre-made libraries.
- Personality: It reflects your own art style, story, or brand.
- Consistency: Your visuals and sounds match across every Scene and level.
Whether you draw illustrations in Procreate, design pixel art in Photoshop or Illustrator, or compose your own sound effects, music, and voiceovers, you can bring them into your project. That makes hyperPad a good fit for:
- Students learning to combine art and technology
- Indie developers who want original games without hiring a large team
- Artists and musicians exploring interactive storytelling
- Educators teaching game design and digital media
Images:
hyperPad supports all the standard image formats your iPad supports. You can even import images with transparent elements.
For best results, use PNG files. They support transparency and are a lossless format. Formats like JPG don't support transparency, and their compression lowers image quality.
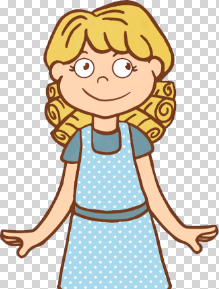
Use transparent PNGs for pictures with no background.
Image Specifications:
When you create your Graphics, make sure everything fits within the iPad's screen size.
The classic iPad resolutions are 1024×768 for non-retina devices and 2048×1536 for retina devices. Always create your Graphics for the highest resolution, because hyperPad automatically creates non-retina versions for you. So when you create Graphics and illustrations for your projects, design your artwork for 2048x1536.
Keep in mind that the maximum image size you can import is 2048×2048 pixels.
Animation Frames:
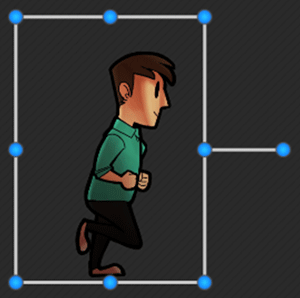
If you're working with animations, make sure every frame has exactly the same resolution, and that the artwork sits in the exact center of the image and doesn't move around. For more on animations, look up Animations in the help documentation.
Sprite Sheets:
You can import animated sprite sheets into hyperPad by linking your project with Dropbox. See "Importing Assets" for more on linking with Dropbox.
Sprite sheets reduce memory use and improve your Scene's performance. They also make Behaviors like "Play Animation" more convenient, because all the frames you need are imported for you.
Just like with regular images, hyperPad automatically creates a non-retina version of your sprite sheet. So create your sprite sheets at the highest resolution possible.
hyperPad only supports PNG sprite sheets, with a maximum resolution of 2048x2048 pixels.
Every sprite sheet must be paired with a ".plist" metadata file with the same name. For example, MySpriteSheet.PNG must come with MySpriteSheet.PLIST. The metadata file must follow the standard "Cocos2D" format.
You can use tools like "Texture Packer" to generate a compatible sprite sheet. Any tool that can create a "Cocos2D" sprite sheet works with hyperPad.
Fonts:
hyperPad supports two kinds of fonts: Bitmap Fonts (BMFonts) and TTF fonts (see "Importing Fonts" below). Bitmap fonts are imported by linking your project with Dropbox. See "Importing Assets" for more on linking with Dropbox.
Like sprite sheets, BMFonts have 2 parts: the font image (PNG) and the metadata file (FNT). Every BMFont must include a PNG and an FNT with the same name, for example MyFont.PNG and MyFont.FNT.
Unlike other image-based assets, BMFonts don't get an automatically generated SD (non-retina) version. If you want to support both retina and non-retina, create your own HD and SD versions. Retina Graphics are typically 2x the size. For a retina HD version, use this naming convention: MyFont-hd.PNG, MyFont.PNG, MyFont-hd.FNT, and MyFont.FNT. Notice that the retina version has "hd" added to the filename. The "hd" is case sensitive, so always use a lowercase "hd" at the end of the name.
You can use tools like "bmGlyph" to generate compatible BMFonts from existing fonts. Any other tool that can create a Cocos2D-compatible BMFont works too.
Sounds and Music:
hyperPad can play all audio formats supported by iOS. That includes MP3, MP4, M4A, M4R, WAV, PCM, AIFF, and more. For a full list, see Apple's iOS Developer Library.
If you use the import feature of the Asset Library, your audio file is converted to M4A. To keep the original file format, "Link With Dropbox" and add your audio through the Dropbox app, a web browser, or a desktop computer. See "Importing Assets" for more on importing and linking with Dropbox.
Importing Assets
This part covers the different ways to import assets into hyperPad. To see the types of assets you can import, keep scrolling.
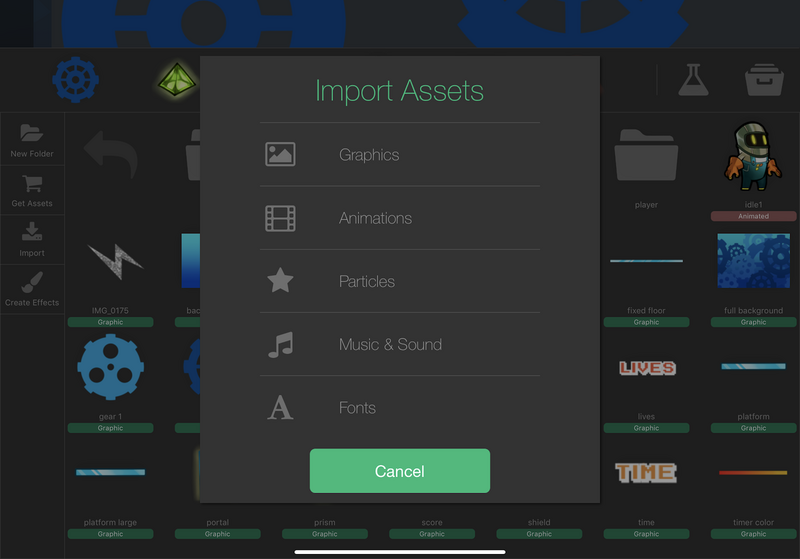
The quickest way to import is to open the Asset Library and choose "Import" from the left menu. You'll be asked to choose the type of asset you want to import.
Importing Graphics:
To import a standard Graphic with no animations, select the graphics option from the import pop-up.
You'll then see the available sources to import from.
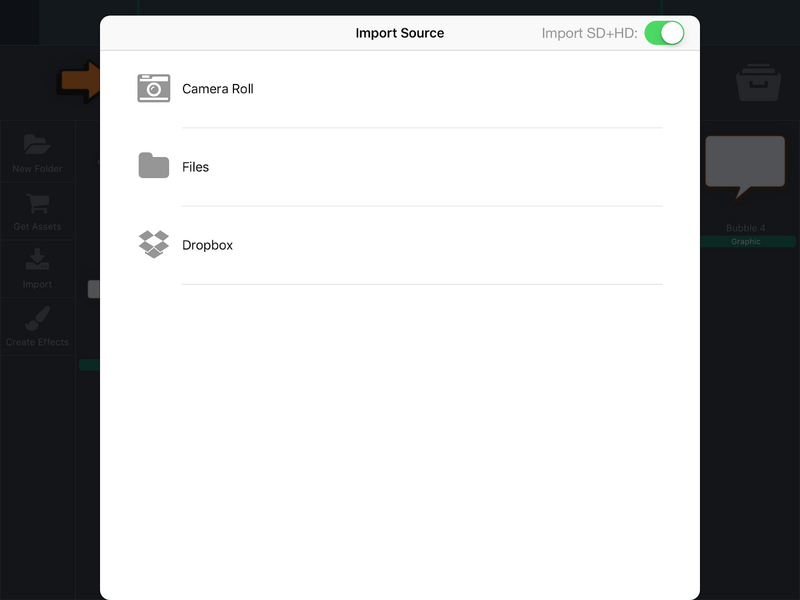
Camera Roll imports images directly from your device's image library (in the Photos app). That includes pictures you take with the camera, import from third-party apps, or download in the web browser.
Files opens the Files app so you can browse for Graphics. The Files app also gives you access to iCloud Drive and other third-party sources that work with Apple's Files app (like Dropbox, Google Drive, and OneDrive).
Dropbox gives you access to your Dropbox library. To use Dropbox with hyperPad, first link your account and give hyperPad permission to access your files. You'll be prompted to do this the first time you import from Dropbox.
Once you select a source, use the file browser to find the image you want to import.
SD+HD Toggle
You'll probably notice the Import SD+HD toggle in the top right of the import window. It's off by default. While it's off, you don't need separate standard and high definition versions of the images you import. hyperPad treats every imported image as "HD". Import a high-quality image, and hyperPad creates the standard definition version for you. When your app runs on a device without a retina display (such as older Apple devices), it automatically uses the lower-resolution images.
If you'd rather add both resolutions yourself, turn the toggle on. With it on, you need the image in two resolutions (for example, 1024x1024 for SD and 2048x2048 for HD). The HD image filename must end with "-hd".
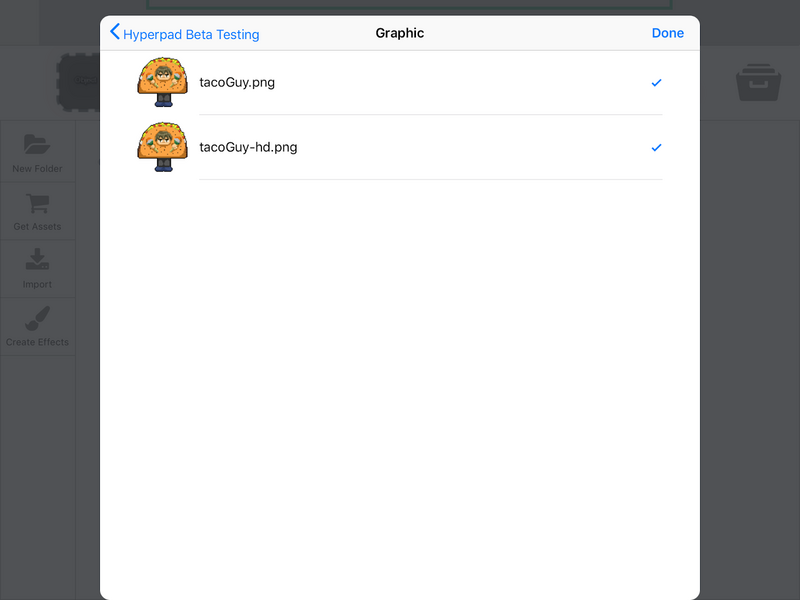
Note: The maximum image size hyperPad allows is 2048x2048. hyperPad can use any image file compatible with iOS. PNG is the suggested format for Graphics because it handles transparency.
Importing and Using Animations
In hyperPad, you can create Objects with custom animations. You have two choices: import animations as individual frames, or as a complete sprite sheet.
Individual Frames:
You can create an animation cycle by importing a sequence of individual frame images.
To start, import your first frame, or an image to represent your Object, from the "Asset Library" (see Importing Assets). Once it's imported, tap and hold the asset you want to add animations to. This opens the Asset Menu.
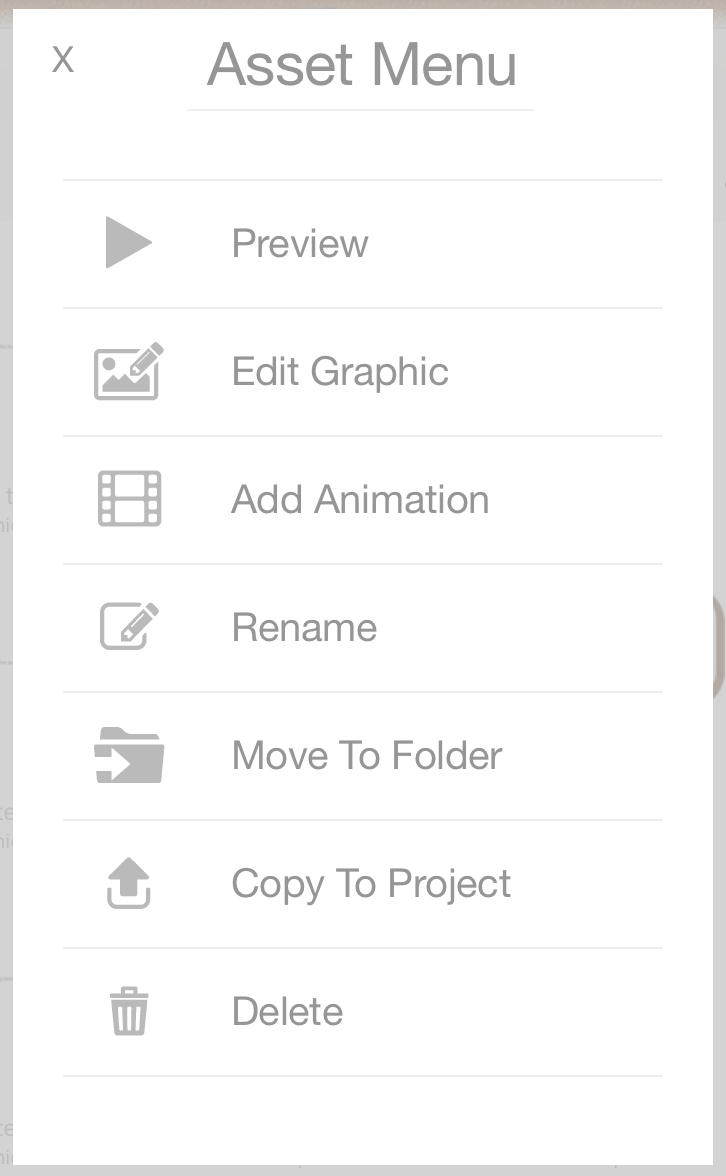
From the Asset Menu, select "Add Animation". You can then import from Camera Roll or Dropbox. See "Importing Assets" for more on these options.

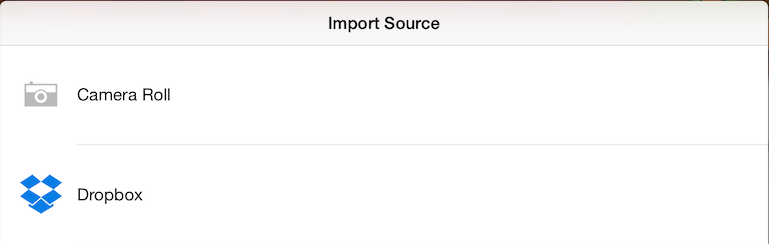
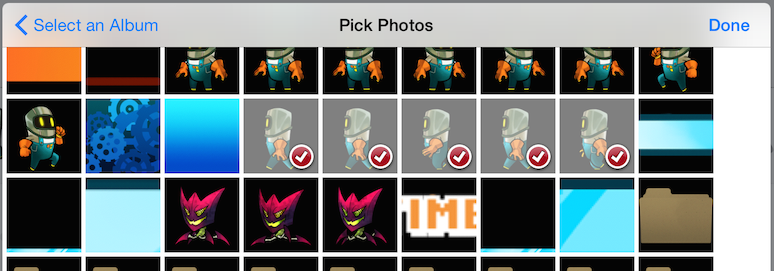
Once you've picked your import source, select all the frames of the animation, then tap "Done" in the top right corner to import them.
Next, enter a name for the animation cycle.

Once you've named the cycle, hyperPad creates a sprite sheet with all the animation cycles for that asset (including the original asset Graphic). Keep in mind that hyperPad only generates sprite sheets up to 2048x2048 pixels. So the total size of every frame you import (including the original asset) can't exceed the maximum sprite sheet size.
If you're working with large images, lots of animation frames, or both, you'll probably see an error saying you've exceeded the maximum sprite sheet size. If you really need graphics that large, there are a couple of ways around it.
-
Split your animation sequences across multiple Objects. Each Object gets its own 2048x2048 sprite sheet. For example, have a "Walk" Object, a "Jump" Object, and so on, where each Object stores one animation cycle (or several). That way you get multiple 2048x2048 sprite sheets.
-
Don't import them as animation cycles. Import each animation frame as its own image. Then use the Play Animation Behavior and add each frame by hand to the animation timeline in the Behavior properties.
Sprite Sheets:
You can create custom sprite sheets and import them into hyperPad by linking your project with Dropbox. To learn more about linking your project with Dropbox, see "Importing Assets".
To create custom sprite sheets, use any tool that can create a "Cocos2D" compatible sprite sheet. Every sprite sheet needs a paired PLIST file containing its metadata. See the help article "Supported Asset Types" to learn more about compatible sprite sheets.
Viewing Animations:
If your asset has animations, it's labeled "Animated" in the "Asset Library".
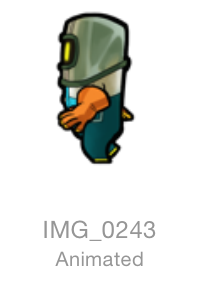
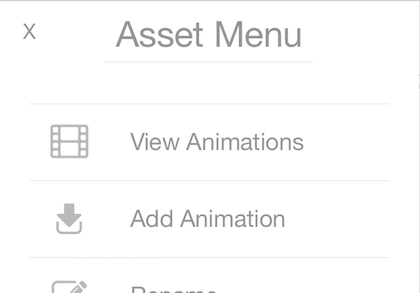
To preview an asset's animations, tap and hold the animated asset to open the "Asset Menu", then select "View Animations".
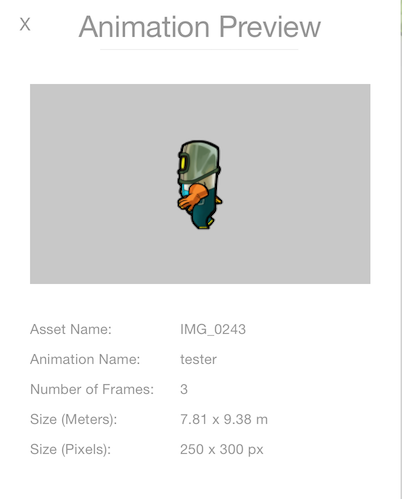
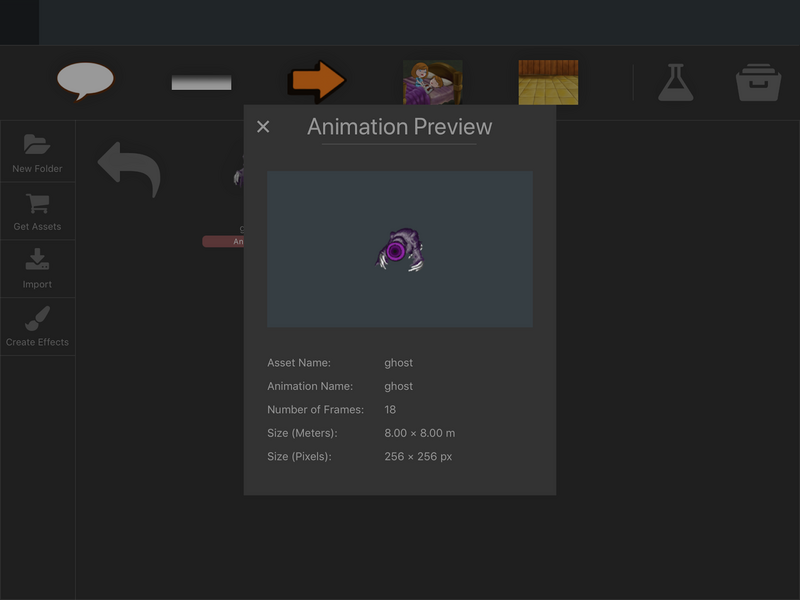
From here, open the "Asset Menu" again and select "Preview Animation". The pop-up window plays the animation and shows you useful information.
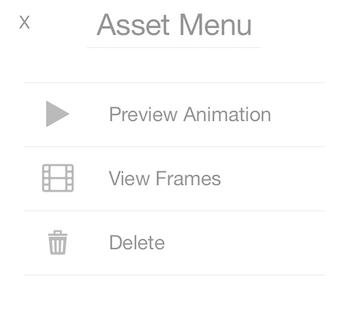
If you tap and hold an animation cycle, the Asset Menu opens and lets you view the individual frames of that cycle.
Using Animations:
You can add an animated asset straight to the canvas, or use the "Play Animation" Behavior to run an animation on demand.
To add an animated asset directly to the canvas, open the "Asset Library" and view the animated asset's animations. When you select an animation cycle, it's added to the "Dock", and you can drag it right into your Scene.
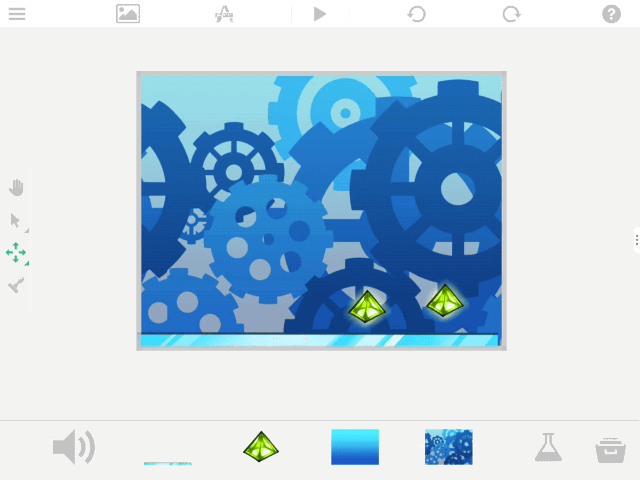
When you add an animation cycle to the canvas, hyperPad creates an Object and adds the "Play Animation" Behavior to it automatically. To change that Object's animation playback settings, open its Behaviors.
Using the "Play Animation" Behavior:
To play an animation on an event, like when a player presses a button or moves a joystick, use the "Play Animation" Behavior.
Start by adding an animated asset to the canvas. Then select the Object and open the "Behavior Editor" from the "Object Properties".
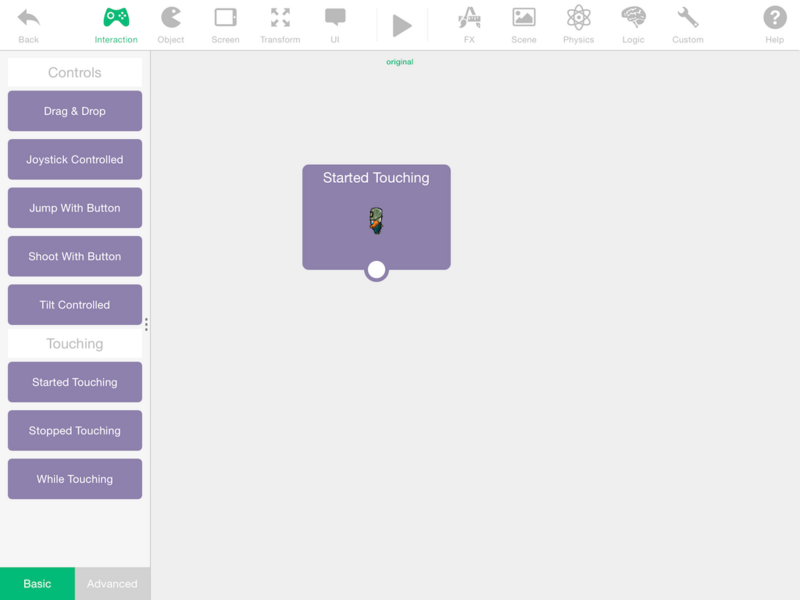
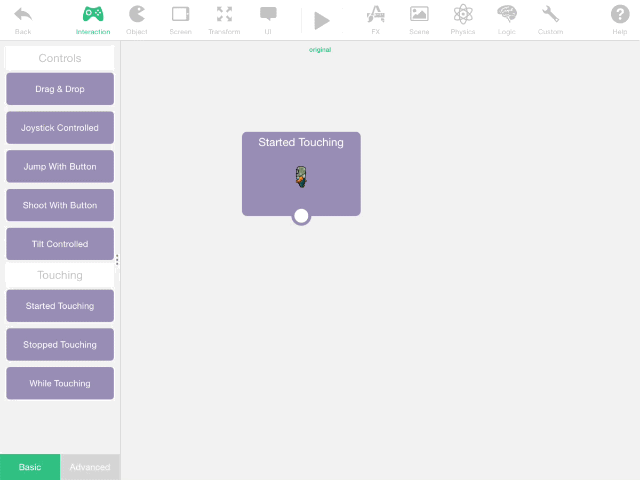
In this example, the Object plays an animation when it's pressed. Start by adding the "Started Touching" Behavior.
Next, add the "Play Animation" Behavior from the FX category, and connect it to the "Started Touching" Behavior you added.
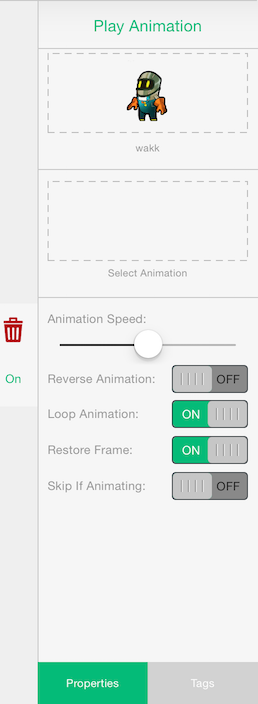
Once it's connected, tap the "Play Animation" Behavior to view the "Behavior Properties". There you can change which Object to animate, which animation to play, and other settings that affect playback.
In the Behavior properties, tap the box labeled "Select Animation". This opens the animation timeline, where you can add frames or an animation cycle.
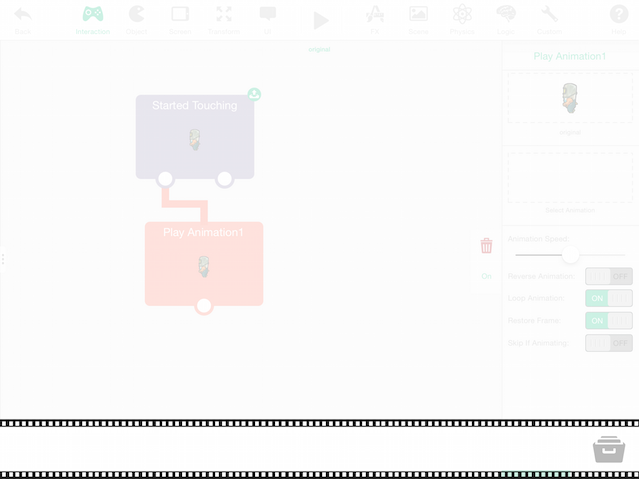
To add animations to the timeline, tap the "Asset Library" icon to open the Asset Library. Any Graphic you tap is selected and added to the timeline.
To add an animation cycle, press and hold an animated asset to open the "Asset Menu", then select "View Animations". The Asset Library now shows every animation cycle you've added to that asset. Tap a cycle to add it to the timeline.
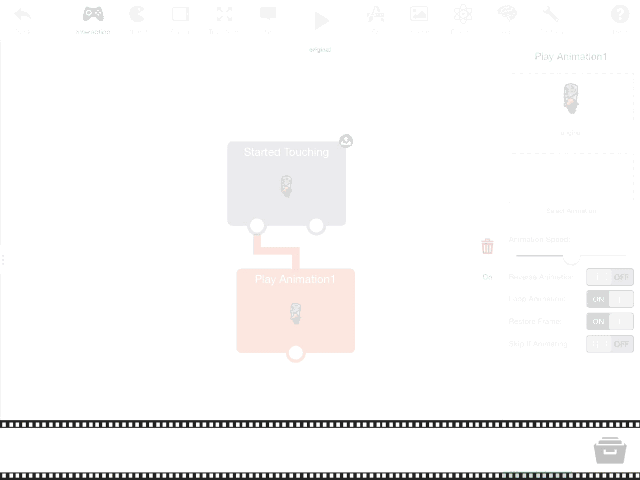
When you're done adding animations to the timeline, tap the Behavior screen to close the timeline and return to the Behavior Editor.
Now press "Play". The Object only animates when you touch it.
Creating Animations:
This first method of importing animations creates an animation sequence for you as it imports each frame.
Select Create Animation. This opens the Import Source window, where you choose a source for your imports: Camera Roll, Files, or Dropbox.
Note: This method doesn't have the Import SD+HD toggle, because hyperPad automatically creates the sprite sheet in HD and SD for you.
So make sure each frame is the highest resolution you have, and that every frame is exactly the same size with the Object centered. If the Object isn't centered and the frames differ in size, your animation won't play correctly.
Also make sure the combined frames don't exceed 2048x2048 pixels. For example, in a 16-frame animation, each frame can't be larger than 128x128 pixels.
After you pick where to import your images from, open the folder where they're saved. Tap the images you want to select them.
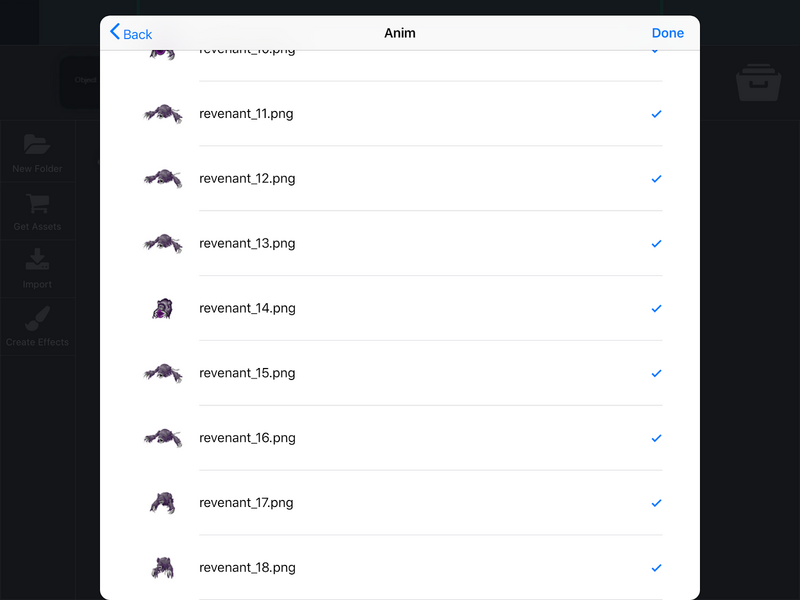
Select each image, and make sure they're named so they import in the right order. These images become the frames of your animation. Once they're selected, tap Done to import. When the import finishes, you'll be asked to name the animation.
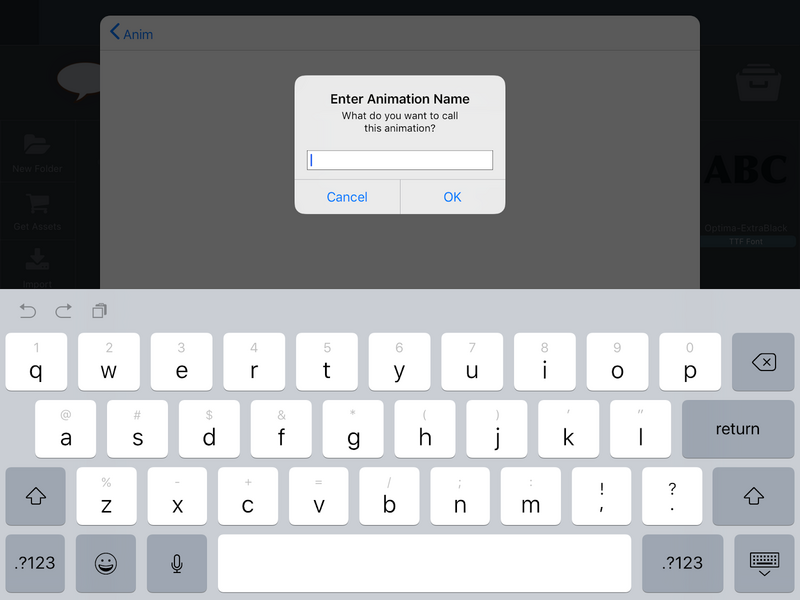
To check that the animation works, tap and hold the new animated asset in the library. This opens the Asset Menu. Select Preview Animation to play the sequence.
Importing Animations:
hyperPad has 2 main ways to import animations: 1) create animations on import, and 2) import a sprite sheet.
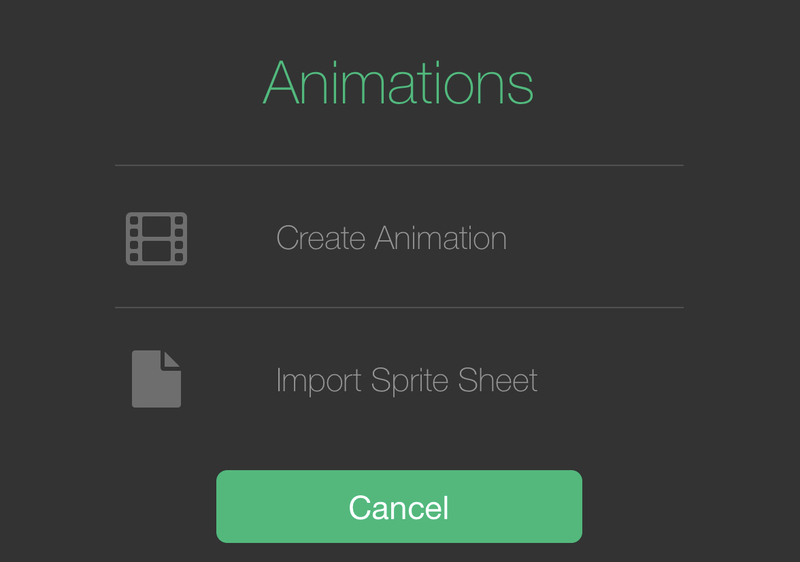
Import Sprite Sheet:
This second method is a bit more complex and relies on other tools, but it usually gives the best results. You need a sprite sheet and an accompanying plist data file. Any program that generates Cocos2D-compatible files will work. We recommend TexturePacker, which you can download for free here: https://www.codeandweb.com/texturepacker
Once you've created your sprite sheet and plist data, select Import Sprite Sheet from the animation import menu.
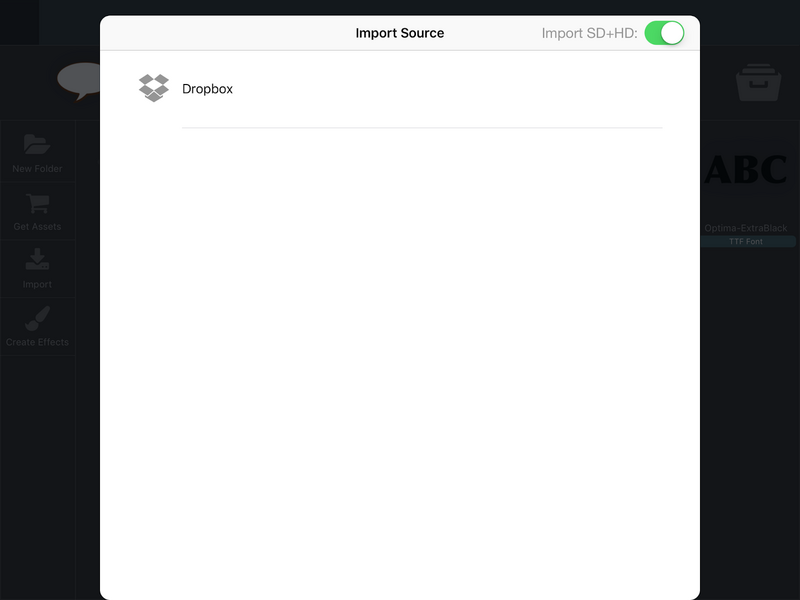
As with other assets, you're then asked to pick a source. You can't import sprite sheets from the Camera Roll, because a sprite sheet needs a PLIST data file alongside the image.
Select your source and go to where your files are stored.
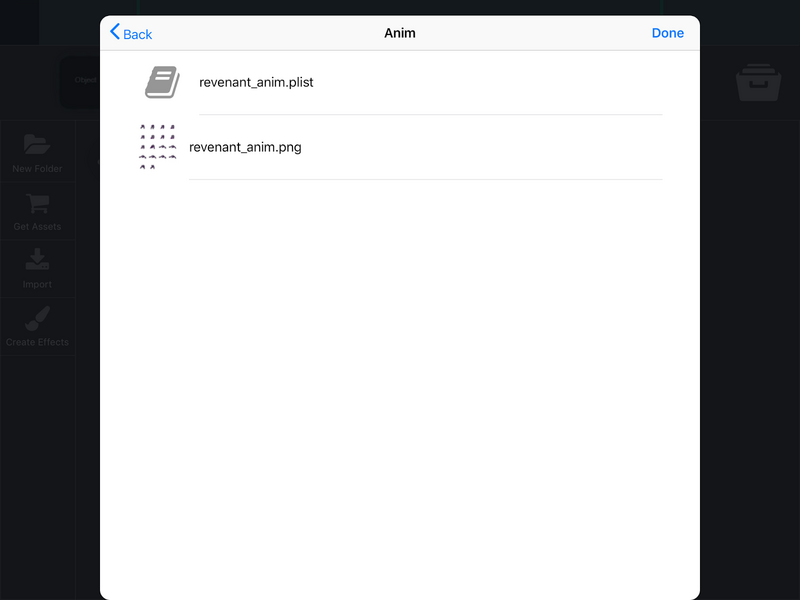
Once you've found your files, tap them to select them, then tap Done in the top right corner to start importing.
Note: Select both the sprite sheet image and the plist data file, or you'll get an error. If the Import SD+HD toggle is on, you need to select 4 files: an SD and an HD image, and an SD and an HD plist file.
Importing Particles
Importing particles works the same way as importing a sprite sheet animation. Like sprite sheets, particles have 2 files: the particle Graphic and a PLIST metadata file that holds the particle effect's parameters. So select both files when you import your particle effect. Particles can be resource intensive, so keep your particle Graphic fairly small. We suggest no more than 64x64 pixels for an HD particle.
As with Graphics and animations, the SD+HD toggle is available here too.
You can use any particle creation app that exports a Cocos2D-compatible particle system.
Importing Music & Sound Effects
Importing sounds and music into hyperPad is simple. Open the Import Assets menu, and this time select Music & Sound as the asset type.
You can import audio files from your iTunes library, the Files app, and Dropbox.
Once you've picked your source, go to the audio files you want, select them, and tap Done. As before, you can import several files at once.
hyperPad can play all audio formats supported by iOS. For a full list of compatible files, check the iOS Developer Library here.
Importing Fonts
You have two options for fonts: BMFonts and TTF fonts.
BMFont stands for Bitmap Font. BMFonts usually look lower quality, but they perform better. They're a good choice when you have lots of Objects on screen, or when your text changes constantly. Like particles and sprite sheet animations, BMFonts need a PNG (with every character) and an FNT data file. hyperPad supports any BMFont generator that works with Cocos2D. One example is BMGlyph.
You can only import BMFonts from Dropbox. So make sure your Dropbox account is linked, open it, and go to where your font files are saved.
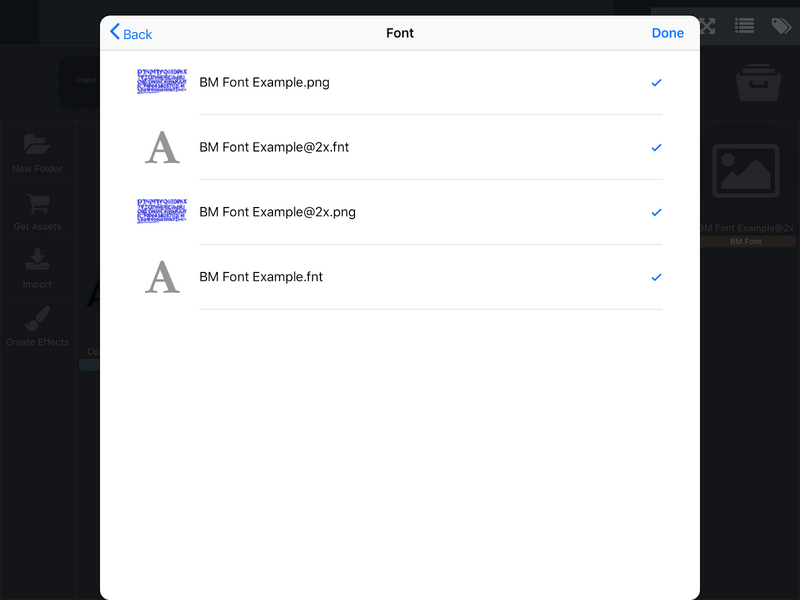
Go to where your BMFont files are stored, select the files, and tap Done. (The image below shows 4 files selected because the SD/HD toggle is on.)
TTF stands for TrueType Font. It's the most common format, and it's probably what you'll get when you download fonts online. TTF fonts look much sharper and don't pixelate on any device. That quality comes with a performance cost, so TTF fonts are best for small amounts of text, like labels. Unlike BMFonts, a TTF font is a single file.
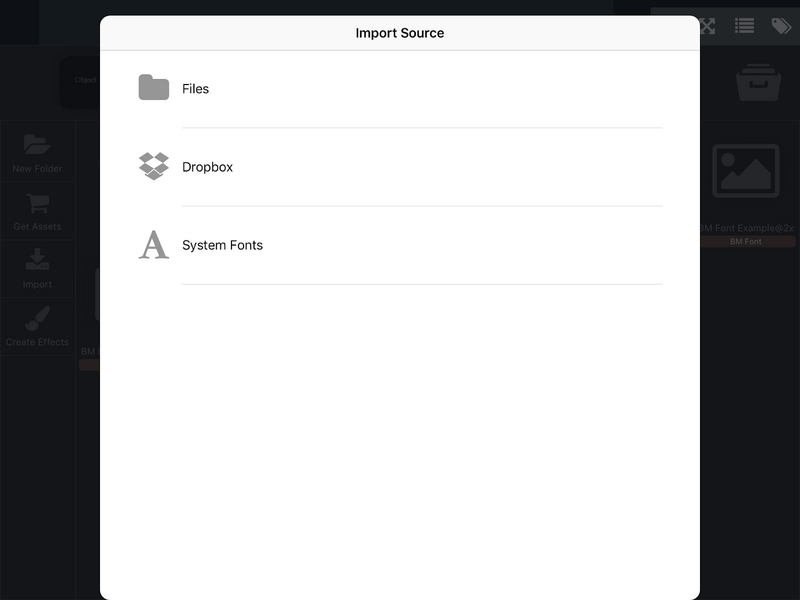
Importing TTF fonts works like importing other assets, with a few more import sources.
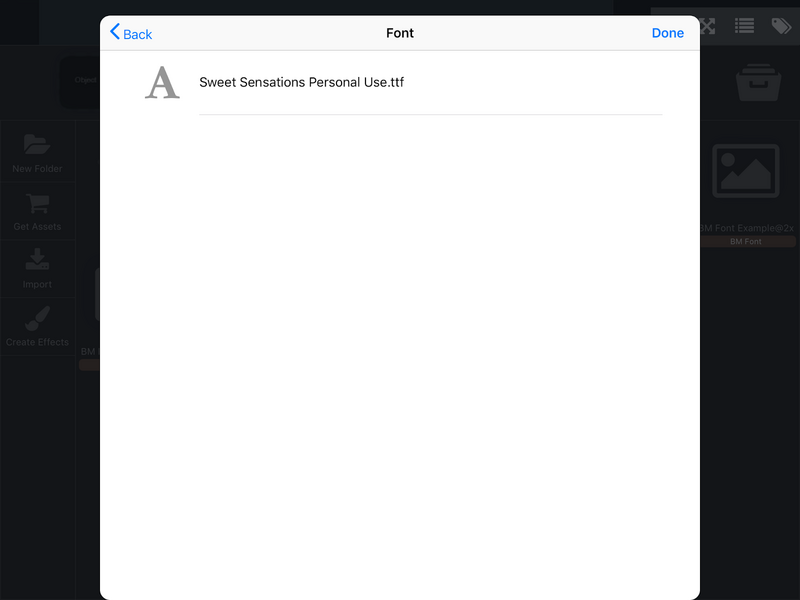
Importing a font from Dropbox or the Files app works like other assets. Go to where the font is saved and select it.
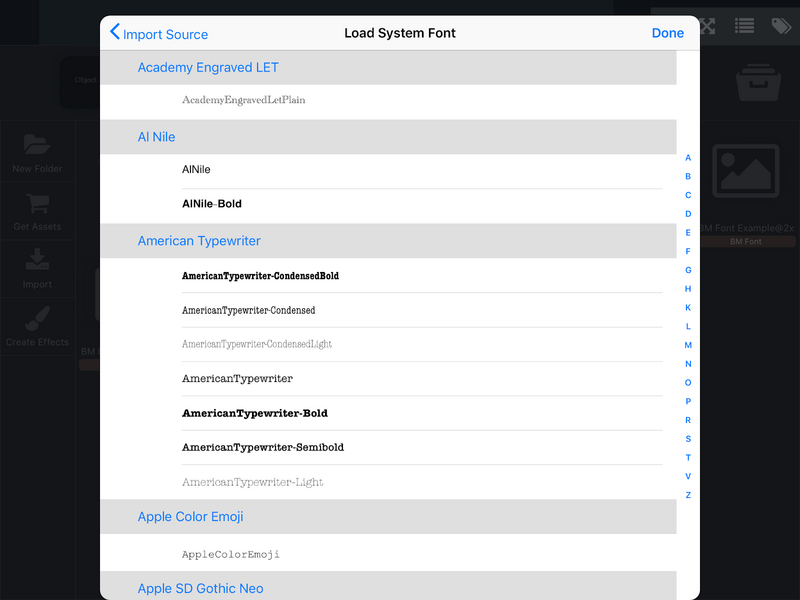
hyperPad can also use the system fonts that come with iOS on your iPad. To import one, select System Fonts as the import source.
You'll see a long list of fonts, each with a small preview. If you have a specific font in mind, jump to it by tapping a letter on the right. When you find a font you like, tap it, then tap Done.
Importing From Other Apps:
hyperPad can import content from third-party apps. If an app can share files with other apps through the "Open In" dialog, you can import a compatible asset into hyperPad.
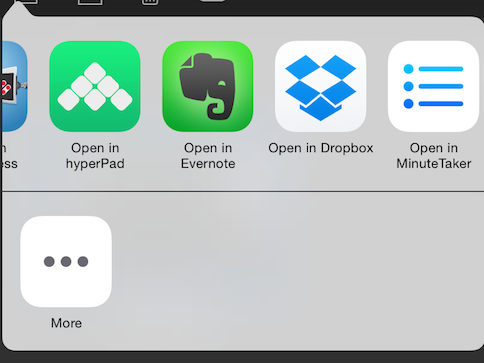
When you send your asset to hyperPad, you'll be asked which project to import it into.
Once the import succeeds, you'll find your asset in the Asset Library!
From Assets to Complete Games
Once your assets are in, connect Behaviors to add logic and interactivity. Test instantly, tweak your gameplay, and keep refining until it feels right. You can make platformers, puzzles, RPGs, simulations, or interactive art in your own style. When you're ready, publish your game to the hyperPad Hub, or export it to the App Store with hyperPad (the paid app).
That was a long one. Try it out, and tag us on your favorite social network with your demo. We'd love to see what you make. Have fun creating with hyperPad.
hyperPad is a one-time USD $14.99 purchase with lifetime access to game and app creation, and you keep 100% of your revenue. Turn your Procreate designs or digital art into interactive comics, games, and more. Start your game dev journey with hyperPad today and bring your ideas to life!