How to Design a Rhythm Platformer Level on iPad

Reviewed October 8, 2026. Geometry Dash details refer to the current App Store listing and Steam listing. This article uses the game as a design reference. Build original art, audio, levels, and branding for your own Project.
A good rhythm platformer makes one input feel important. The player reads an obstacle, commits to a jump, hears the beat, and immediately understands the result. You can study that loop in Geometry Dash, then build an original version on iPad with hyperPad's physics, Attributes, and visual Behaviors.
This guide is a design blueprint, not a claim that the Project has been reproduced and tuned in the current app. Use the test checklist below to find the timing that works for your game.
What to study in a rhythm platformer
RobTop describes Geometry Dash as a rhythm-based action platformer with one-touch play, unique soundtracks, practice, and a level editor. Those features point to four useful design questions:
- Can the player understand the input immediately?
- Can they read the next obstacle before reaching it?
- Does the audio support the level's timing?
- Does failure teach them what to try next?
The lesson is not to copy a Geometry Dash level. It is to design a clear relationship between input, movement, obstacle spacing, sound, and feedback.
Build one original jump loop
Start with one Scene and four Objects:
- a dynamic player Object
- a ground Object
- one obstacle
- a restart button in the Scene UI
Add a number Attribute named canJump to the player. Use 1 when the player is on the ground and 0 while airborne.
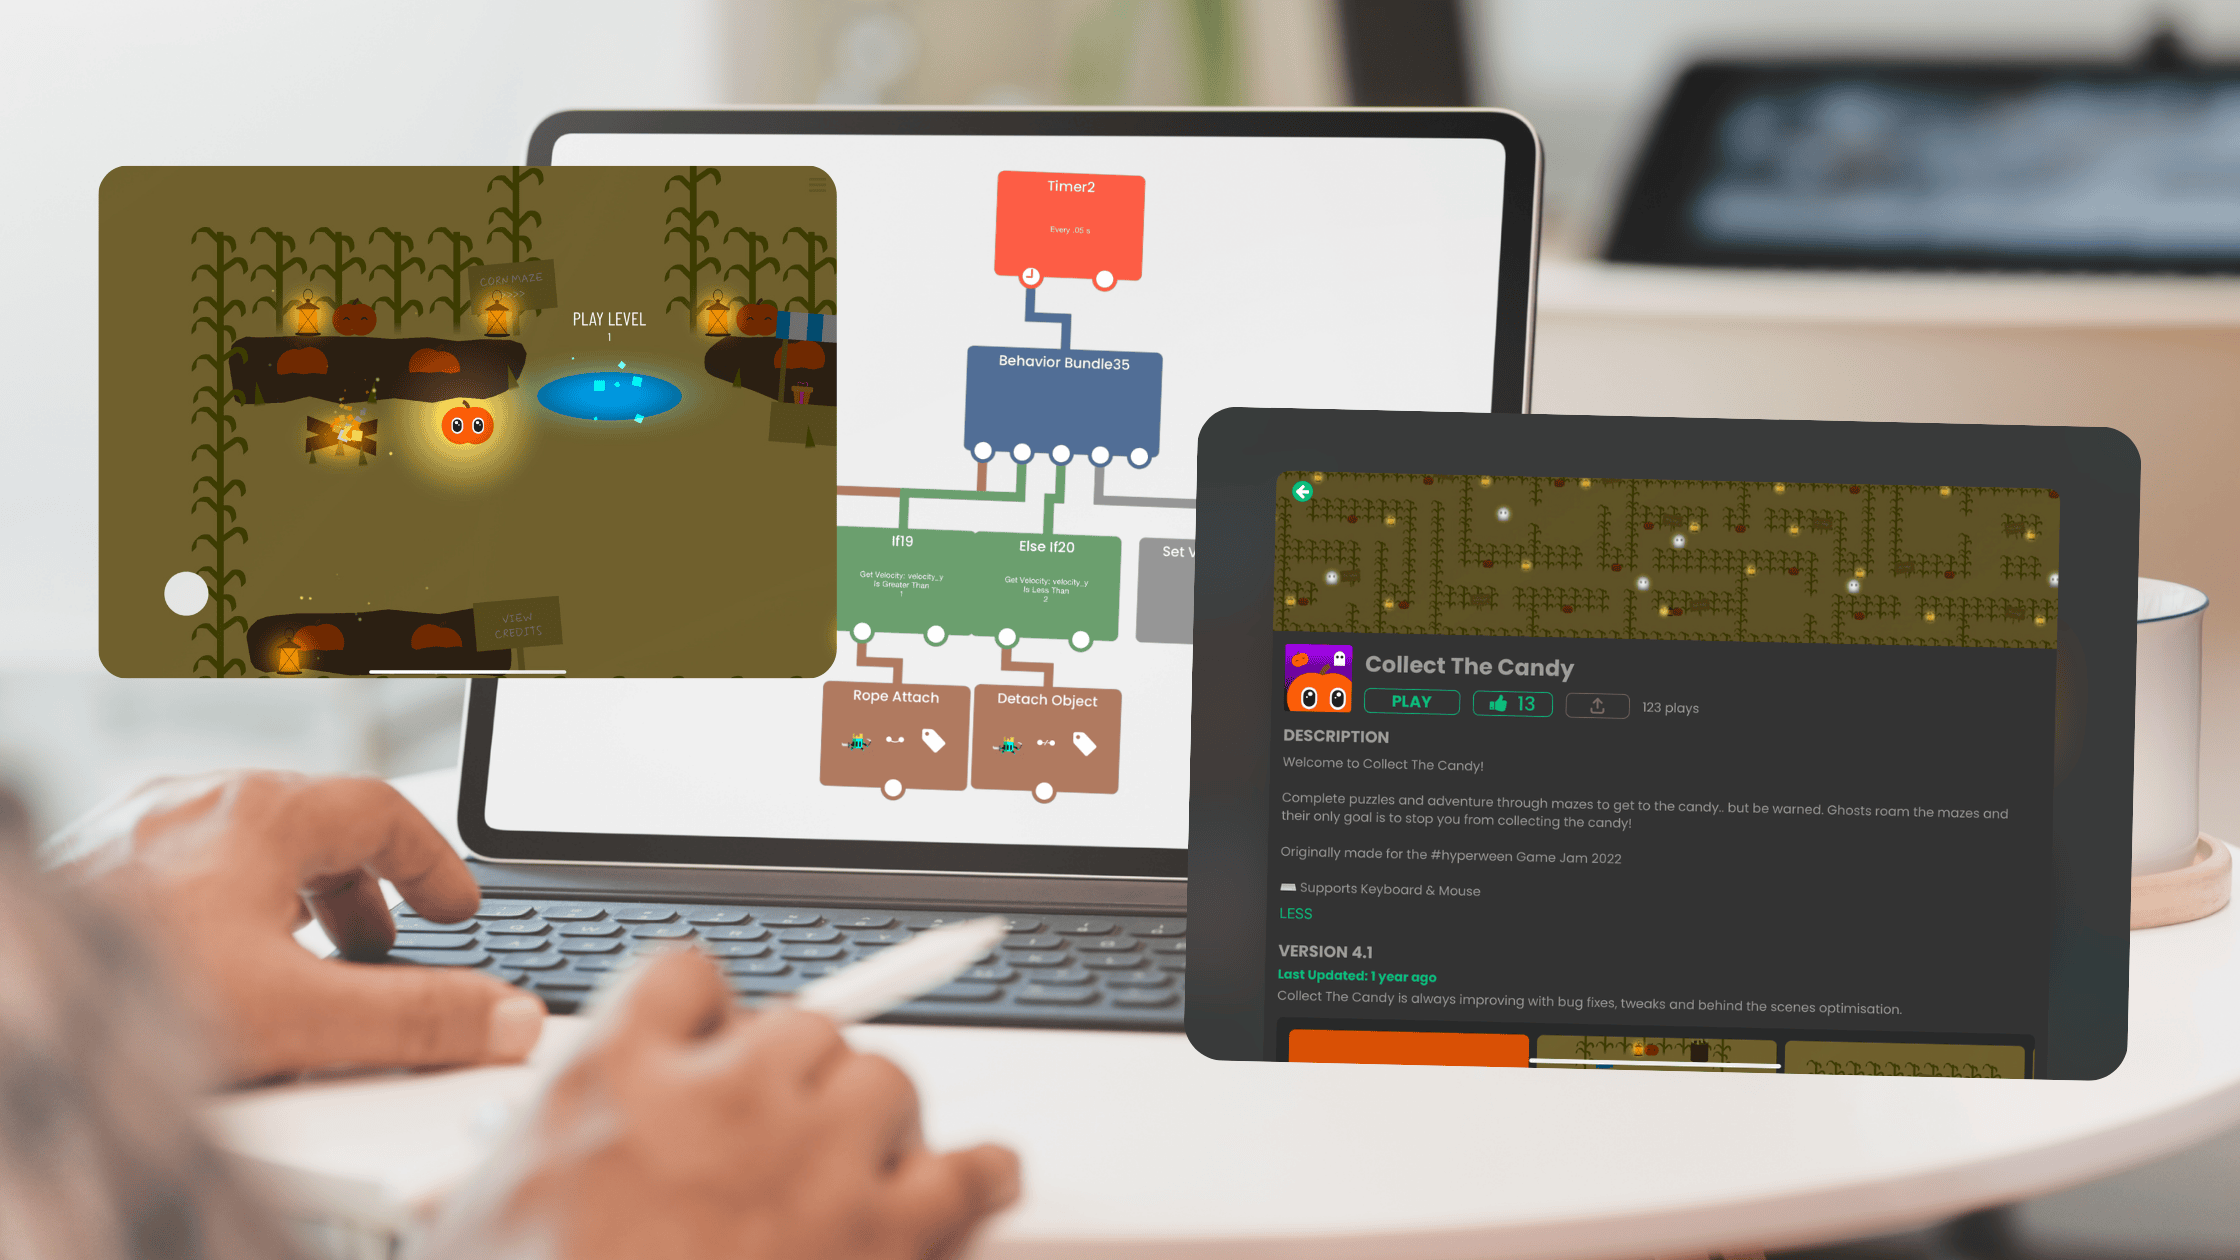
The first Behavior chain can be:
- Started Touching listens for the player's tap.
- An If checks whether
canJumpequals1. - Set Attribute changes
canJumpto0. - Set Velocity gives the player upward movement.
- Play Sound plays a short jump cue.
This is real programming logic expressed visually: an input event starts the flow, a condition checks state, an action changes that state, and physics changes the Object.
Restore the jump after landing
Add a Collision Event for the player and ground. When the landing collision begins, set canJump back to 1.
Test this before adding more obstacles:
- tapping on the ground produces one jump
- tapping repeatedly in the air does not create extra jumps
- landing restores the next jump
- the player does not snag on the obstacle or ground edge
If the controls feel unclear, fix this loop first. A longer level will magnify a weak jump.
Design obstacle rhythm
Obstacle spacing determines when the player must act. Treat each gap as a timing decision.
Begin with three obstacles:
- one comfortable jump
- one jump that requires a later tap
- one pair that tests recovery after landing
Run the Scene and record where you tap. If an obstacle surprises you before it becomes readable, move it farther away or simplify the surrounding art. If every jump has the same timing, change the spacing rather than adding visual clutter.
A Timer can drive repeated systems, but use it deliberately. The documentation warns against running too many zero-second timers because they can affect Scene performance.
Connect sound to gameplay
Music does not make a level rhythmic by itself. The player's actions and the level's visual events need a consistent relationship with what they hear.
Use short sounds for actions that require immediate confirmation:
- jump
- landing
- collectable pickup
- checkpoint
- failure
- restart
Keep the music and sound effects on separate channels in your planning so you can tune their balance. For an original level, use audio you created or have permission to use.
Make failure useful
When the player hits an obstacle, connect the Collision Event to a short response:
- stop or disable player input
- play a failure sound
- trigger Shake Screen with restrained values
- show the restart button
- reset the Scene when the player chooses to try again
The goal is clarity. The player should know what happened and how to restart without searching through the UI.
Add visual feedback with purpose
A rhythm platformer can feel responsive without covering the screen in effects. Add polish after the controls and obstacle timing work.
Useful options in hyperPad include:
- animation for takeoff and landing
- particles for a collectable or checkpoint
- a small camera or screen response on failure
- a Label that shows attempts or progress
- a color change when the player reaches a new section
Test each effect while the game is moving. Remove anything that hides the next obstacle or makes the input harder to read.
A practical test checklist
Play the level ten times and note the result of each run.
- Did every touch produce the expected action?
- Could you see each obstacle early enough to decide?
- Did the landing state reset reliably?
- Did the sound confirm actions without masking the music?
- Did failure explain itself?
- Could you restart immediately?
- Did visual effects preserve obstacle readability?
Change one variable at a time. Adjust jump velocity, obstacle spacing, or feedback separately so you can tell which change helped.
Grow the Project after the first loop works
Once the three-obstacle test feels consistent, expand the Project with:
- a second Scene with a different timing pattern
- collectables that reward a harder route
- an attempt counter stored in an Attribute
- checkpoints for a longer level
- a menu and level-select overlay
- original animation, music, and environmental art
Share the playable Project through the hyperPad Hub when you are ready for feedback. Paid hyperPad also provides Xcode Export for the Apple release workflow, with final signing and App Store submission completed using Apple's required Mac and developer tools.