Creating Your First Game on iPad | Part 1 & 2

This guide walks you through creating a simple platformer with premade content, so you can find your way around the interface.
Part 1: Creating a New Project
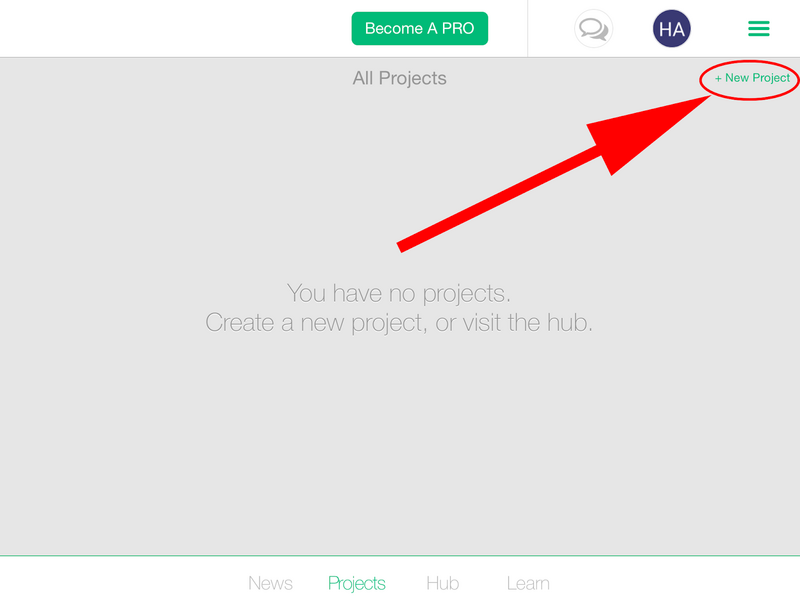
To create a new hyperPad project, go to the Home Screen and tap "+ New Project".
The Create New Project wizard pops up. It asks you to enter a project name, lets you turn on Automatic Cloud Backups, and offers to start you off with a sample project.
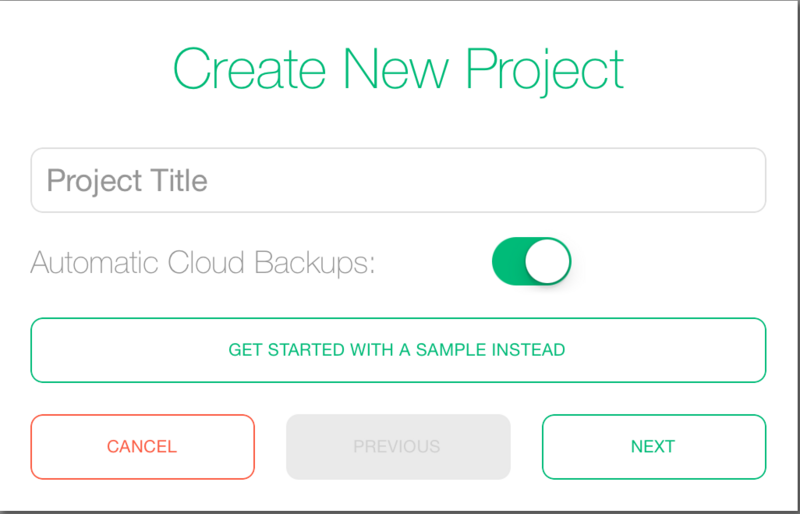
Tap Next to set up your target orientation and device support.
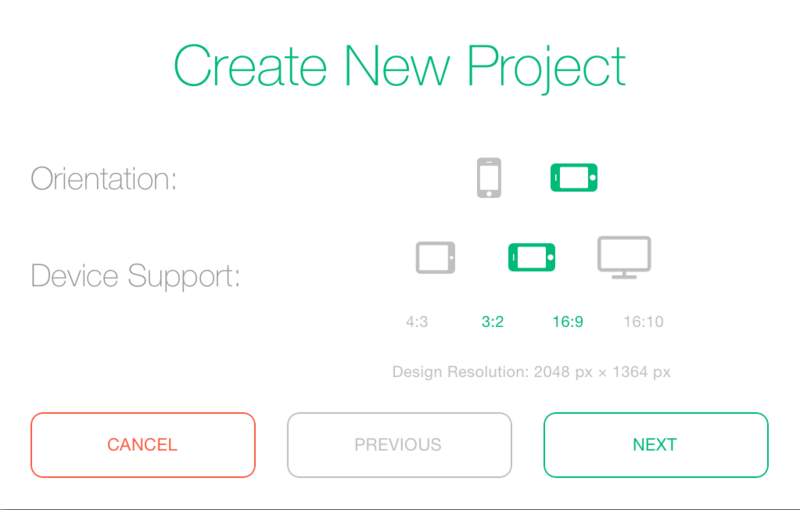
By default, landscape orientation is selected, with 4:3 device support.
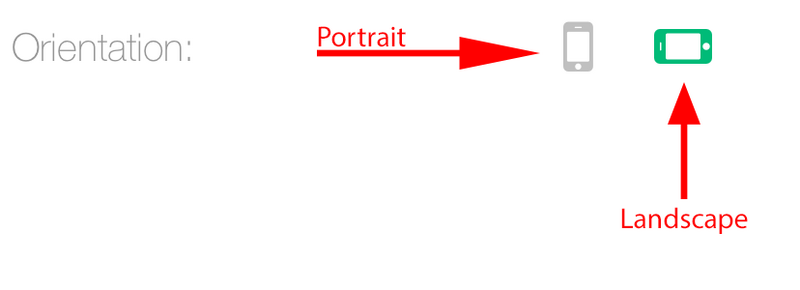
Orientation
The vertical device icon represents Portrait orientation, and the horizontal device icon represents Landscape.
Device Support
Each icon in Device Support toggles the aspect ratios your project supports. For example, selecting only the iPhone icon selects the 3:2 and 16:9 aspect ratios.
The Design Resolution is the size you should design your assets at. For example, if you want a game background that isn't distorted, make it 2048 x 1364 px in iPhone mode.
If you toggle all the devices, the design resolution becomes the largest width and height that fits every device aspect ratio.
The chart below shows the different device settings.
Aspect Ratios
Icon
Devices
Design Resolution
4:3

iPad, iPad Pro
2048 px x 1536 px
16:9

iPhone 5, iPhone 5S, iPhone 6, iPhone 6 Plus, iPhone 6S, iPhone 6S Plus, iPod 5th generation, iPod 6th generation
2048 px x 1158 px
3:2
iPhone 3GS, iPhone 4, iPhone 4S, iPod 4th generation
2046 px x 1364 px
16:10

Desktop computers
2048 px x 1280 px
The next and final page sets up the global physics settings for your project.
Physics Settings
Birds Eye View and Side View change how your project's physics work, and they adjust certain Behaviors like Joystick Controlled. This setting affects every Scene in your project.

Birds Eye View: This option turns off gravity by default. If you still need gravity, use the Set Gravity Behavior to apply it to specific Objects. You'd typically choose this option for UI-based projects, top-down shooters, RPGs, and puzzle games.
Side View: Choose Side View for projects that rely on gravity. It's common for platform games like Mario, endless runners like Flappy Bird or Jetpack Joyride, and physics puzzle games like Angry Birds.
Gravity: This is the gravity for your project. You can set it in both the X and Y directions. The world gravity fields are disabled if you select the Birds Eye View physics mode.
PTM Ratio: This is how many points there are per meter (1 point is 1 px on non-retina devices and 2 px on retina devices).
The PTM ratio sets the scale for positioning, motion, physics, and grid snapping. For example, if your PTM ratio is 32 and you position your Object at (5 m, 5 m), that's the same as placing it at (160 pt, 160 pt) in your world.
By default, there are 32 points per meter. The default works for most situations. If you import Graphics whose sizes aren't powers of two and you want the grid to snap to your image resolution, change the PTM ratio to suit your needs.
Finally, tap Create to launch the project editor!
Part 2: Your New Project
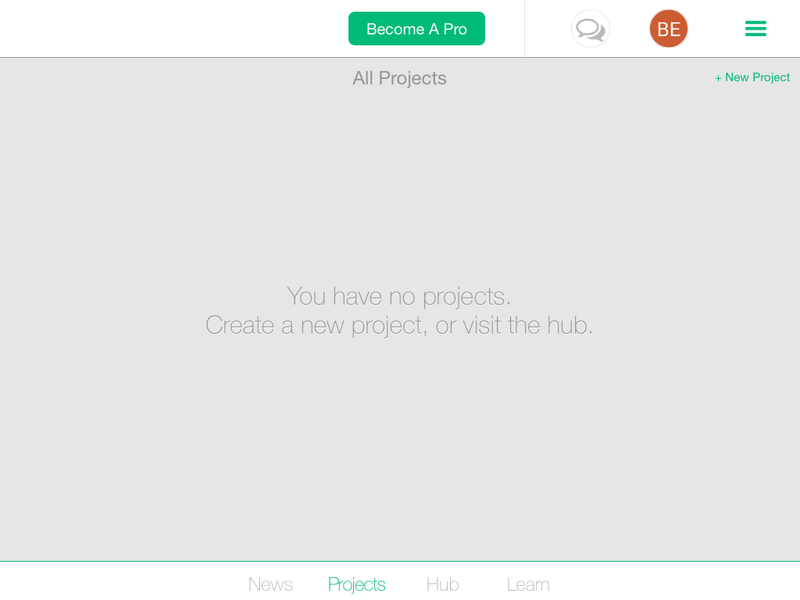
To get started, first create a new project. From the Projects tab on the Home Screen, tap + New Project in the top right corner.
You'll be asked to enter a name for your project. Project names must be unique, so you can't have 2 projects with the same name. Use only standard alphabetical characters.
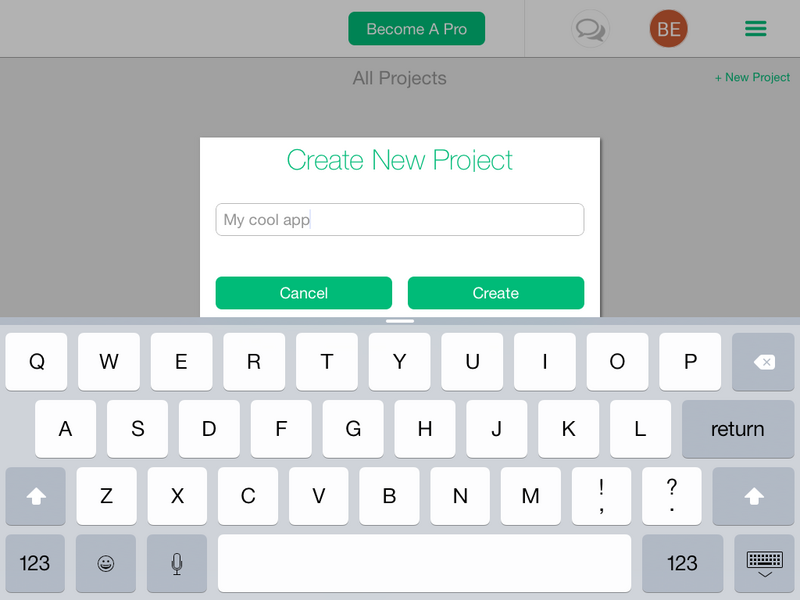
Once you've entered a name, tap "Create" to set up your project and launch the editor. During this step, the new project is tied to your account, and its information is sent to our server for validation.
Note: Projects are stored locally on your device. If you delete a project, or your iPad is lost or damaged, you can't recover the project unless you've turned on Automatic Cloud Backups.
Now that you've created your project, it's time to import your assets and put your first game together.
This guide uses free assets from the hyperPad Asset Shop. You can also use your own Graphics if you like. See the "Importing Assets" tutorial to learn how to import custom assets.
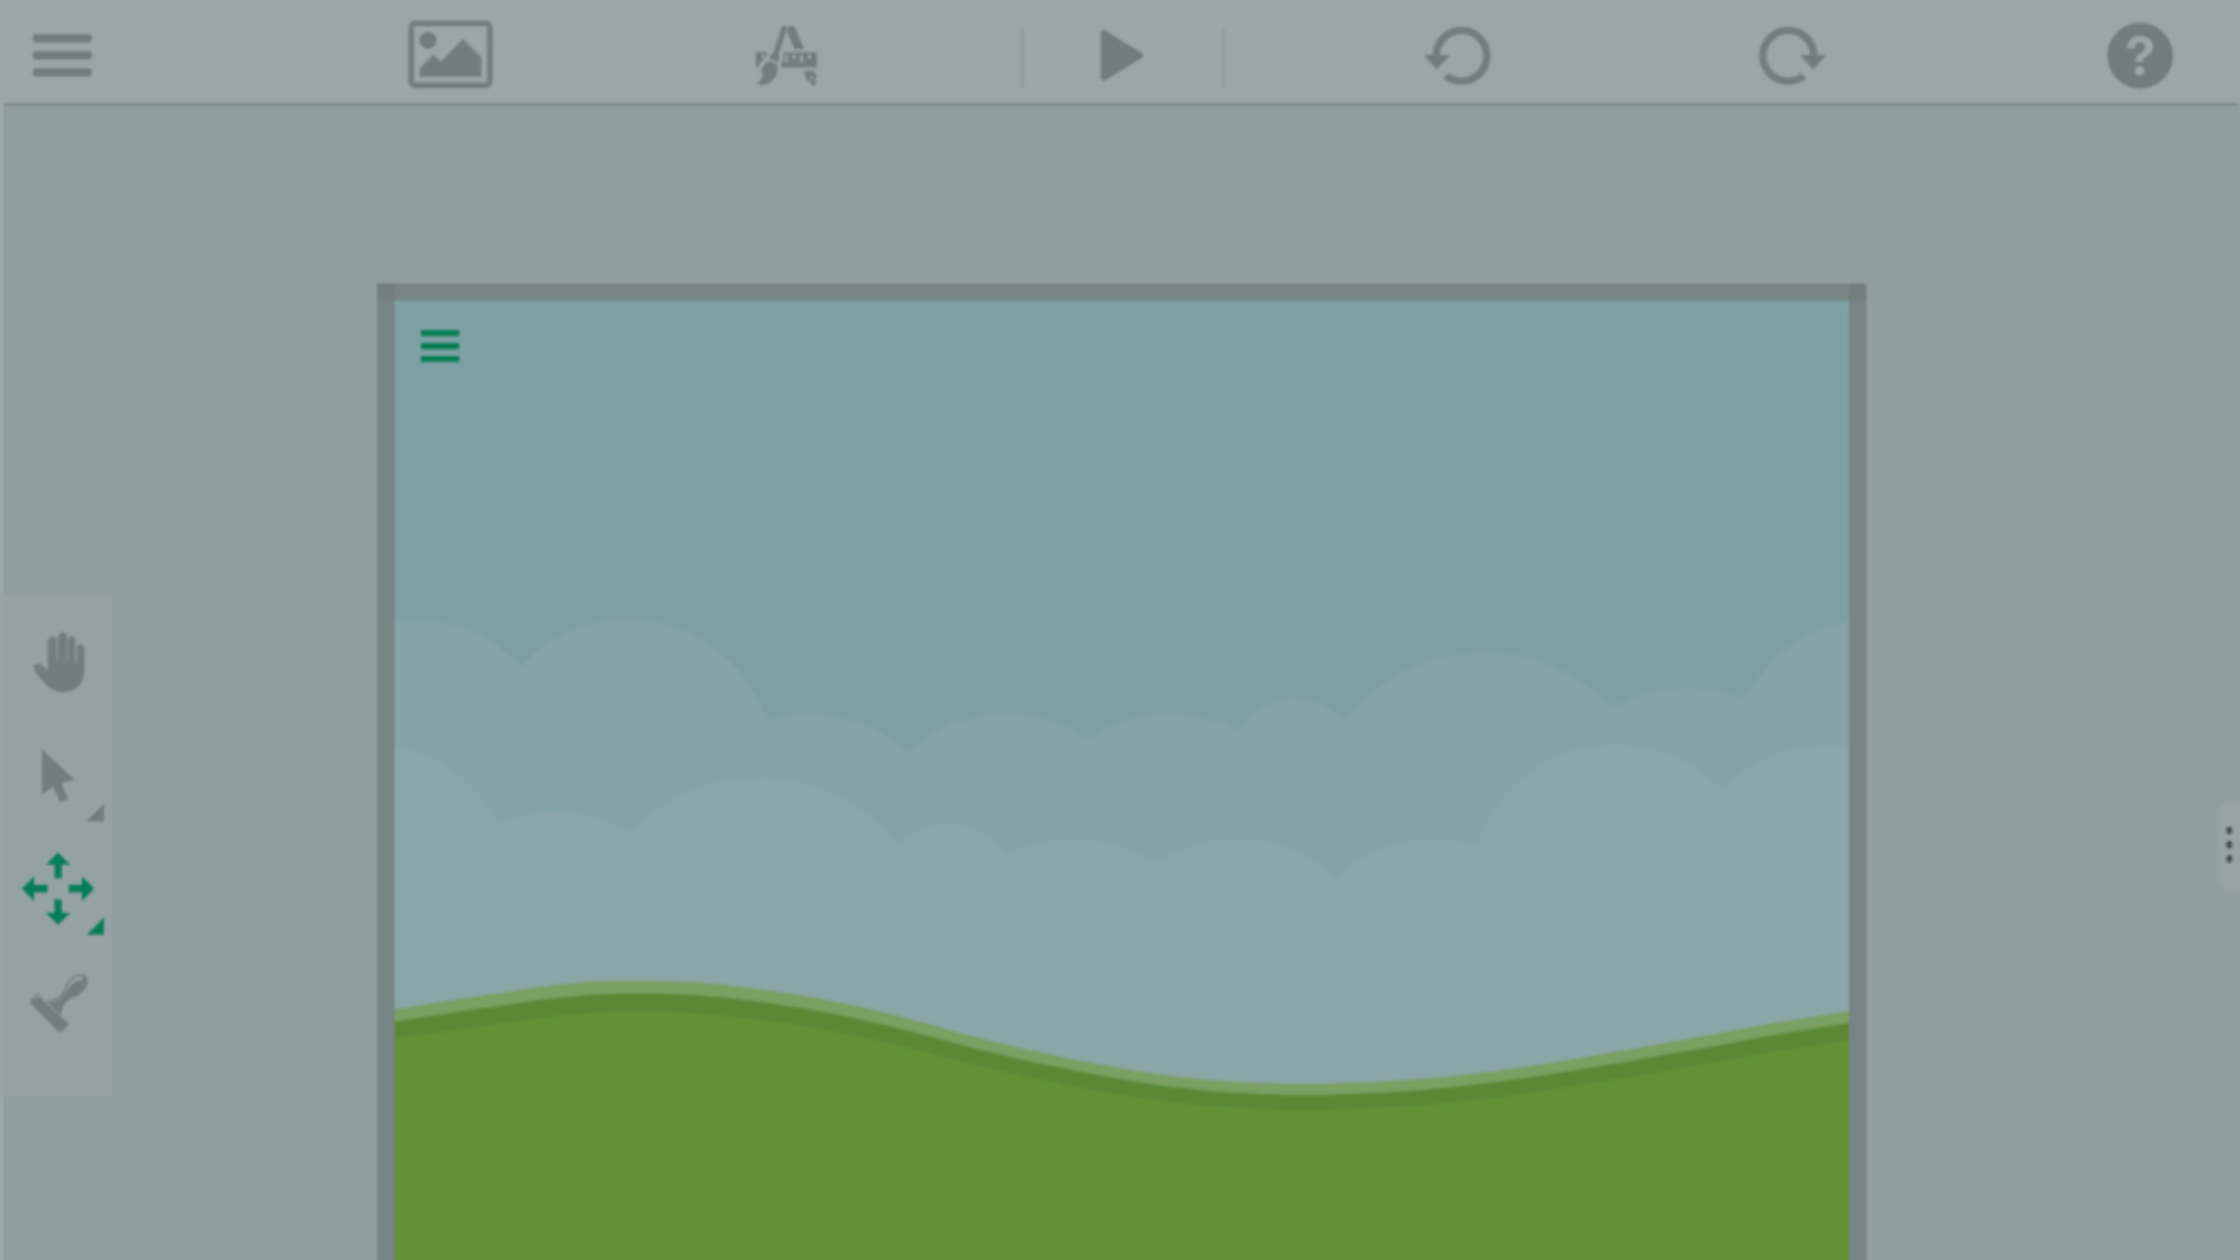
When the editor launches, you'll see a gray area in the middle of the screen. This is the Canvas. The gray box outline marks the visible area. Anything inside the box is visible when you run your game.
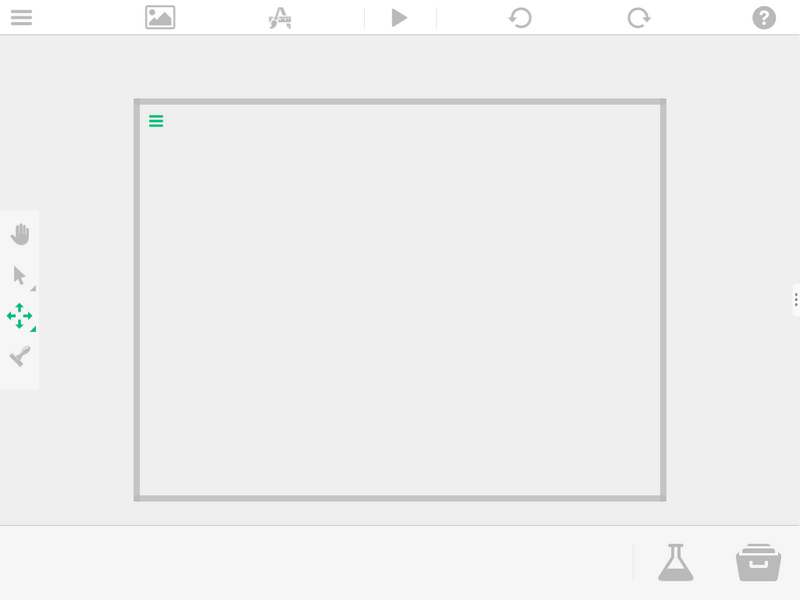
Along the bottom of the editor is the Object Dock. Once you start adding assets to your project, the dock fills with your most recently used assets. To learn more, read the Object Dock help documentation.

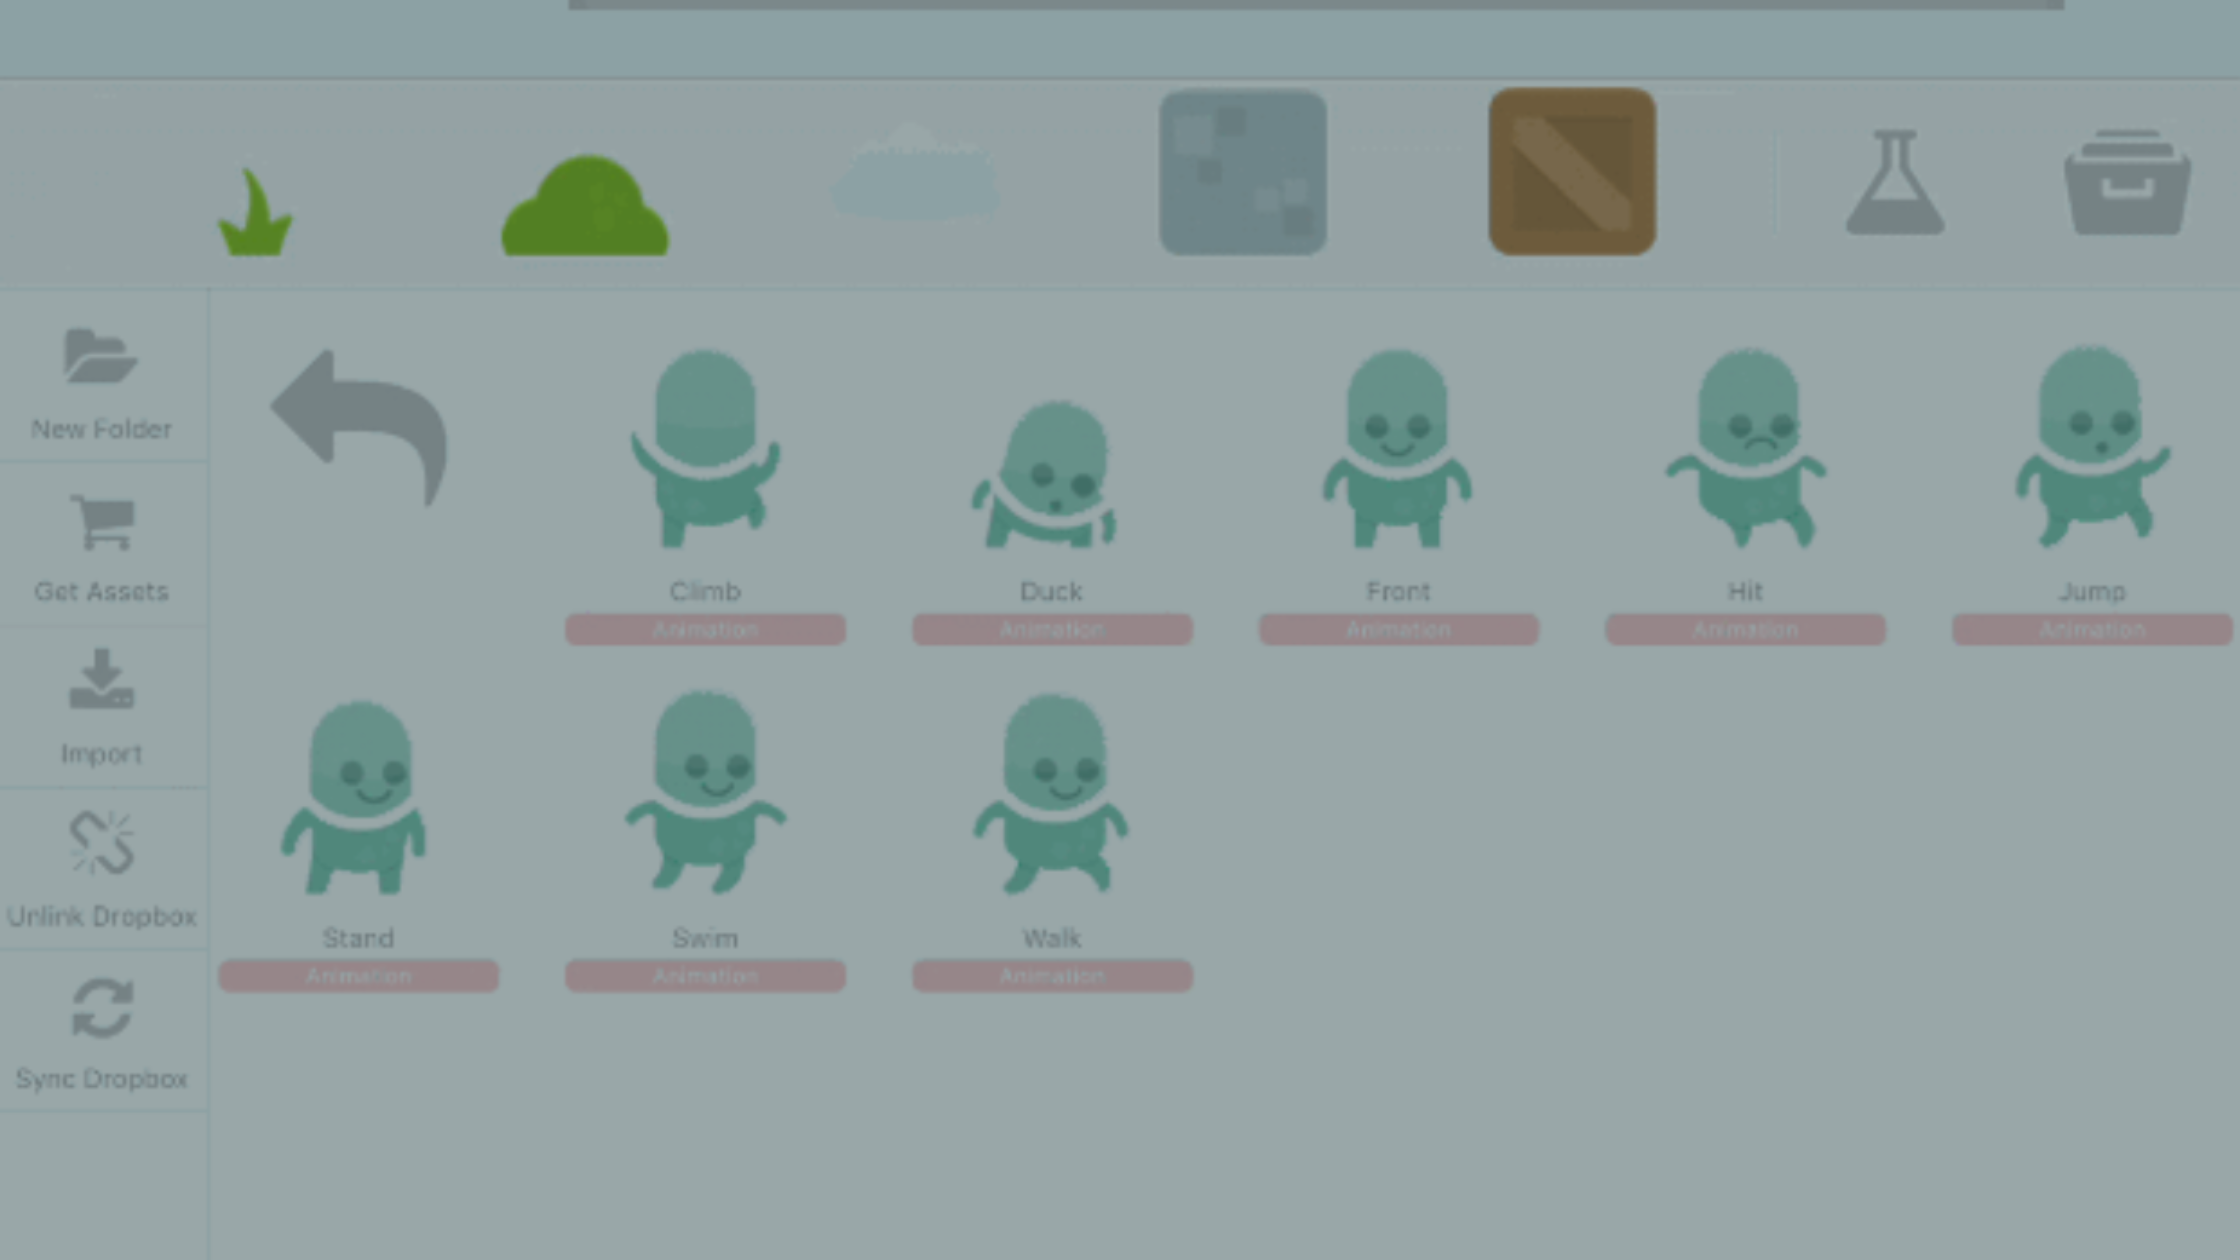
Tap the Drawer icon on the far right to open the Asset Library. Some folders are already there to help you organize your content. Most of them start out empty.

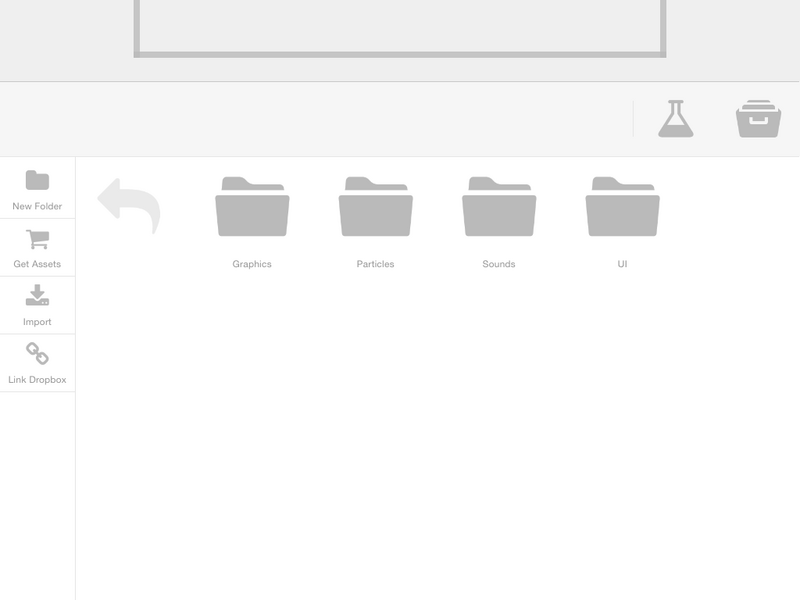
On the left side of the Asset Library, you'll see options to import and manage assets. For this guide, you'll add assets from the hyperPad Asset Shop. To open the Asset Shop, tap the shopping cart icon labeled "Get Assets".
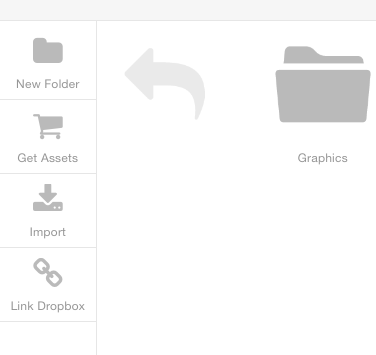
Find the assets you need. This guide uses the "Platformer Starter Kit", which includes everything you need to start your game.
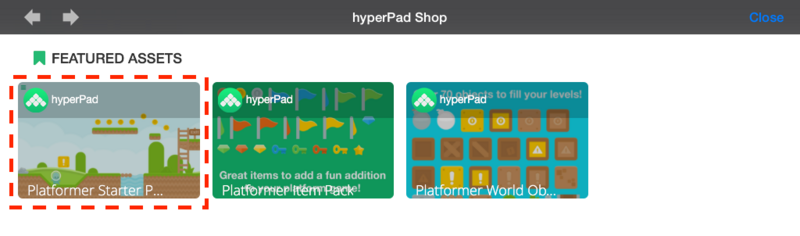
To download an asset from the shop, tap it. You'll go to its Asset Page, where you can see screenshots and a detailed description.
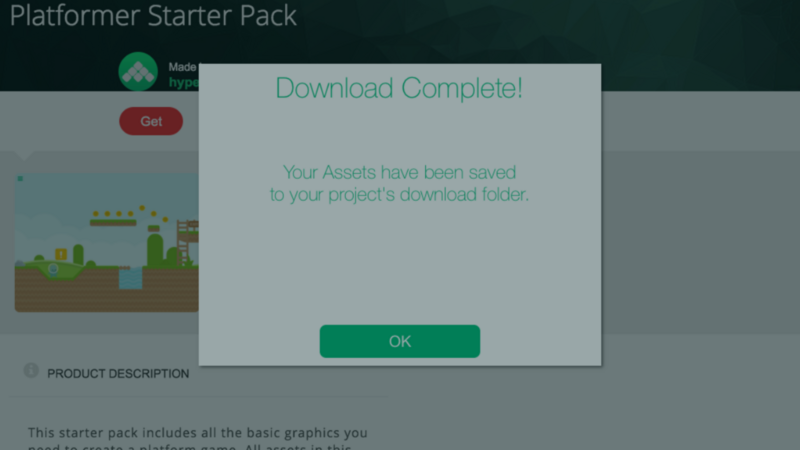
On the Asset Page, tap "Get" to start the download.
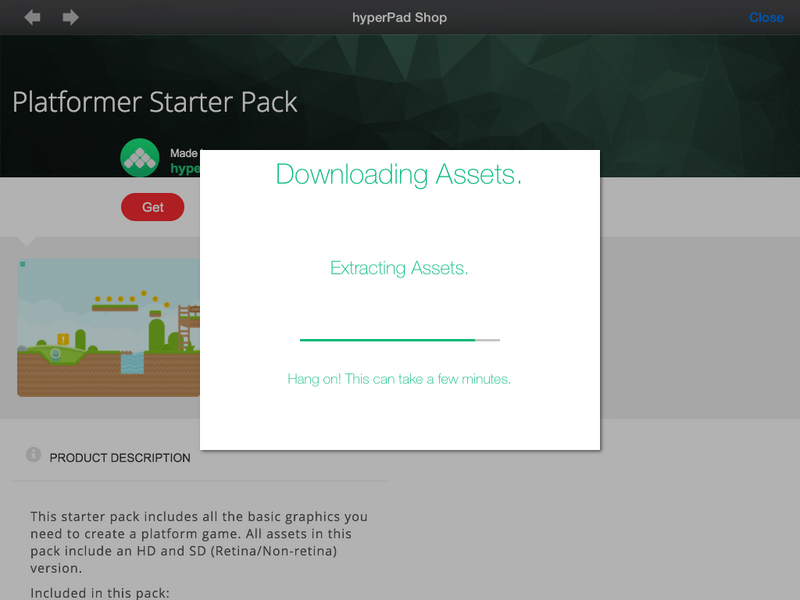
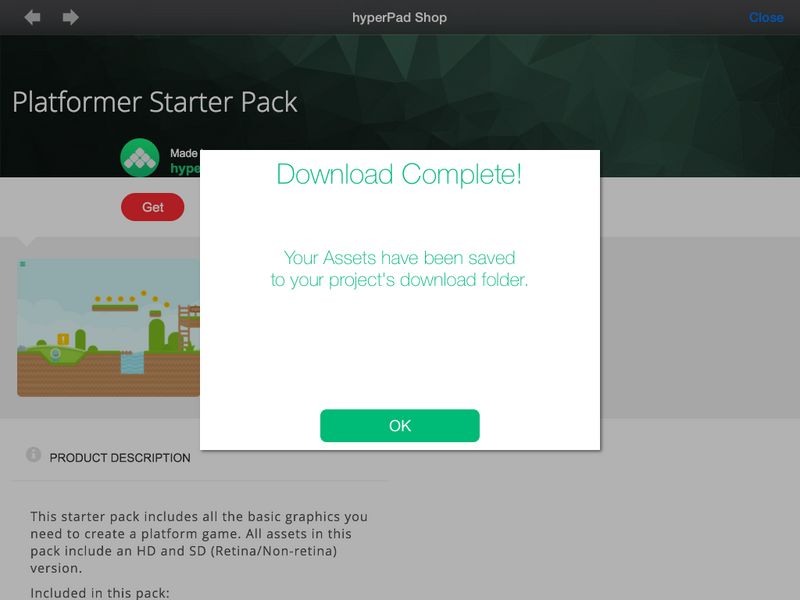
When the download finishes, your new assets are in a "Downloads" folder in your Asset Library. To organize them, press and hold an asset and choose "Move To Folder" from the popup.
That's it for this tutorial!
You've now created your first hyperPad project. You went through the creation wizard and set up its orientation, device support, and physics settings. With the editor open, you're ready to import assets and start building your own game.
In Part 3, you'll use these assets to build your first level.
Try hyperPad Starter free with one project. When you want more projects and App Store export, upgrade to hyperPad for a one-time USD $14.99. Turn your Procreate drawings or other digital art into interactive comics, games, and more, then export them to the Apple App Store from your iPad. You keep 100% of your revenue. Start your game dev journey with hyperPad today.