

Smart Shape Object
Unpublished draft — this feature is not available in the live release yet.
Control close-ups below are cropped from the actual feature build in dark mode. They illustrate the UI; default selections may differ from the walkthrough values.
A Smart Shape is an object whose outline and artwork you can edit separately. Draw the ground, platform, island, or road you need, then choose the graphics that repeat along its edges and inside it. You can make a platform longer without drawing a longer image yourself.
This guide starts in the scene editor. To create shapes while a game is running, read Generate Smart Shape. To change an existing shape during play, read Modify Smart Shape.
Three things to understand first
Shape means the outline: where your ground, island, or road goes. Graphics are the images drawn on that shape. Collision is the invisible boundary that other physical objects touch. These three settings work together, but changing one does not always change the others. For example, clearing a graphic does not automatically remove its collision.
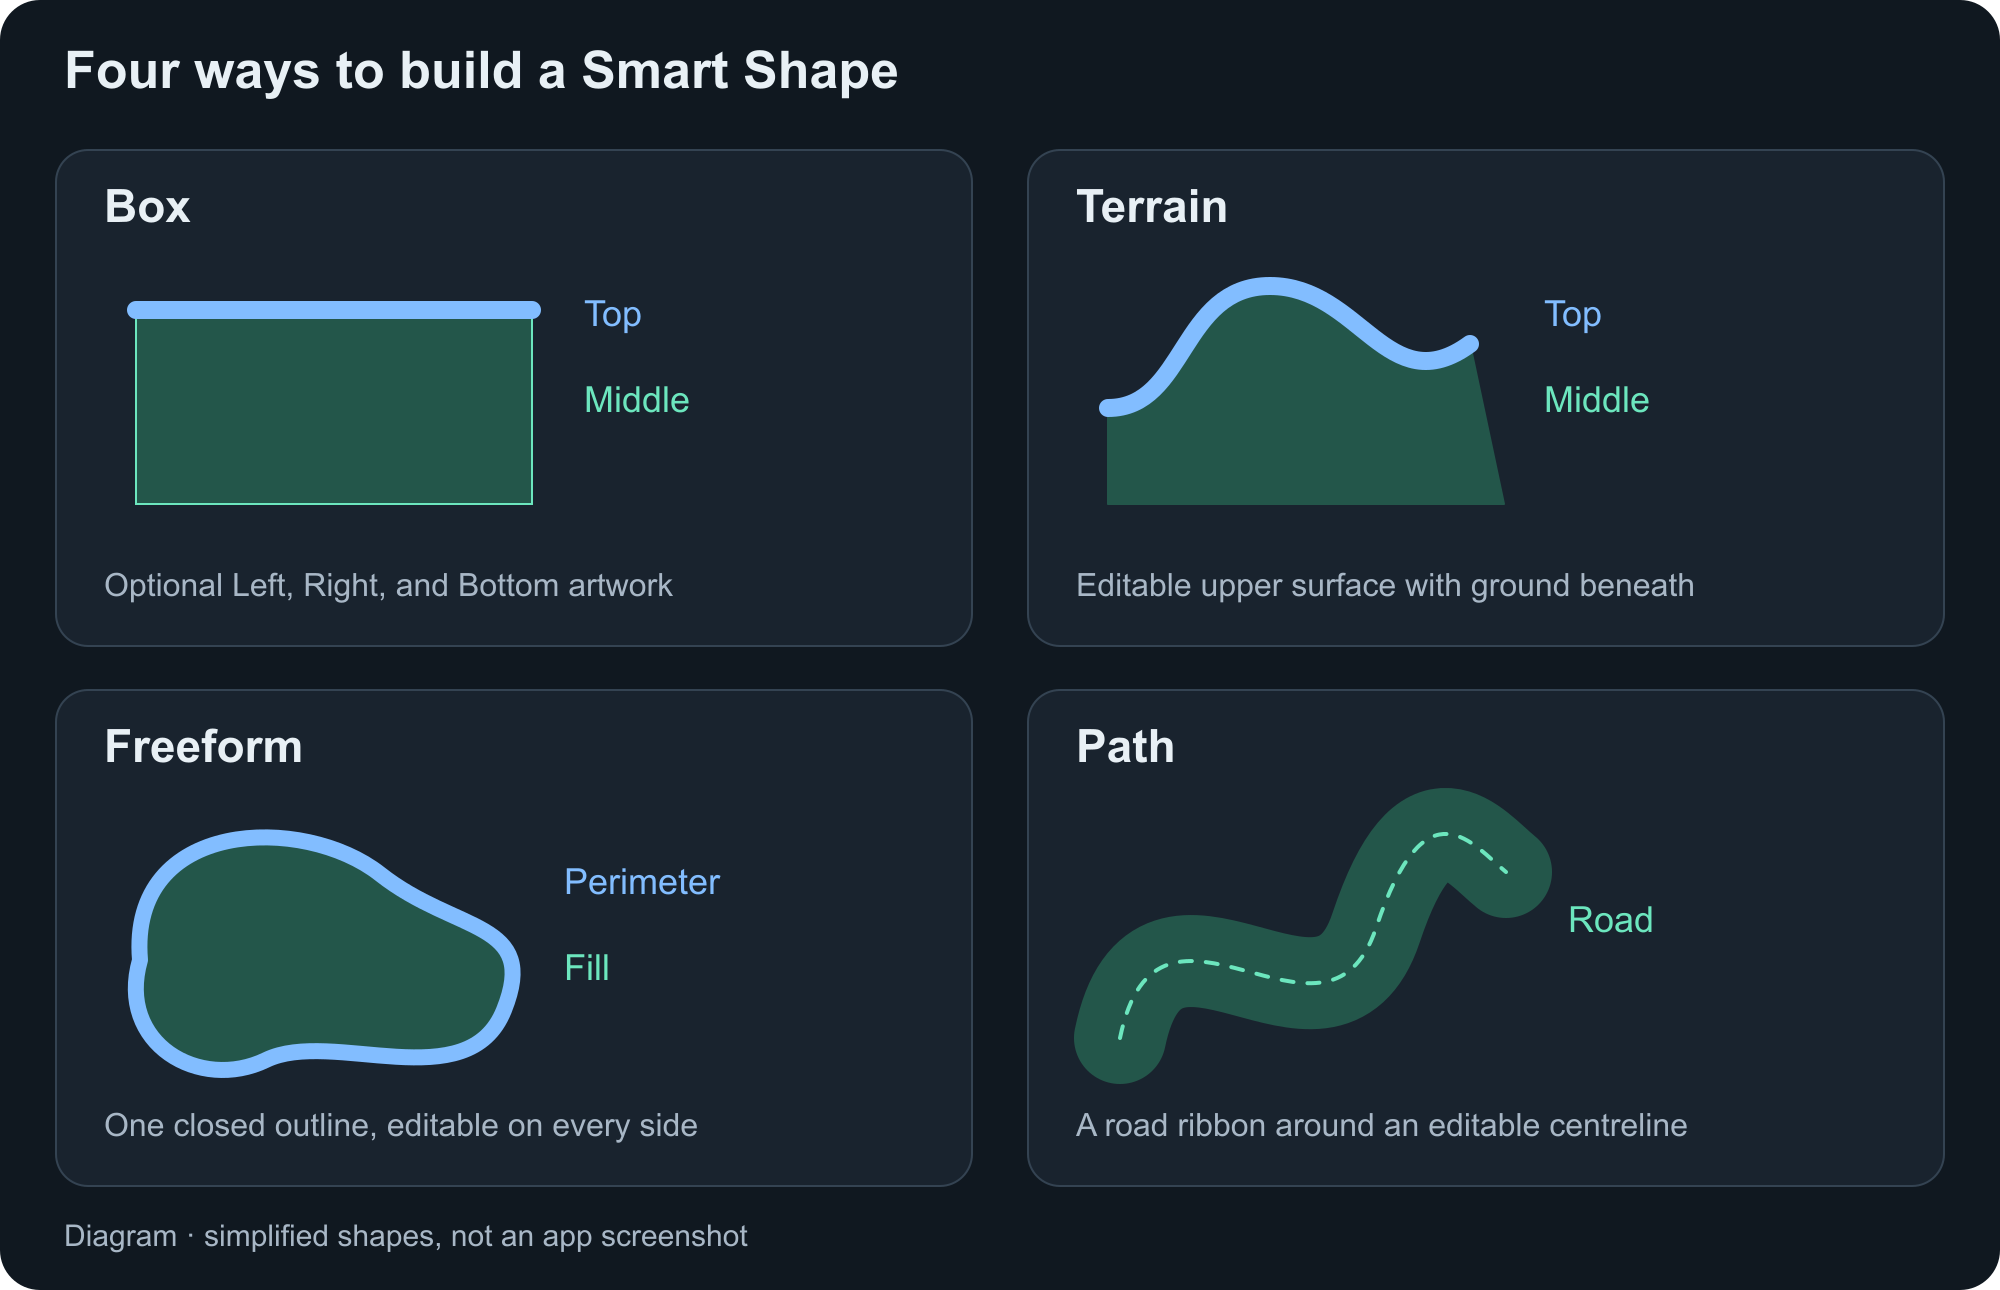
Choose the right shape type
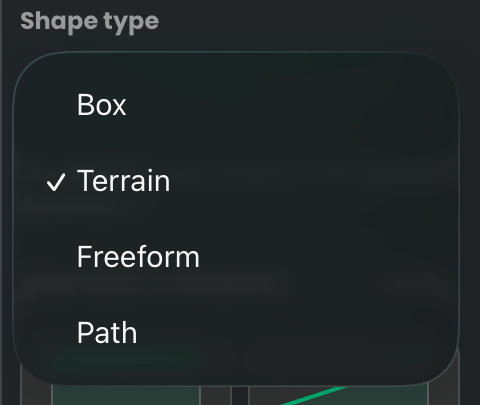
Open Shape type in Properties to choose the outline you want to edit.
| Type | Good for | How it is built | Graphic slots |
|---|---|---|---|
| Box | Platforms, blocks, walls | Width and height; optional rounded ends | Top, Middle, Left, Right, Bottom |
| Terrain | Side-view ground, hills, ramps | An editable upper surface with ground underneath | Top, Middle, Left, Right, Bottom |
| Freeform | Islands, irregular platforms, organic scenery | One closed outline that you can reshape on every side | Perimeter and Fill |
| Path | Roads and tracks | A centreline with a road of fixed width around it | Road |
Box and Terrain use different images for different edge directions. Freeform repeats one Perimeter graphic around the outline. Path uses a single Road graphic along its route; collision walls do not have separate wall-image slots.
See each shape in a game
Think about the part of your level you want to build. These examples show how the same shape tools can suit very different games.
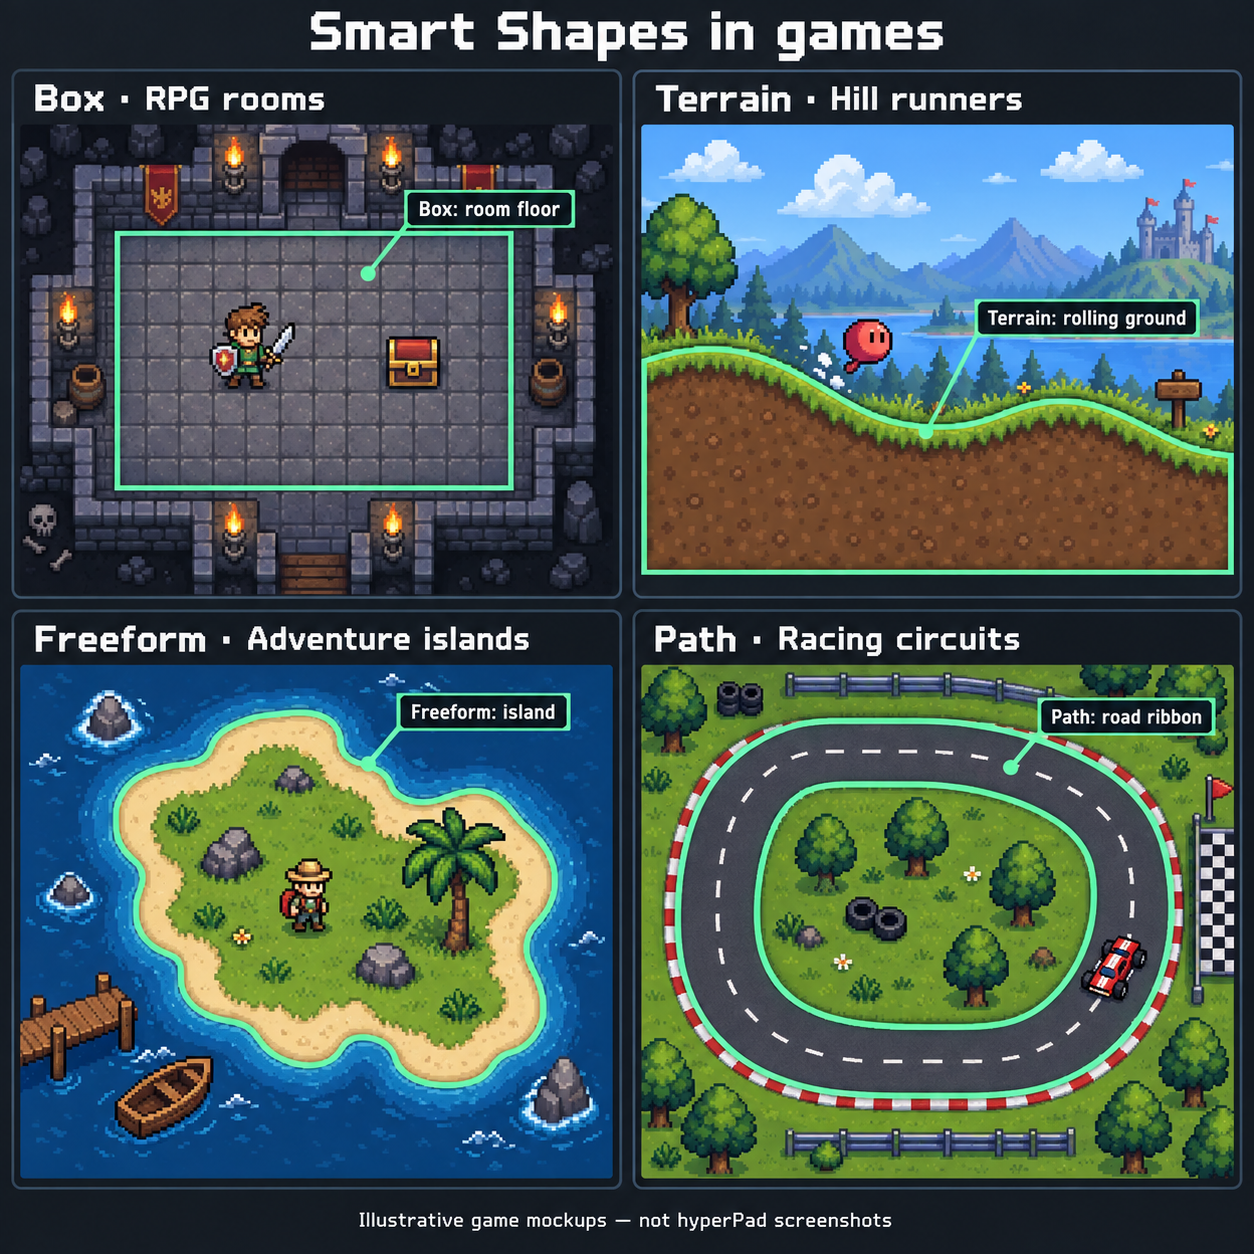
Illustrative game mockups, not hyperPad screenshots. The mint outlines and labels identify the Smart Shape; they are explanatory overlays, not artwork automatically added by hyperPad.
Box — RPG rooms and 2D platformer levels. Imagine a top-down adventure with stone dungeon floors, rectangular gardens, and long castle walls. Use a Box for the room floor shown in the mockup: assign repeating stone artwork, then resize the rectangle to fit the room. Think of the broad tiled areas in a classic RPG map. Each Box is one resizable shape with repeating artwork; combine several Boxes to lay out different areas. The adventurer, chest, and door are separate objects.
Box also works well for a side-view 2D platform game like Super Mario Bros. Use a long Box for the floor, shorter Boxes for raised platforms, and small Boxes for blocks or steps. Resize each Box to set its width and height; its artwork repeats to cover the new area. The player and enemies are separate objects.
Terrain — rolling ground in a hill runner. Imagine a side-view game in the style of Tiny Wings, where a character travels over hills and valleys. Terrain makes the continuous ground beneath the character: the upper curve defines the hills, and the Middle graphic fills the earth below. You can adjust the hills without drawing a new image for every slope. It also suits uneven ground in a side-scrolling platformer.
Freeform — islands in an adventure game. Imagine exploring a small island viewed from above. Use Freeform for its irregular coastline: the Perimeter graphic follows the shore, while Fill covers the grassy interior. Unlike a Box, you can reshape every side to create bays, headlands, and an asymmetric outline. Trees, characters, and collectibles are separate objects placed on the island. The same idea works for an irregular floating platform in a platform game.
Path — roads in a racing game. Imagine a top-down racer with a winding circuit. Use Path for the road ribbon shown in the mockup: bend the centreline to lay out the route and set Road width to control its thickness. The Road graphic repeats along the route. Closing the Path makes a circuit; the grassy infield remains outside the road ribbon. The car is a separate object, with its own driving behaviours.
These examples describe the environment each shape creates. Add the character movement, driving, scoring, and other game rules with separate objects and behaviours.
Make your first platform
- Open a project and enter the scene editor.
- Drag the Special object (the flask icon) from the asset dock onto the scene to open Add Object, then choose Smart Shape.
- Select the new object and open its Properties. Choose Box as the shape type.
- If the starting-template picker appears, select Rectangle and apply it. You can also open Replace outline… later to preview a different starting shape.
- Choose a Top graphic for the upper edge and a Middle graphic for the interior. Use simple static PNG artwork while learning.
- Resize the shape on the canvas. Adjust Tile size if the repeated artwork looks too large or too small.
- In the object's physics settings, choose the appropriate physics mode and enable Collision follows shape if you want collision to update with the outline. A stationary platform normally uses Wall mode.
- Play the scene with a physical test object above the platform. Check both the visible shape and where the test object actually lands.
Give the shape its artwork
For Box and Terrain, Top decorates the upper surface and Middle fills the inside. Open Side and bottom graphics to assign Left, Right, and Bottom. Collapsing those controls does not remove graphics that you already assigned.
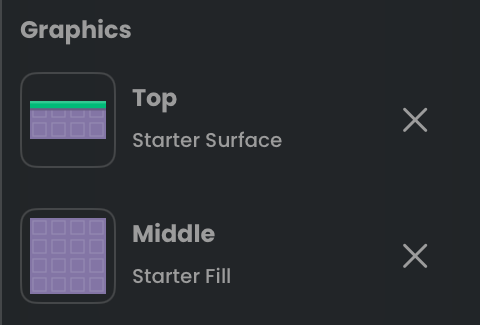
Top supplies the upper edge; Middle supplies the interior. Tap a thumbnail to choose its artwork.
For Freeform, choose Perimeter and Fill. For Path, choose Road. Empty slots do not draw artwork for that role. If a shape looks hollow, check its Middle or Fill slot before changing the outline.
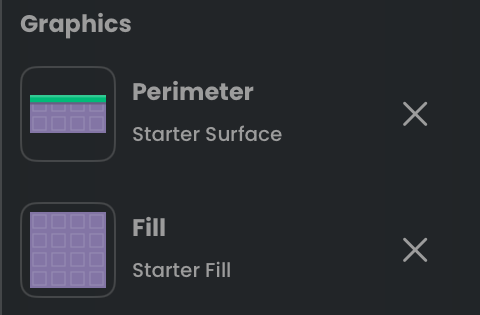
Freeform uses Perimeter around the outline and Fill inside it.
For an empty Left or Right slot, Generate End Cap makes appropriately rotated side artwork from Top. An empty Bottom slot offers Generate from Top. Existing assignments are kept. These buttons create graphic assets; they do not round the outline. Manually choosing the same Top image for a side does not automatically rotate that image.
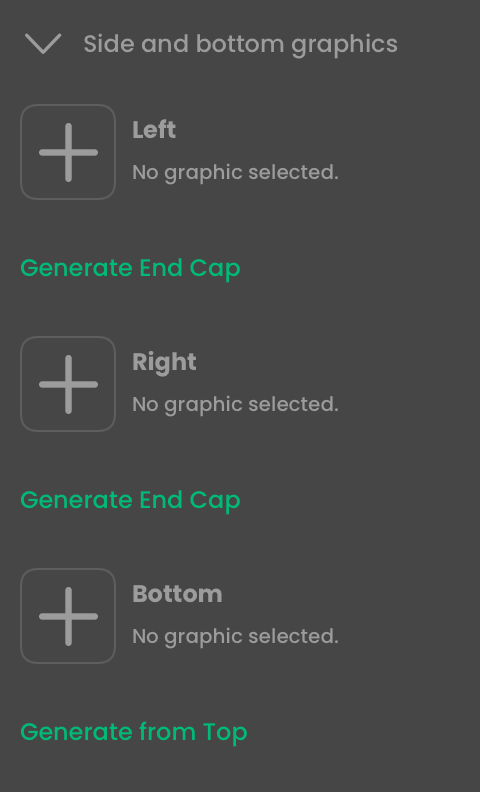
Actual inspector-control capture from the feature’s iPad UI tests, in dark mode. Generate End Cap creates side artwork; it is separate from Rounded end caps below.
Tile size changes the size of repeated images, from 0.25× to 4×. It does not change the shape's width or height. For a Path, the inspector calls this Pattern length: adjust road width separately. Start at 1×; use 0.5× for smaller repetitions or 2× for larger ones.
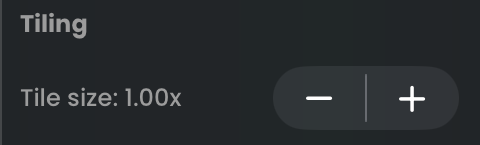
Use Tile size to change the size of artwork repetitions.
Snap scale to tiles helps align scaling with the artwork's tile sizing. Rounded end caps rounds the ends of a Box or open Path. On a Path, solid collision follows the caps, while edge-wall collision leaves the ends open.
Generate a matching fill
If you have a good surface image but no matching interior tile, assign the Top graphic, then choose Generate Fill from Top. Freeform calls this Generate Fill from Perimeter. The editor prepares a fill asset from the source artwork and assigns it to the shape.
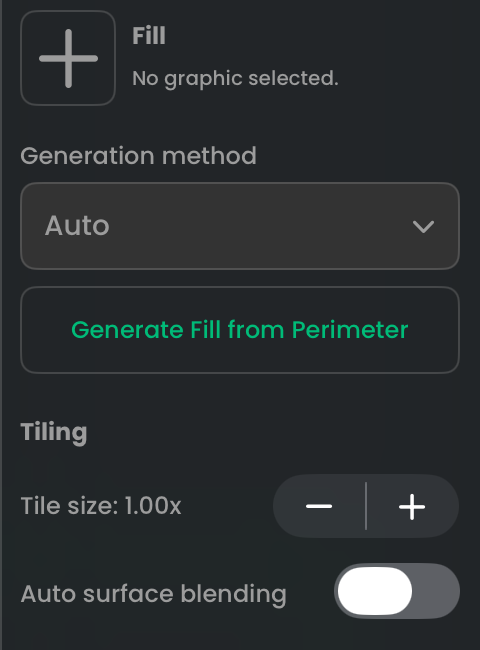
With Perimeter assigned and Fill empty, Freeform offers Generate Fill from Perimeter. Box and Terrain use the corresponding Top artwork.
Use Generation method to choose Auto or Preserve pattern. Start with Auto. Preserve pattern is useful when a recognizable pattern should remain recognizable. Examine the result on the shape; no single source image produces the best result for every outline.
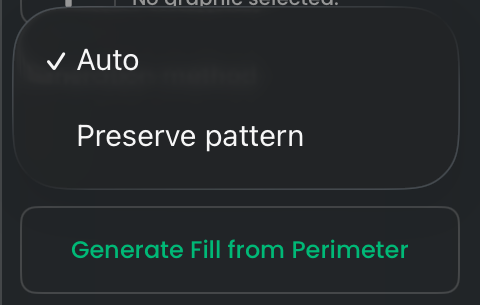
Choose the generation method before creating the fill.
Fill variation changes the generated fill pattern. New fill pattern tries another arrangement, and Restore original fill restores the original fill source. Shading variation changes the repeated artwork's shading; New shading pattern tries a different shading arrangement. These appearance controls are separate from the hill and bend variation used by generation behaviours.
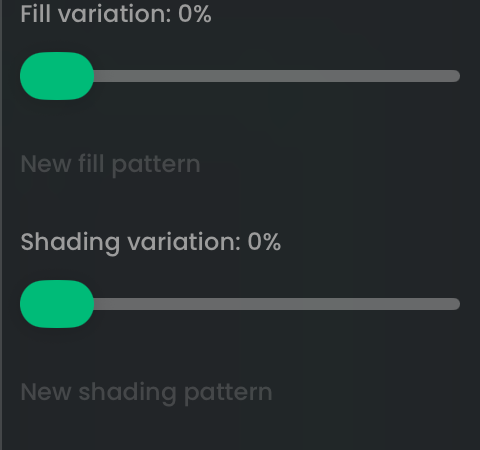
Fill and shading have separate variation sliders. This capture shows both at 0%, with their New pattern buttons disabled.
Blend the surface into the fill
For Terrain and Freeform, Auto surface blending helps the surface or perimeter meet the interior artwork. Assign both Top and Middle, or both Perimeter and Fill. This setting belongs to the selected object.
If Adjust Surface Boundary… appears, open its preview and drag the guide just below the decorative surface. The guide helps identify the irregular edge; it does not cut the artwork straight across or redraw your shape. Green highlights the retained surface and blue shows the fill material. Choose Apply to keep the result, or Cancel to leave the previous setting. Use Automatic Detection removes the manual guide.
Edit the outline
Select the shape in Properties to work with its canvas handles. Box focuses on width and height. Terrain exposes its upper surface and ends. Freeform can be reshaped around its closed boundary. Path edits its centreline while road width controls the space around it.
When you select an editable point, use its point controls to choose Corner, Smooth, or Curve (Free Curve). A corner makes an angular join; smooth points help the curve flow through the point; a free curve lets its handles be adjusted independently. Keep curves broad while learning. Crossing outlines and roads that fold over themselves can be rejected.
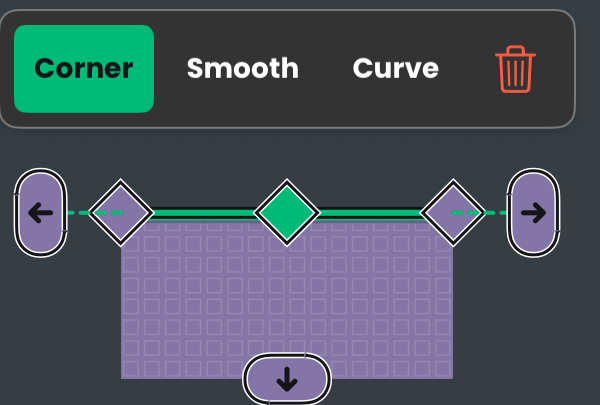
Select a point on the outline to reveal its curve controls. The green diamond marks the selected point.
Use a visible segment + to insert another point. Box uses resize handles instead of editable curve points. Handles follow Snap to Grid when it is enabled; grid snapping takes priority over tile-size snapping. Undo reverses an accepted editing operation.
Replace outline… previews a new starting template. It replaces the outline rather than adding a second shape. Apply only after checking the preview. Changing the shape type also changes which graphic roles and editing controls are available; inspect the result and its collision afterward.
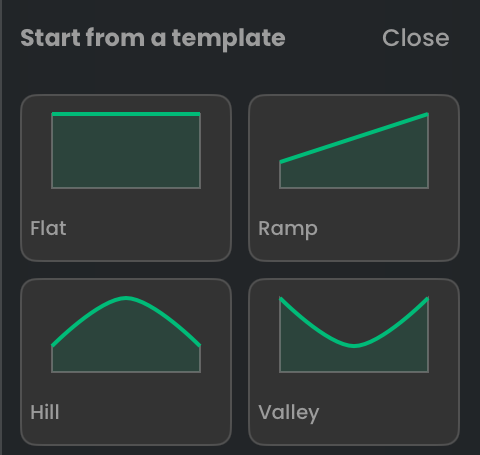
Starting templates depend on the selected type. These four templates belong to Terrain.
Move, scale, or rotate the whole object
Drag the selected object's body to move it. Open Transform (the four-arrow tab) for the ordinary scale, stretch, rotation, and anchor controls or their numeric inputs. Return to Properties or Physics to restore shape-point editing.
Corner scaling keeps proportions; an unlocked edge handle stretches one axis. Transforming the object does not regenerate its artwork or change its type. Artwork continues repeating rather than simply becoming a larger picture. Path keeps its separately authored Road width; use that control to change its thickness.
For Terrain, the bottom handle in Properties changes ground depth. The bottom handle in Transform scales the object. These are different operations; transform scaling does not require a new Middle graphic.
Work with Terrain
Generate Hills… previews a replacement Terrain surface. Try Another previews a different hill pattern. Apply keeps the preview; Cancel abandons it. This is an editor operation. The Generate Smart Shape behaviour creates a new shape during play instead.
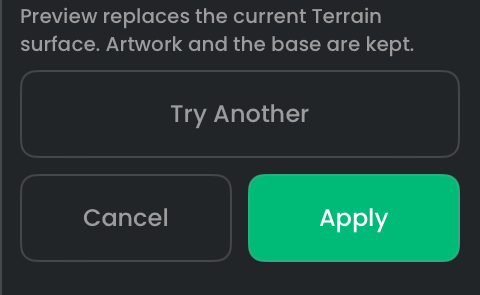
Try Another changes the preview. Apply keeps it; Cancel returns to the previous surface.
The Extend ends control determines what dragging an end does:
| Choice | Result |
|---|---|
| Move End | Moves the existing endpoint. |
| Extrude Straight | Adds a level section while retaining existing curves. |
| Extend Hills | Adds generated hills while retaining existing curves. |
If making the shape taller asks for a Middle graphic, assign one or generate it from Top. Top alone supplies surface artwork, not a complete interior fill.
Work with Path
A Path draws a road. It does not make a vehicle move along the road. Add movement behaviours separately.
Select a road point or segment to use the Track controls. Bend, Hairpin, Chicane, and Straighten reshape the selected section while keeping its connections. A chicane is a pair of opposite turns; a hairpin is a tight U-turn. Tight turns need enough room for the road's width.
Use Close loop to connect an open track, or Break loop to open it. If a connection would cross the road or squeeze it too tightly, make more room before trying again.
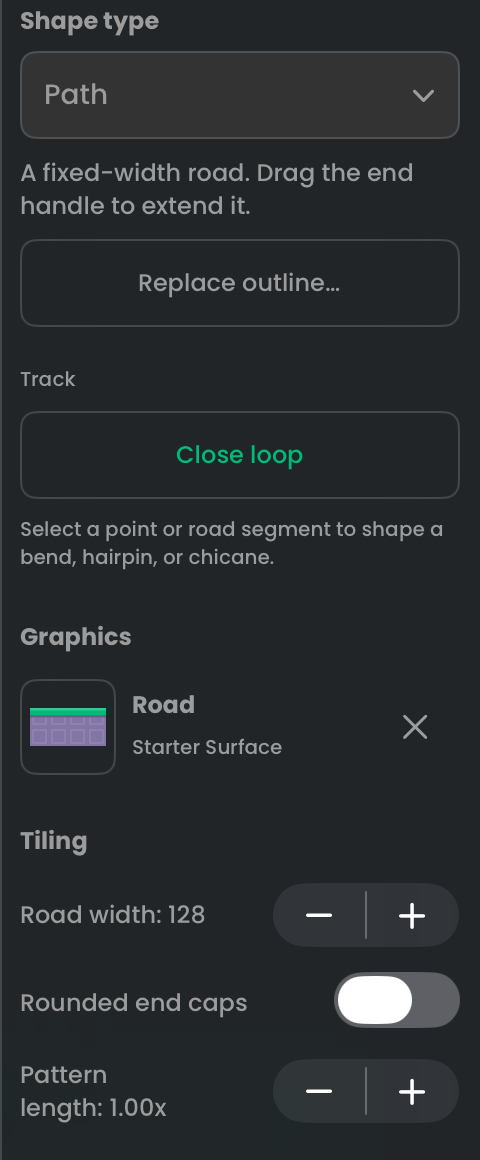
Road width changes the ribbon thickness. Pattern length changes how its image repeats along the road.
Choose collision deliberately
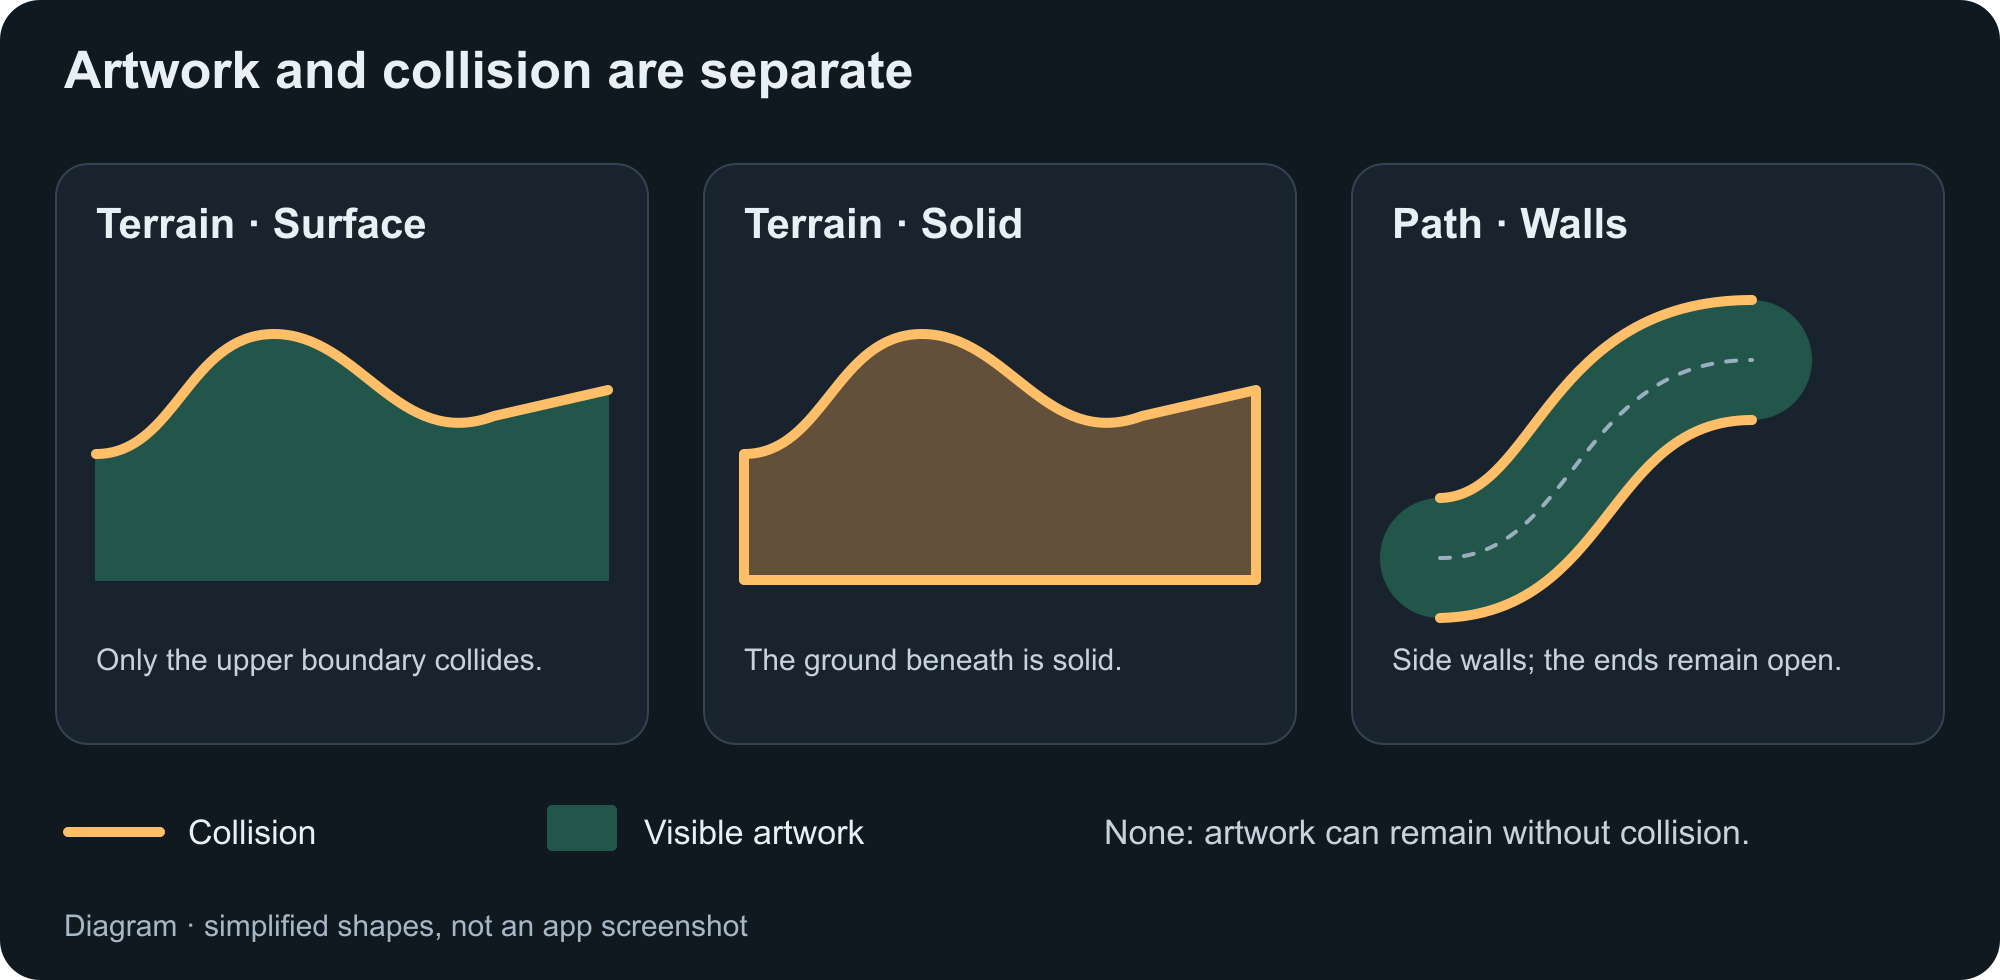
For Terrain, surface collision follows the top of the hills; solid ground includes the filled area underneath. Visible ground depth does not, by itself, make all that ground solid.
For Path, Walls creates boundaries beside the road and leaves open ends uncapped. Solid fills the road ribbon; a closed track still leaves its infield empty. Use Show collision guide to inspect the wall placement. A wall offset of zero follows the road edge; positive values move away from the road and negative values move onto it. Closed tracks label the sides Inner wall and Outer wall.
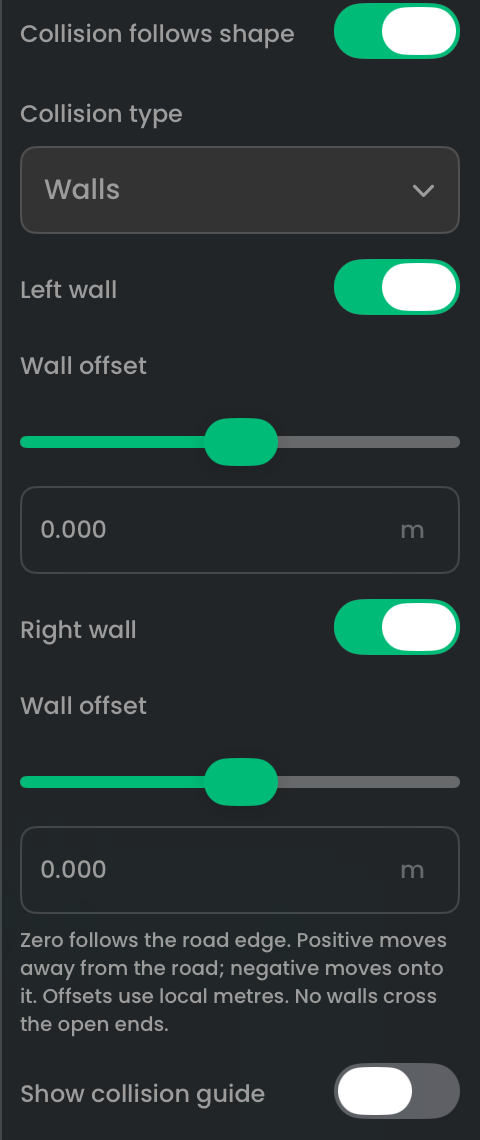
The open Path has a Left wall and a Right wall. Each wall has its own toggle and offset; use Show collision guide to inspect the result.
When Collision follows shape is off, custom collision is retained separately. Turning it off is not the same as removing all collision. Also check the object's physics mode and the layer's collision settings.
Common problems
| What you see | What to check |
|---|---|
| The surface looks right but the inside is empty | Assign Middle or Fill; Top and Perimeter only supply edge artwork. |
| The picture changed size but the platform did not | You changed Tile size. Resize the outline to change the platform's dimensions. |
| The outline changed but collision did not | Check Collision follows shape and the object's physics mode. |
| A car passes through the open end of a road | Edge walls run along the sides; use separate barriers if you need to close an entrance. |
| A tight bend or loop is rejected | Widen the turn, reduce road width, or reduce an outward wall offset. |
| New hills appear only in the editor | Generate Hills previews an editor change. Use Generate Smart Shape for creation during play. |
Next, try Generate Smart Shape to create a course during play, then Modify Smart Shape to change it.