How to Make and Publish an iPad Game on the App Store


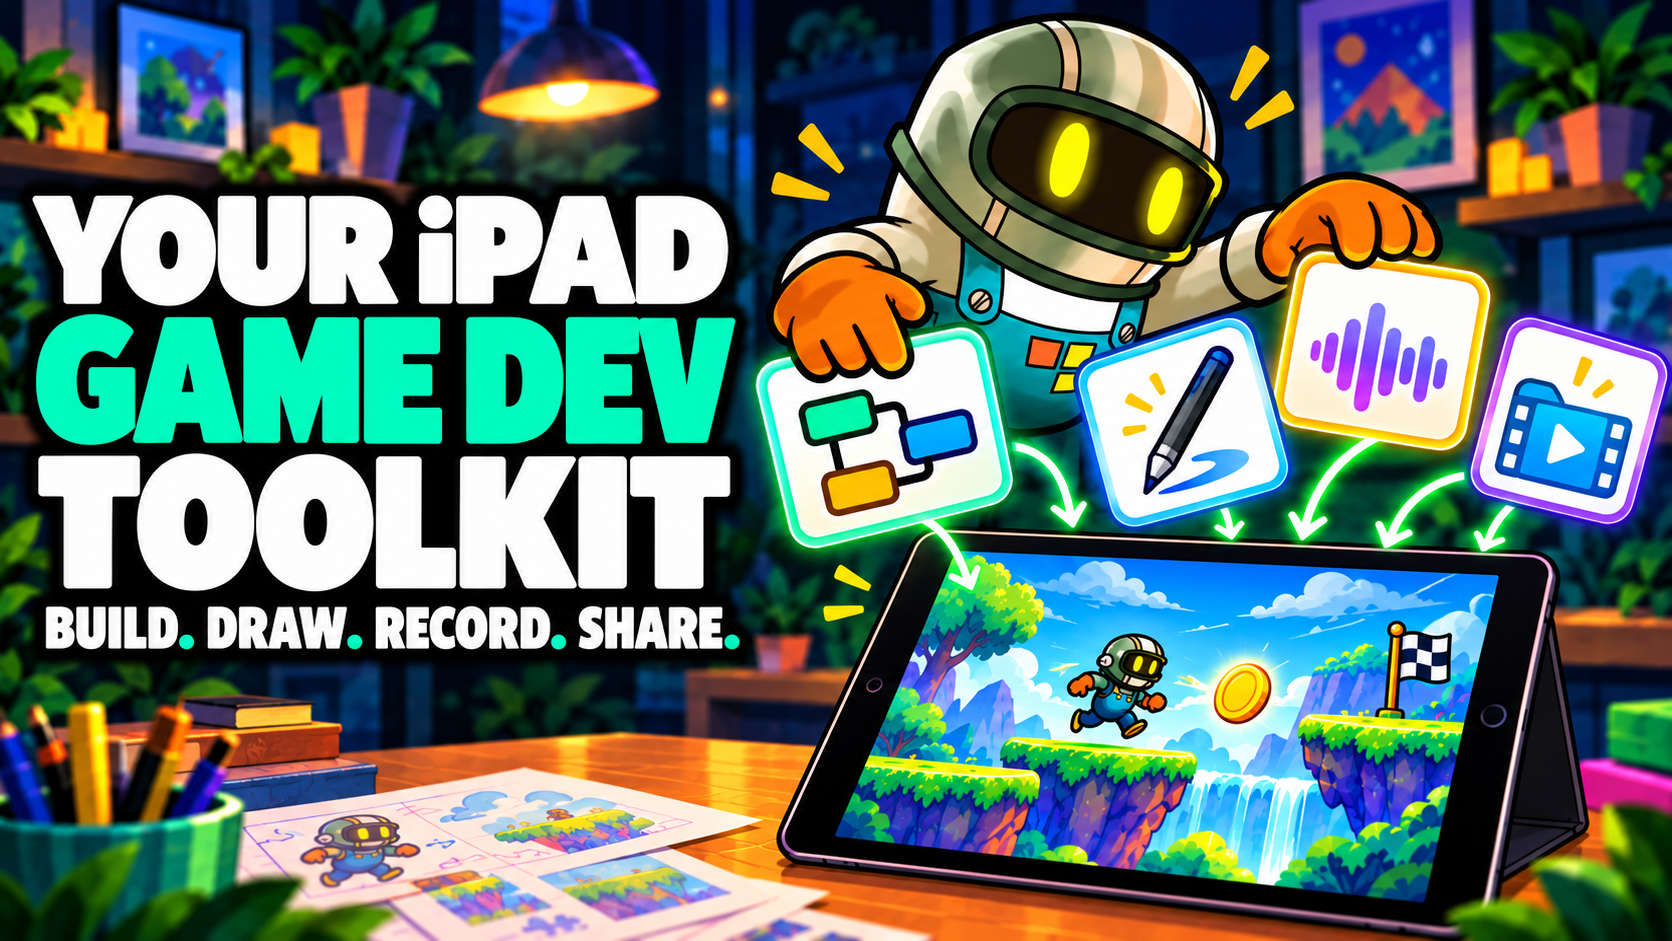
You can make a complete 2D game on iPad with hyperPad, then move the finished Project into Apple’s publishing workflow for an App Store release. The game-building work happens in hyperPad through Scenes, Objects, Attributes, Graphics, UI, and connected Behaviors. Publishing requires Xcode Export, a compatible Mac, Apple’s developer services, and App Store Connect.
That distinction matters. A game maker should not only help you place art on a screen. It should give you a practical way to build the game’s logic, test it on the target device, organize a release candidate, and prepare it for Apple’s submission process.
What to check before choosing an iPad game maker
| Decision | What you need | How hyperPad handles it |
|---|---|---|
| Can I build on iPad? | A full editor for game logic, scenes, interface, assets, and testing | Build directly on iPad with Scenes, Objects, Attributes, Graphics, UI, and Behaviors |
| Can I make original mechanics? | Events, actions, conditions, values, input, state, physics, and reusable logic | Connect visual Behaviors and organize systems with Object logic, Attributes, Prefabs, and Templates |
| Can I test the real interaction? | A fast loop between editing and playing | Run the Project, inspect the result, adjust the Behavior logic, and test again |
| Can I use my own assets? | Import and organization for graphics, animation, audio, and fonts | Manage custom assets through the Asset Library |
| Is there an iOS release path? | An Xcode project plus Apple’s signing and App Store Connect workflow | Use the paid Xcode Export workflow, then finish signing, testing, upload, and submission on a Mac |
The strongest choice is the one that supports the whole game-development loop, not only the first prototype.
Build the game on iPad with visual logic
hyperPad is a visual 2D game engine for iPad. Its Behaviors are the programming workflow. You connect events and actions, pass values between Behaviors, test conditions, store state, respond to input, and control Objects in a Scene.
The Behavior Interface Overview explains the editor and its Behavior categories. These include Interaction, Object, Screen, Transform, UI, FX, and Scene.
A collectable mechanic can work like this:
- Add a player Object and a collectable Object to a Scene.
- Use an input Behavior to move the player.
- Detect a collision with the collectable.
- Increase a score Attribute.
- Update a UI label.
- Play a sound and remove the collectable.
- Test the loop and adjust its timing or feedback.
That small interaction uses the same core ideas found in larger games: input, events, state, object relationships, feedback, and debugging.
The Object Attributes documentation shows how values such as health, score, or an enemy state can live on an Object. Prefabs and Templates help you reuse an Object and its Behavior logic across the Project.
Build a release candidate, not just a demo
A prototype proves that one idea works. A release candidate needs the complete player experience.
Before thinking about export, test:
- the first launch and menu flow
- every player input
- pause, restart, failure, and win states
- Scene changes and loading
- score, health, inventory, and other saved state
- audio levels and mute controls
- UI readability on the intended devices
- performance in the busiest Scene
- missing or incorrectly licensed assets
- the full game from beginning to end
If you can only test one path, test the path a new player will follow during their first five minutes. They should understand the goal, controls, feedback, and next action without help from the developer.
Organize assets before export
Use the hyperPad Asset Library to organize Graphics, animations, audio, and fonts. Clear folders and filenames make release work easier when you need to replace an icon, update a sound, or find the source of an animation.
The Importing Assets guide documents the current import workflow. Test every imported asset inside the running Scene. A Graphic that looks good by itself may still be difficult to read against the background or may not fit the Object’s collision area.
Keep asset licenses and attribution notes with your Project records. Publishing a game does not change the terms attached to art, music, fonts, or other files you imported.
Understand the App Store publishing path
hyperPad lets you create and test the game on iPad. The App Store release then moves through Apple’s development and distribution system.
A practical sequence is:
- Finish and test the hyperPad Project on iPad.
- Use hyperPad’s paid Xcode Export workflow.
- Move the exported Xcode project to a compatible Mac.
- Create the required Apple identifiers and signing resources.
- Create the app record in App Store Connect.
- Open, configure, build, and archive the project in Xcode.
- Upload the build to App Store Connect.
- Test the build through TestFlight.
- Add the required store metadata, screenshots, privacy details, and age rating.
- Submit the selected build for App Review.
Apple’s current App Store Connect workflow explains that an app record must exist before a build is uploaded. Apple’s build upload documentation explains the supported upload methods and current Xcode requirements.
Requirements can change. Check Apple’s documentation again when you are ready to export rather than relying on an old checklist.
Prepare the Apple signing requirements
Apple uses identifiers and signing resources to connect a build to your developer account and App Store record.
The hyperPad documentation includes a release sequence:
Read the current Apple instructions alongside these guides. Apple controls its account, certificate, signing, SDK, upload, and review requirements.
Do not wait until the final day to set this up. Account access, identifiers, signing, build validation, screenshots, privacy disclosures, and review questions can take longer than exporting the Project itself.
Test with TestFlight before App Review
A game that works in the hyperPad editor still needs testing as an exported build. TestFlight lets you install and evaluate the build distributed through Apple’s system before submitting it for public release.
Ask testers to check:
- installation and first launch
- controls on supported devices
- orientation and safe areas
- sound, music, and interruptions
- menus, links, and settings
- the complete win and failure paths
- performance during the busiest gameplay
- any feature that depends on connectivity
- whether the store description matches the actual game
Record the device, operating-system version, build number, steps, expected result, and observed result for each issue. Fix one reproducible problem at a time and upload a new build when required.
Prepare a clear App Store page
The store page should explain the game a player will actually receive. Use screenshots from the current build, not concept art that shows unavailable features.
Prepare:
- a clear app name and subtitle
- a concise description of the core game loop
- screenshots showing real gameplay and interface
- an accurate age rating
- privacy information that matches the app
- support and privacy-policy URLs
- keywords that describe the game rather than repeating the same phrase
- release notes for later updates
A useful description answers three questions quickly: What does the player do? What makes the challenge interesting? What should they expect during a play session?
What makes hyperPad useful for this workflow
hyperPad keeps the design, logic, assets, interface, and playtesting close together on iPad. You can start with one mechanic and expand it into a structured Project without moving the build process into a traditional code editor.
The engine supports work beyond a fixed template:
- multiple Scenes and interface overlays
- physics and collisions
- touch, keyboard, mouse, trackpad, tilt, and controller input
- Object and Scene Attributes for state
- animation, audio, particles, shaders, and UI
- arrays, dictionaries, timers, loops, and reusable logic
- Prefabs and Templates
- networking and multiplayer Behaviors
- custom imported Graphics, animation, sound, music, and fonts
Use the documentation for the specific system you are building. Do not assume that a feature, export option, or Apple requirement works a certain way because another engine handles it that way.
Common questions
Can you make an iOS game entirely on iPad?
You can design, build, and test the hyperPad Project on iPad. Releasing it as an independent App Store app requires the external Apple publishing workflow, including Xcode on a compatible Mac.
Can a visually programmed game be published on the App Store?
Yes. Apple evaluates the submitted app and its compliance with current requirements. Whether the game logic was written as text or created through visual Behaviors does not remove the need for signing, metadata, testing, privacy information, and App Review.
Does hyperPad publish directly to the App Store?
hyperPad provides the Xcode Export path. You then use the exported project with Apple’s Mac, Xcode, developer-account, App Store Connect, upload, testing, and review workflow.
Where should a first-time developer begin?
Build one mechanic and finish its complete loop before planning the store page. Make the player act, receive feedback, succeed or fail, and restart. Once that loop works reliably, add the next system.
Finish one release-sized milestone
Before export, complete a build that another person can play without your help. Watch where they hesitate, misunderstand the controls, or stop progressing. Fix those moments in the hyperPad Project, then repeat the test.
A successful App Store release begins with a game that already works for its player. The publishing tools package and distribute that work; they do not replace the testing and design decisions that make it ready.