Part 3: Creating Your First Level

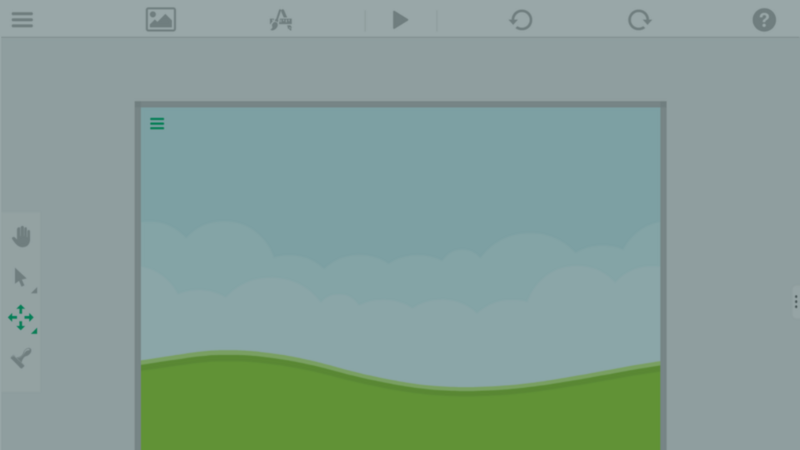
In Part 2, you learned how to import assets from the hyperPad Asset Shop. Now you’ll use those assets to build the first level of your game.
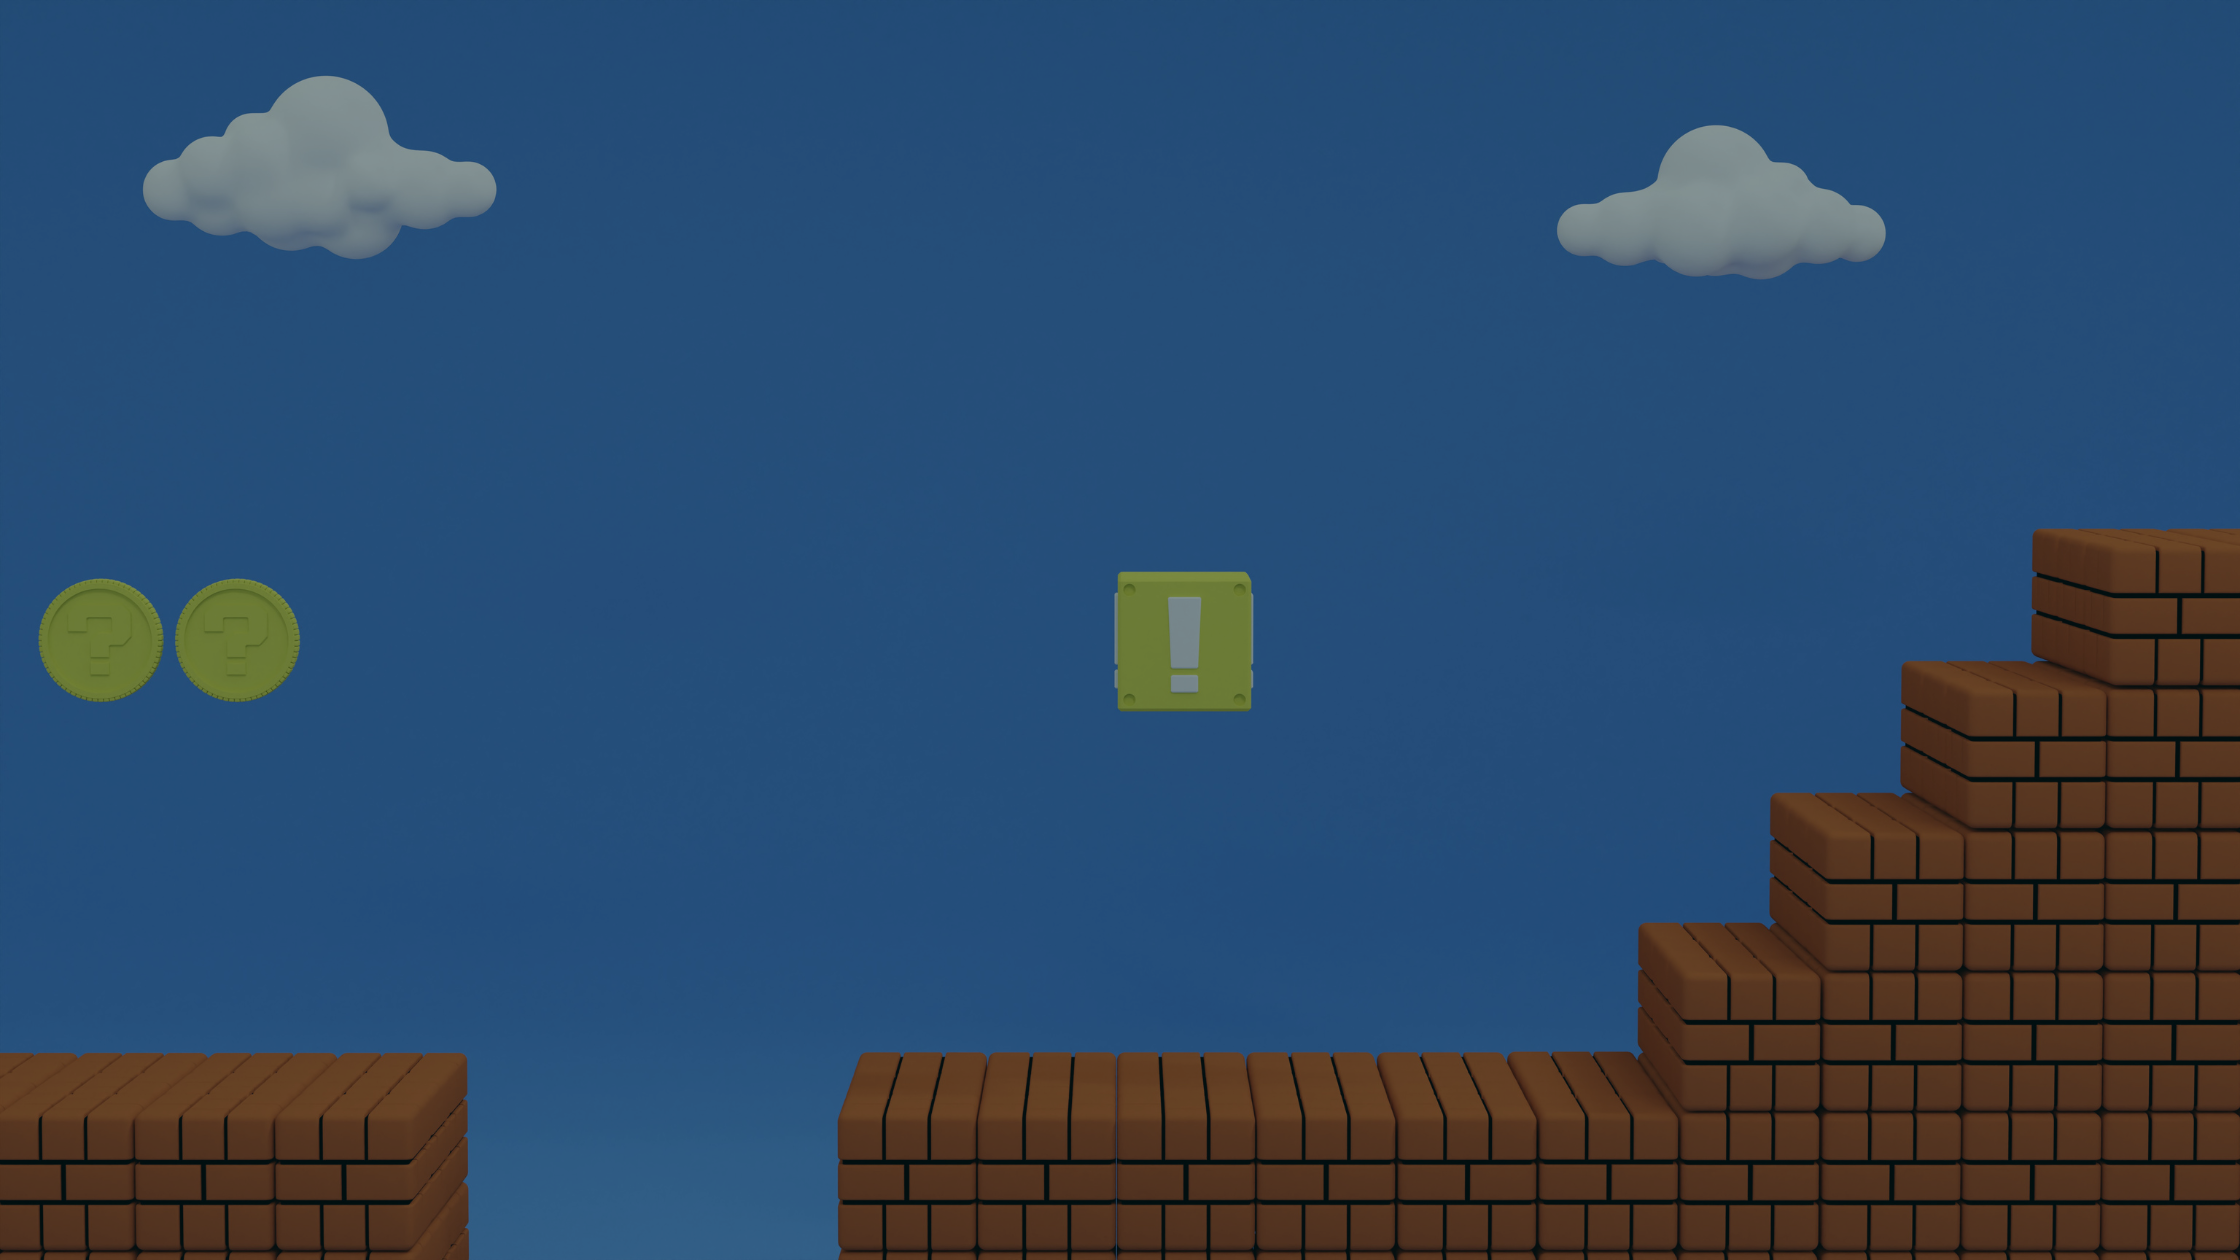
Start by adding a background to your Scene. There are a few ways to do this. This part covers the quickest and easiest one. You can learn about the other options in the "Backgrounds" documentation in the Scenes category.
To add a background, tap the "Scene Settings" button in the Top Tool Bar. From the popup, select Background.

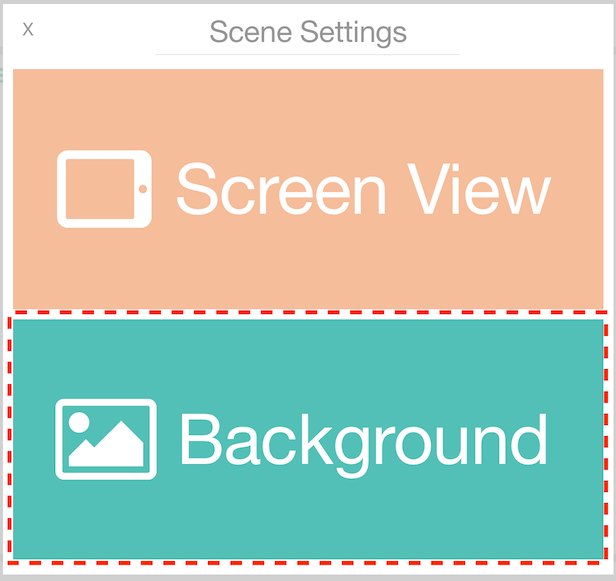
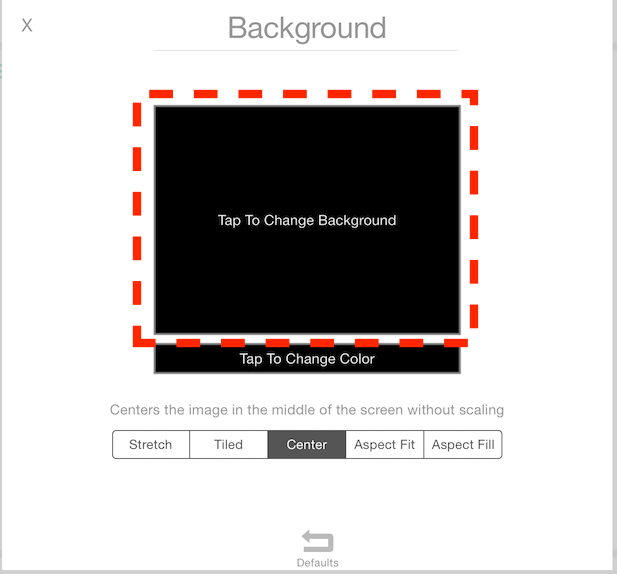
In the window that appears, you can choose an image or a color for the background. For this game, use an image. Tap the larger square that says "Tap to Change Background".
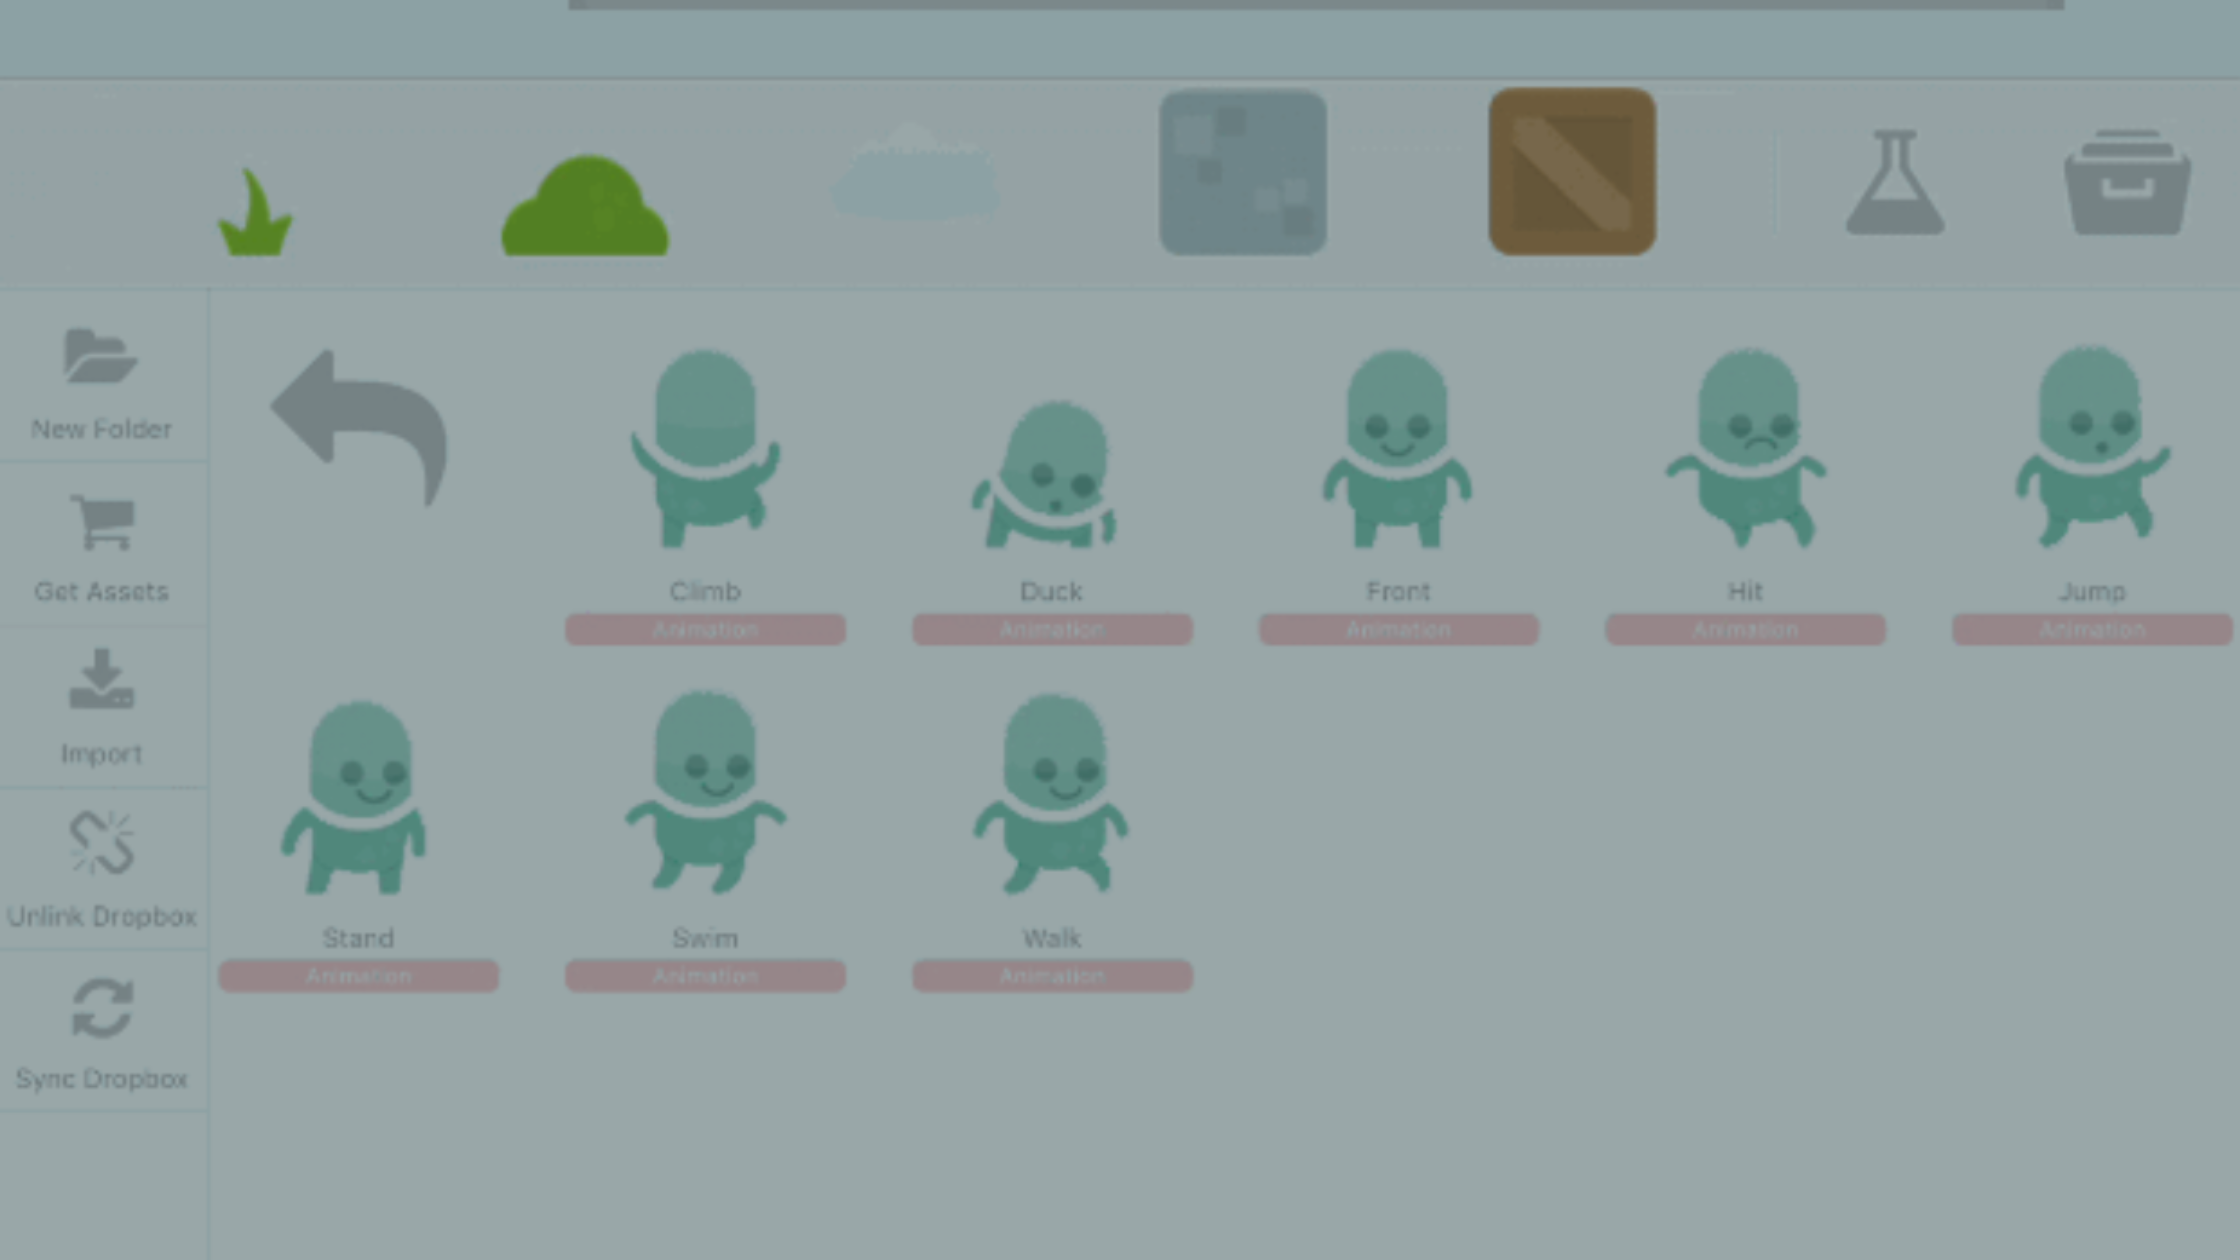
When the Asset Library pops up, go to where your assets are. If you didn’t move them after Part 2, go to Downloads > Platformer Starter Kit > Backgrounds.
Select the image you want, and the background is set.
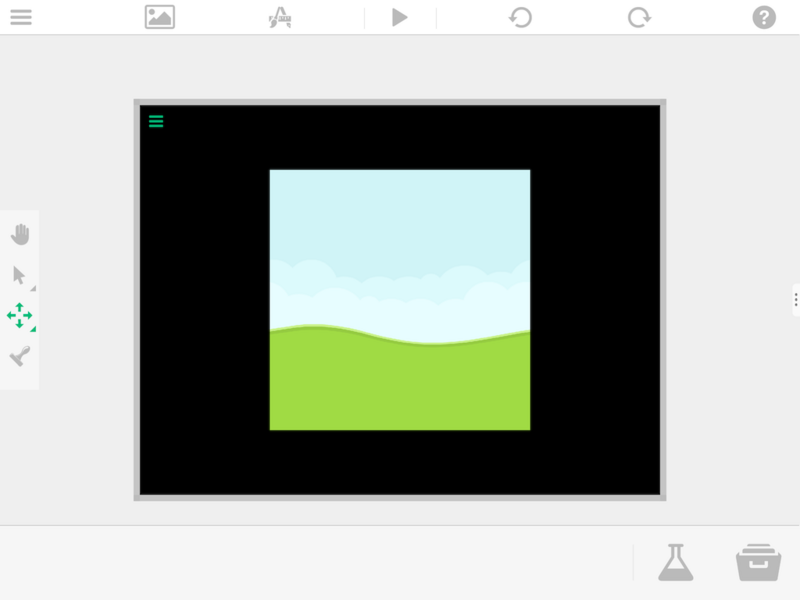
You may notice that the background doesn’t look quite right in your Scene. Depending on the image, you may need to change its placement. Use the options at the bottom of the window to do this.
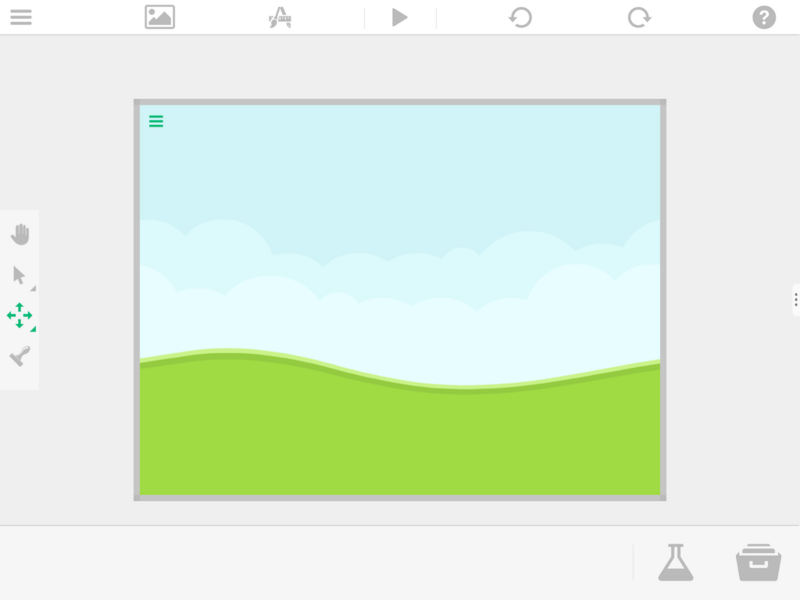
This game uses Aspect Fill for the background. It scales the background image to fill the screen and clips the parts that don’t fit. Try the different options to see the difference.
Adding Objects
With the background set, move on to building the platform your characters walk and stand on. Open the Asset Library again and go to the downloaded "Platformer Starter Kit". Find the "Grass Ground Middle" Graphic (Downloads > Platformer Starter Kit > Grass World) and tap it to add it to the Recently Used Objects dock at the bottom of the editor.
Once the Graphic is on the dock, drag it off to place a copy in your Scene.
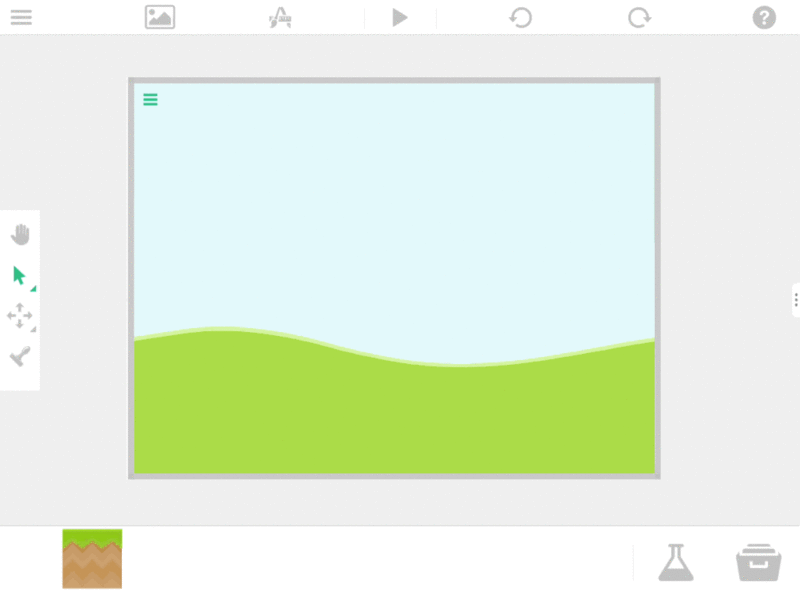
You can keep dragging Objects off the dock to build your level, but you may find it hard to line them up.
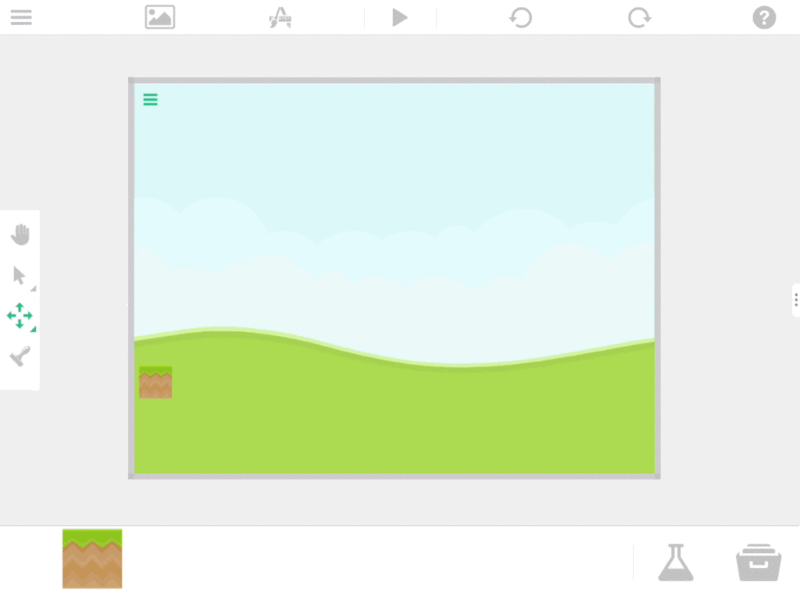
Snap Mode
To fix this, turn on the "Grid". It snaps Objects into place as you move them with the Move Tool. To turn on snap mode, press the grid icon in the tool palette. A grid appears on your screen, and every Object snaps to it.

Grid Icon
For more precision, zoom in to refine the grid.
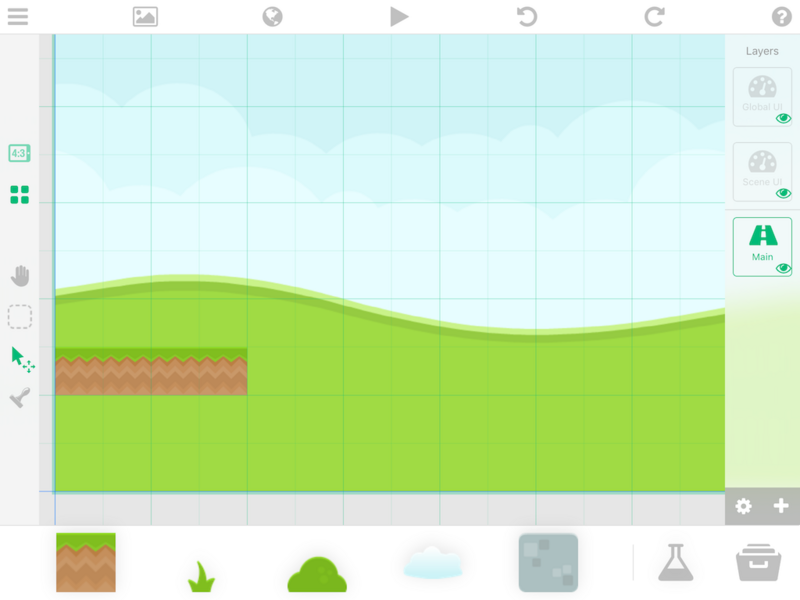
Duplicating Objects
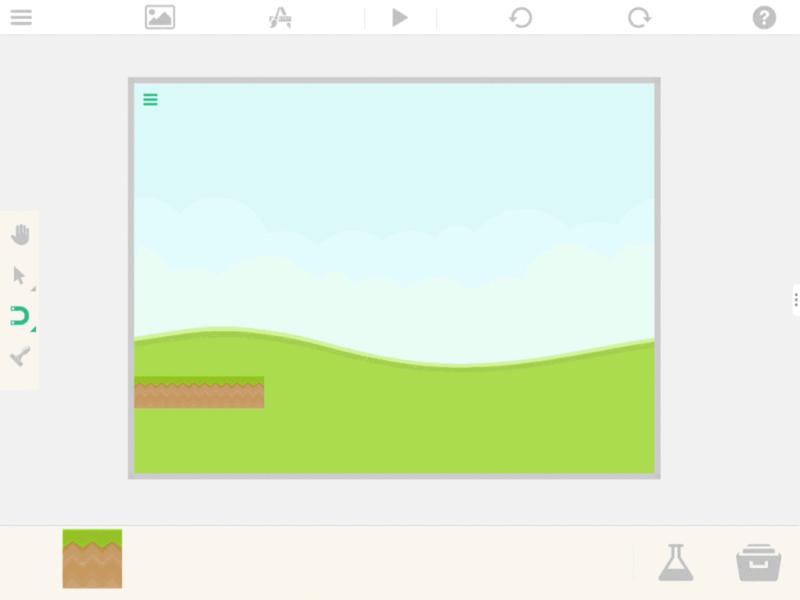
For repeated Objects like your ground, you can use the duplicate feature. Use the "Box Select" tool to select several ground Objects and duplicate them. Press and hold the Select icon, then select the Box Select icon.
Select the Objects you want to duplicate. Here, that’s a few of the ground Graphics you added. When the Object Properties appear, tap the duplicate button.
Conclusion
Now repeat the steps above to build an interesting level. Don’t limit yourself to the screen boundaries. In Part 4, you’ll add a player and give it the ability to move the screen.
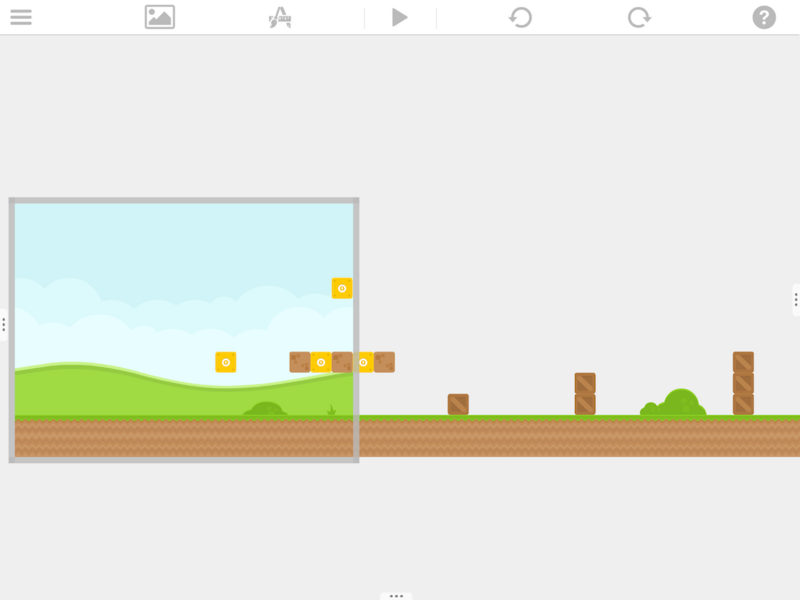
Optional Tasks
Try using the layers feature of hyperPad!
Final Result
You can see the level we created on the hyperPad Hub. Branch it and make your own additions or changes.
Turn your Procreate designs or digital art into interactive comics, games, and more on your iPad. Try hyperPad Starter free with one project. When you want more projects and App Store export, hyperPad is a one-time USD $14.99 purchase, and you keep 100% of your revenue. Learn more about hyperPad.