Making a Popular Indie Game as a Solo Dev

Getting Started with Your Indie Game Idea
Ready to turn your indie game dream into a real game? Start with a strong, focused concept. A solid idea is the backbone of your project.
Brainstorming comes first. Here are some tips to get the ideas flowing:
- Start Broad: List every idea that comes to mind. Don't hold back.
- Identify What Excites You: Focus on the ideas you care about most. They'll keep you motivated.
- Think About Your Audience: Consider which game mechanics and stories will appeal to your players.
- Keep It Simple: Choose a concept one person can realistically finish.
Once you have a list, narrow it down. Cut the weaker ideas early so you can focus on the ones with potential.
Then make a plan. Break your project into stages: prototyping, development, QA, and publishing. Set clear goals and milestones. They keep you on track and help you manage your time.
Stay organized. Use tools to track your progress. Stay flexible, and adjust based on feedback and testing. Know your limits and plan around them. That way you avoid common pitfalls like overcommitting or running out of time.
Enjoy the process. Your creativity and planning lay the groundwork for a successful indie game.
Creating and Testing Game Prototypes
A prototype is where you take your core idea and build a basic version to see if it works. You don't need the bells and whistles yet. Focus on the core mechanics and gameplay.
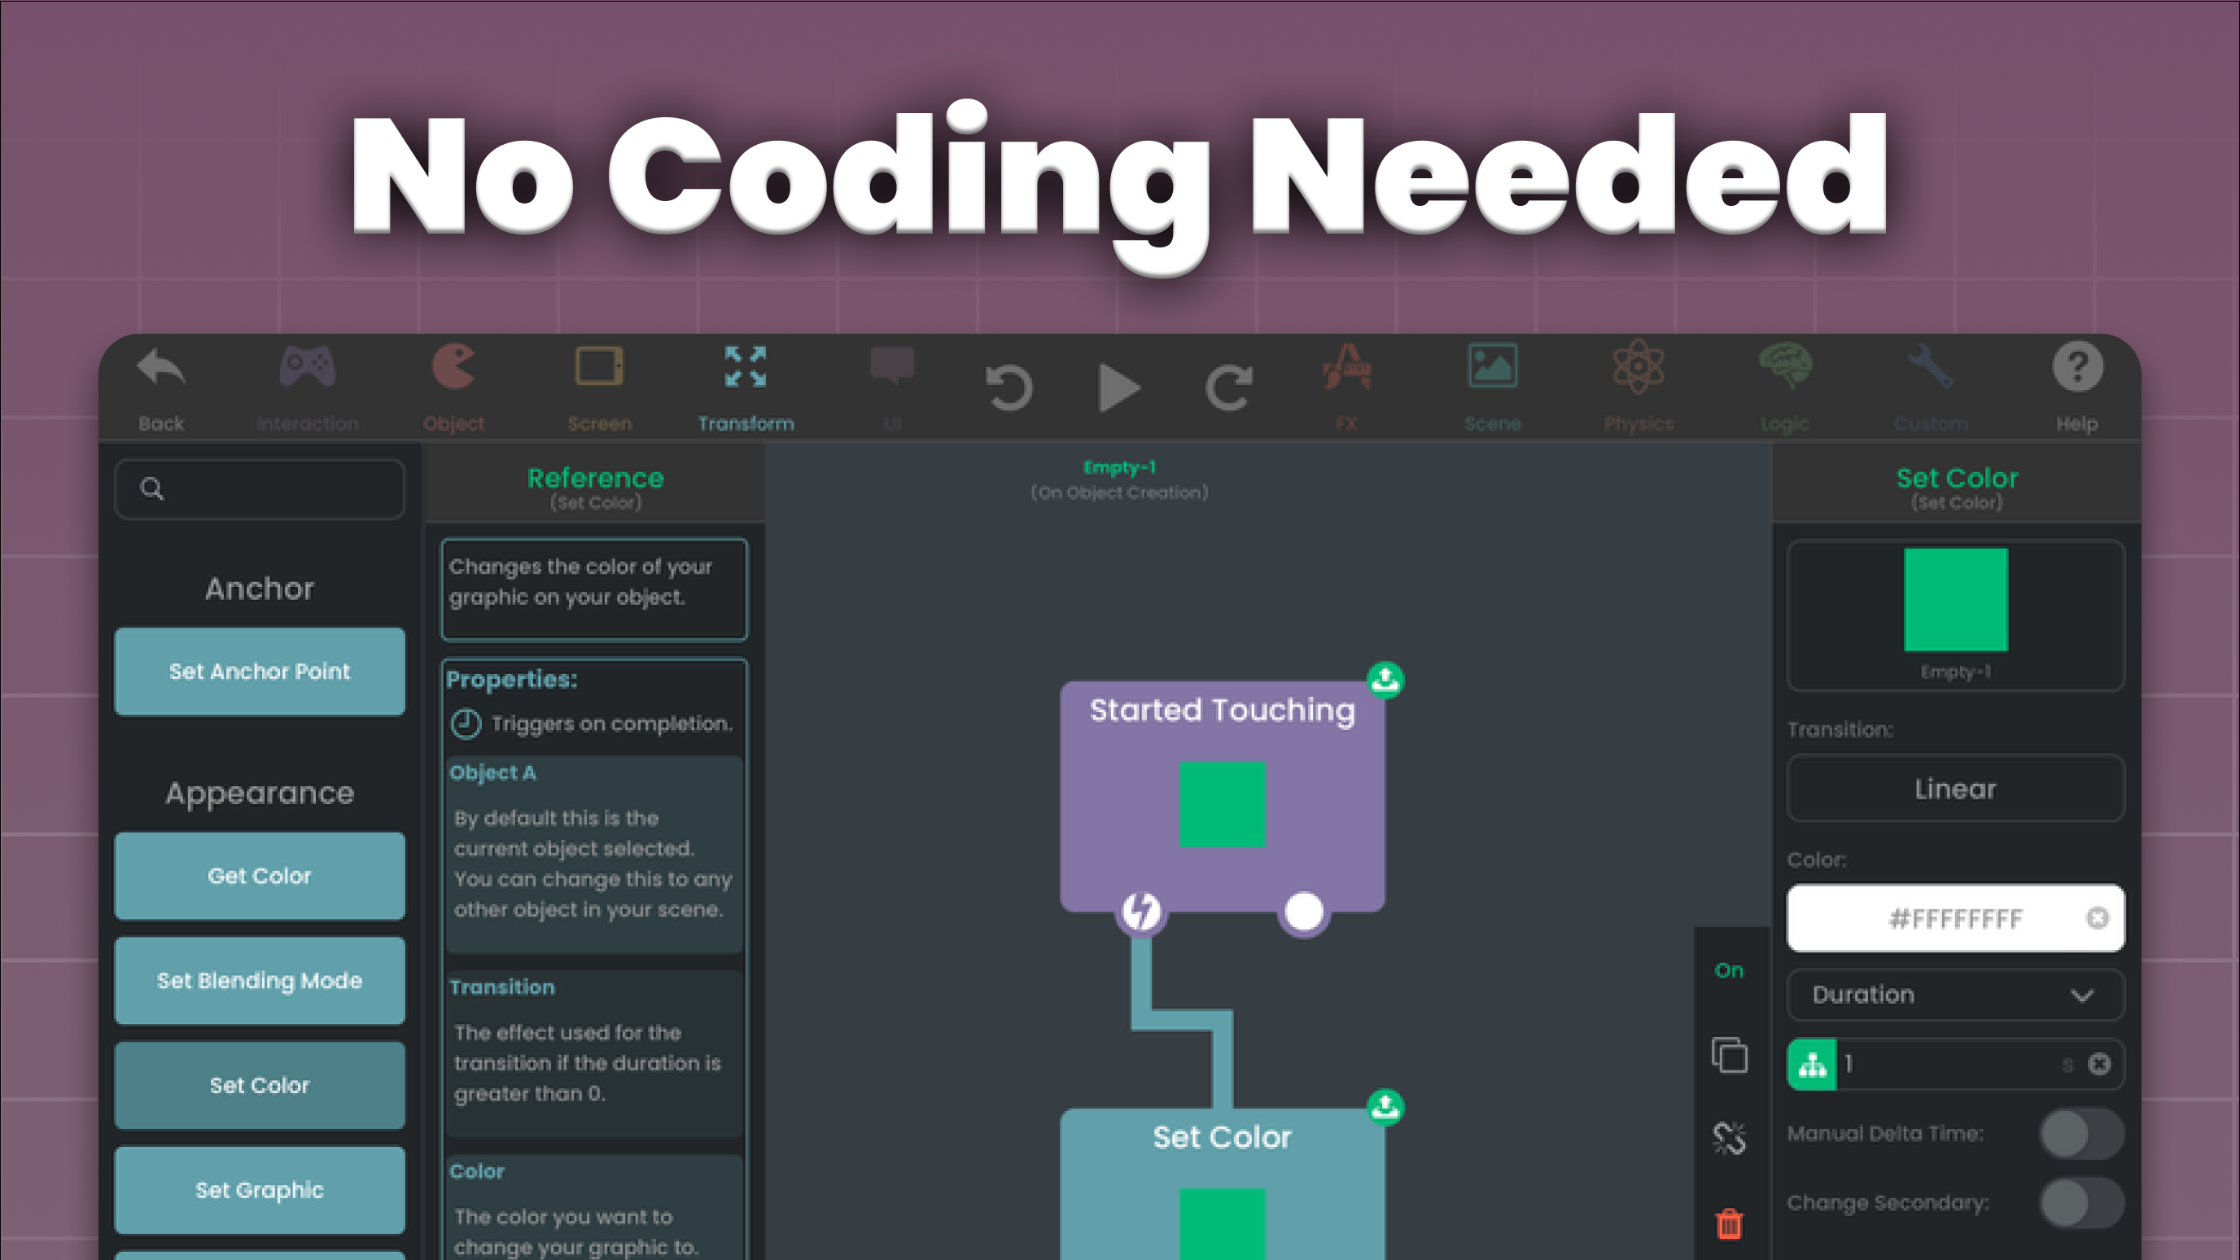
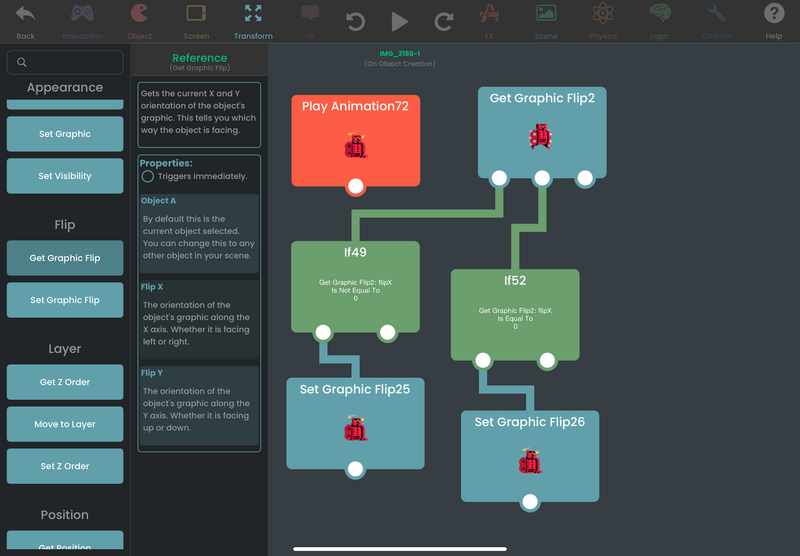
With hyperPad, you can drag and drop Objects to build a prototype on your iPad in no time. The Behavior Editor lets you try out game logic without coding. That makes it easy to test different ideas and see what sticks.
Playtesting comes next. You need real feedback to know whether your game is fun. Invite friends, family, or fellow developers to try your prototype. Listen to what they say and take notes.
Why playtest early:
- Identify Issues: Spot problems in your gameplay mechanics.
- Gather Feedback: Learn from players what works and what doesn't.
- Refine Gameplay: Use their feedback to make changes and improvements.
- Build Interest: Early testers can become your first fans and spread the word about your game.
Refining a prototype is a loop. Use the feedback to tweak your game, test again, and keep going until it's the best version you can make.
Managing Resources and Outsourcing
As a solo developer, you have limited time and money. Part of managing them is knowing when to outsource tasks that need specific expertise. Some tasks don't need your personal touch, and an expert can do them better.
Commonly outsourced tasks include:
- Artwork: Hire artists to create unique visuals.
- Music and Sound Effects: Work with musicians for custom audio.
- Programming: Contract specialists for complex coding tasks.
- Marketing: Bring in marketers to promote your game.
- Quality Assurance: Hire testers for thorough game testing.
Budgeting is a big part of outsourcing. Set a clear budget first, and know how much you're willing to spend on each task. To cut costs, use open-source resources or learn new skills yourself.
Plan the schedule too. Set a timeline for when each task should be done, and leave time for revisions and feedback. Getting the work done right matters as much as getting it done.
Outsourcing works best with clear communication. Set expectations with your contractors. Make sure everyone knows the project goals and deadlines. This avoids misunderstandings and keeps the work moving.
Manage your resources well, and you can focus on your strengths and bring your indie game to life.
Overcoming Challenges in Solo Game Development
Juggling every responsibility as a solo game developer can be tough. You wear many hats, from design to testing. Here are some common challenges you might face:
- Time Management: Juggling tasks and deadlines can be overwhelming.
- Motivation: Staying driven when you're the only one pushing the project forward.
- Resource Constraints: A limited budget and skill set can slow you down.
- Skill Gaps: Missing expertise in areas like art, music, or marketing.
- Isolation: Working alone can feel lonely without a team to bounce ideas off.
Start with time management. Break your work into smaller tasks. Set daily or weekly goals to stay focused. Calendars and to-do apps help you stay organized.
Keep your motivation up. Celebrate small wins. Take breaks to avoid burnout. Connect with other developers on forums or social media for support and inspiration.
When resources are tight, learn new skills to reduce costs. Online courses and tutorials can close skill gaps. Outsource the tasks that are beyond your expertise.
Beat isolation by joining a community. hyperPad's global community of game creators is a place to share projects and get feedback. Talking with others gives you fresh perspectives and keeps you motivated.
Face these challenges head-on and you'll keep making steady progress on your game.
Building a Community Around Your Game
A community gives a solo developer feedback, anticipation, and a loyal fan base. Here's how to build one around your game:
- Share Regular Updates: Keep your audience in the loop. Post screenshots, videos, or sneak peeks on social media.
- Engage Directly: Respond to comments and messages. Show people you value their input.
- Create a Dev Blog: Document your journey. Share what you learned, what went wrong, and what finally worked. That personal touch attracts followers who are interested in your process.
- Host Playtests: Invite players to test your game. Use their feedback to improve your project.
- Try Crowdfunding: Use platforms like Kickstarter to raise money and validate your game concept.
Community feedback shows you early what's working and what needs more work. Listening to your audience helps you build a game your players want. If you'd like a no-code way to iterate on your ideas quickly, try our platform for making games on iPad.
Building anticipation matters too. Regular updates and conversations keep your audience excited and invested. A supportive community makes development more fun, and it helps your game gain traction before launch. When players feel heard and valued, they become fans who champion your game.
Polishing and Publishing Your Indie Game
Polish is what makes your game feel smooth and fun to play. Here's how to get there:
- Thorough Testing: Playtest a lot. Look for bugs, glitches, and gameplay issues.
- Feedback Integration: Use player feedback to refine your mechanics and improve the flow.
- Visual and Audio Enhancements: Polish your graphics and sound for a professional finish.
- Performance Optimization: Make sure your game runs smoothly on every device you support.
Publishing is the next big step. You're putting your game out into the world. Consider these strategies:
- Choose the Right Platform: With hyperPad, you can export your game to the Apple App Store and keep 100% of your revenue.
- Prepare Marketing Materials: Create eye-catching screenshots, trailers, and a clear app description to attract players.
- Set a Launch Date: Time your release to get the most visibility and interest.
- Engage Your Community: Rally the community you've built to create excitement before launch.
- Monitor Post-Launch Feedback: Once your game is live, keep gathering feedback and ship updates.
This way your game launches well and keeps improving after release. Quality and community are what make an indie game stand out.
Key Takeaways for Solo Developers
Making a successful indie game on your own takes creativity, planning, and persistence. hyperPad makes it easier: you can turn your ideas into games without coding skills.
Planning is your foundation. Start with a strong concept and break your project into clear stages. Set achievable goals and adjust your plans based on feedback.
Prototype early. Use hyperPad's drag-and-drop editor to build and test your game mechanics quickly. Early playtesting refines your ideas and uncovers problems before you commit to full development.
Manage your resources. Recognize when to outsource tasks like art or sound so you can focus on your strengths. Budget carefully, and be clear about your needs and expectations with collaborators.
Engage with the community. Sharing your progress, gathering feedback, and building an audience all pay off. The hyperPad community is a place for collaboration and support that keeps you motivated.
Polish your game before you publish. Test thoroughly, improve your visuals and audio, and optimize performance for a smooth player experience.
- Plan Effectively: Start with a strong concept and break the project into stages.
- Prototype Early: Use hyperPad to test and refine your ideas.
- Manage Resources: Outsource wisely and budget carefully.
- Engage the Community: Build an audience and gather feedback.
- Polish Thoroughly: Test, refine, and optimize for a smooth launch.
Follow these steps and you'll be set to make a game that connects with players and stands out in the indie scene. We'd love to be part of your journey!
Try hyperPad Starter free. When you want more projects and App Store export, upgrade to hyperPad for a one-time USD $14.99. You keep 100% of your revenue.