Creating Games like Minecraft on iPad

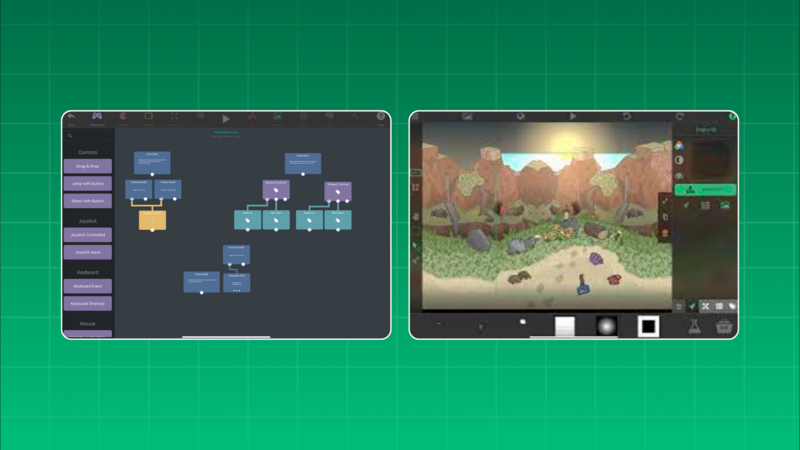
You can create games like Minecraft on iPad with hyperPad by building a 2D block world: a grid of tiles the player can mine, collect and place. hyperPad makes 2D games, so think of a side-view or top-down sandbox instead of a 3D voxel world. The core of what makes Minecraft fun still carries over: break blocks, gather resources and build something of your own.
Grid-based worlds are also a great first Project. When Robinson X (better known as RXCodes) made his first mobile game at 10 years old, it looked a little like Minecraft. He found grid-based levels easy to make and easy to understand, and that start led him to programming.
Minecraft is owned by Mojang Studios and Microsoft. hyperPad has no affiliation with them. Use the genre as inspiration and give your game its own name, blocks and art.
What makes a Minecraft-style game work
- A world made of blocks. Every tile can change.
- Mining and placing. The player shapes the world with two simple actions.
- Resources. Blocks become materials the player can use.
- Crafting. Materials combine into new items.
- Freedom. There's no single right way to play.
You don't need all of this on day one. Mining and placing alone already feels like a sandbox.
Step 1: Choose your view
Pick one:
- Side view: the player walks and jumps, and digs down into the ground. Gravity and physics matter.
- Top-down view: the player walks in four directions across a map. Building and exploring matter more than jumping.
Side view is closer to how most 2D block games play. Top-down is simpler to start.
Step 2: Build the block grid
Make one Scene and decide on a block size, such as 64 by 64 points. Create a block Object for each type you need first:
- dirt
- stone
- wood
Draw the Graphics in an iPad art app like Procreate and import them through the Asset Library. Give each block an Attribute for its type, such as blockType = "stone".
Lay out a small world by hand, around 20 blocks wide. Hand-built worlds are easier to test than generated ones.
Step 3: Add the player
Add a player Object with on-screen controls. In side view, use physics so the player falls and lands on blocks, and add a jump. In top-down view, move the player with a joystick or arrow buttons.
Make sure the player can't walk through blocks. Test this before anything else, since every other system depends on it.
Step 4: Mine blocks
When the player taps a block next to them:
- Use Started Touching on the block.
- Check that the block is within reach of the player.
- Read its
blockTypewith Get Attribute. - Add one to the matching resource Attribute on the player, such as
stoneCount. - Remove the block and play a short sound.
For more depth, give harder blocks a "hits needed" Attribute, so stone takes three taps and dirt takes one.
Step 5: Place blocks
Add a toolbar that shows each resource and its count. When the player selects a block type and taps an empty grid space within reach:
- Check that the count is above zero.
- Create a new block Object of that type in the space.
- Subtract one from the count with Set Attribute.
Snap new blocks to the grid so the world stays tidy.
Step 6: Add one crafting recipe
Start with a single recipe, such as 3 wood makes 1 ladder. Add a Craft button that checks the resources, subtracts them and adds the new item. One working recipe teaches you the pattern for every recipe after it.
Step 7: Save the world
Players expect their builds to be there next time. Use saving and loading to store resource counts first, then the positions and types of placed blocks.
Ideas to make it yours
- a day and night cycle that changes which creatures appear
- an underwater or space world with its own block types
- a goal, such as building a tower that reaches a target height
- a creative mode with unlimited blocks for pure building
Your next step
Build a 20-block world with three block types, mining and placing in one Scene. Play it until breaking and building feels satisfying. Then Publish it to the hyperPad Hub and ask players what they built.