How to Make a Pixel Art Game on iPad

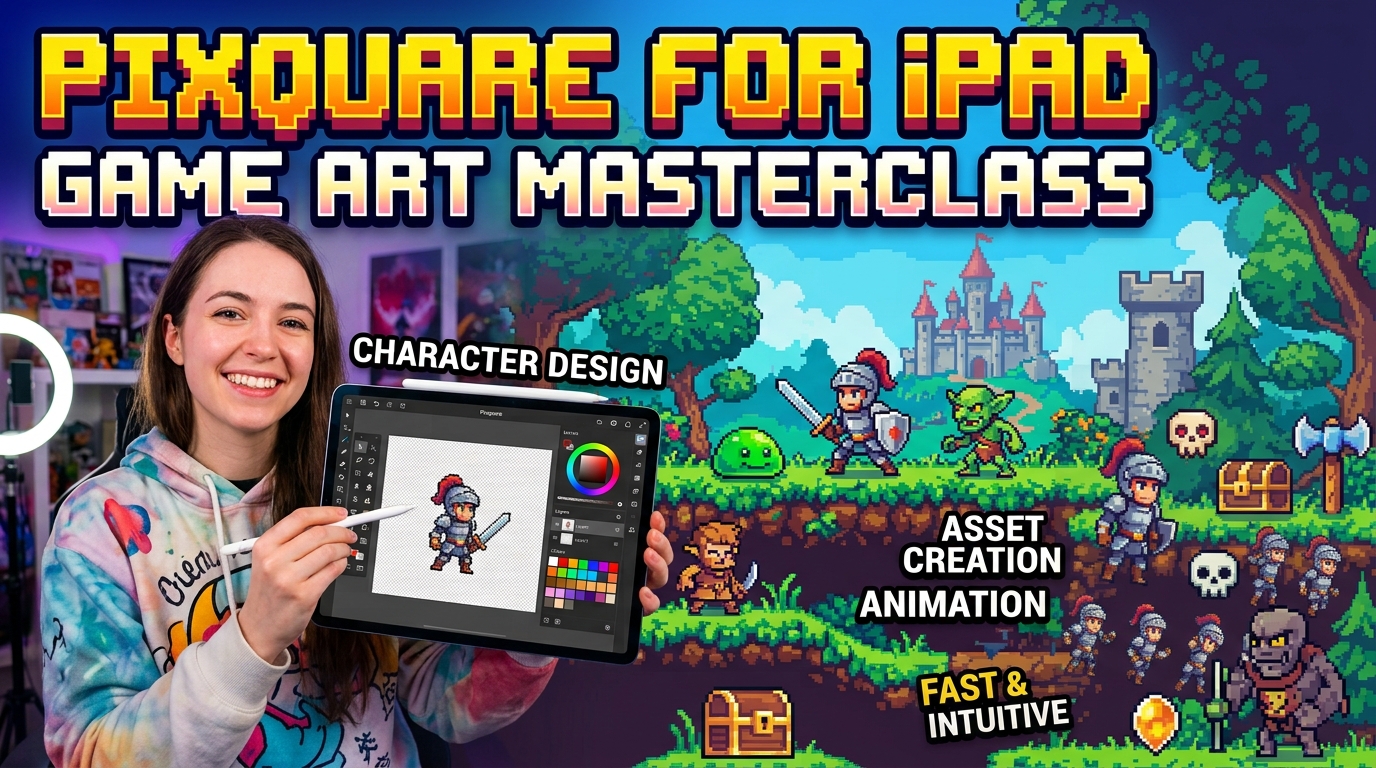
Pixel art works well for an iPad game when every asset is designed for the same grid, scale, and palette. The reliable workflow is simple: create one small sprite, import it into hyperPad, test it in a running Scene, then expand the set only after it reads clearly on screen.
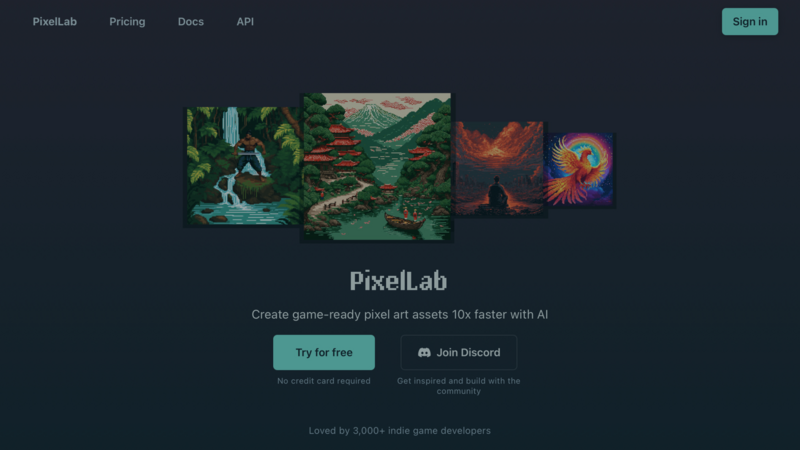
This guide uses PixelLab as an optional art tool and hyperPad as the visual 2D game engine. AI-assisted art can help you explore a direction, but the output still needs editing, licensing review, and in-game testing before it belongs in a finished Project.
Plan the asset before you generate it
Start with the job the sprite must do. A player character may need an idle pose, a walk cycle, and a clear silhouette. A collectible may need only one image and a short visual effect.
Choose these constraints before opening an art tool:
| Decision | Example | Why it matters |
|---|---|---|
| Canvas size | 32 × 32 pixels | Keeps every frame aligned to the same grid. |
| Palette | Eight to sixteen colors | Makes separate assets feel like one game. |
| View | Side view | Prevents a character from changing perspective between frames. |
| Background | Transparent | Lets the sprite sit cleanly over a Scene. |
| Animation | Four-frame walk | Gives you a small cycle that is easy to inspect. |
A prompt can describe those constraints, but you still make the art direction calls. Keep the result that matches the game, then edit stray pixels, inconsistent outlines, or shifting proportions in a pixel editor.

Prepare a game-ready file
For one still sprite, export a transparent PNG. For an animation, keep every frame the same size and place the character on the same baseline. hyperPad can import animation frames individually or from a sprite sheet. The Supported Asset Types and Importing and Using Animations documentation explain the accepted formats and animation workflow.
Before importing, check the file at its actual pixel size. Look for opaque background pixels, uneven padding, a changing canvas size, or colors that disappear against the planned Scene.
Keep the source file, exported PNG, prompt or reference notes, and applicable license information together. If an AI service contributed to the image, review its current terms and confirm that you have the rights needed for your intended use. Tool availability and terms can change.
Import the sprite into hyperPad
Open the Asset Library and follow Importing Assets. Place related files in a clearly named folder, such as Player/Idle or Player/Walk.
For a first test:
- Add the player Graphic to a new Scene.
- Set a simple background color that contrasts with the sprite.
- Add a touch input or control Behavior that moves the player.
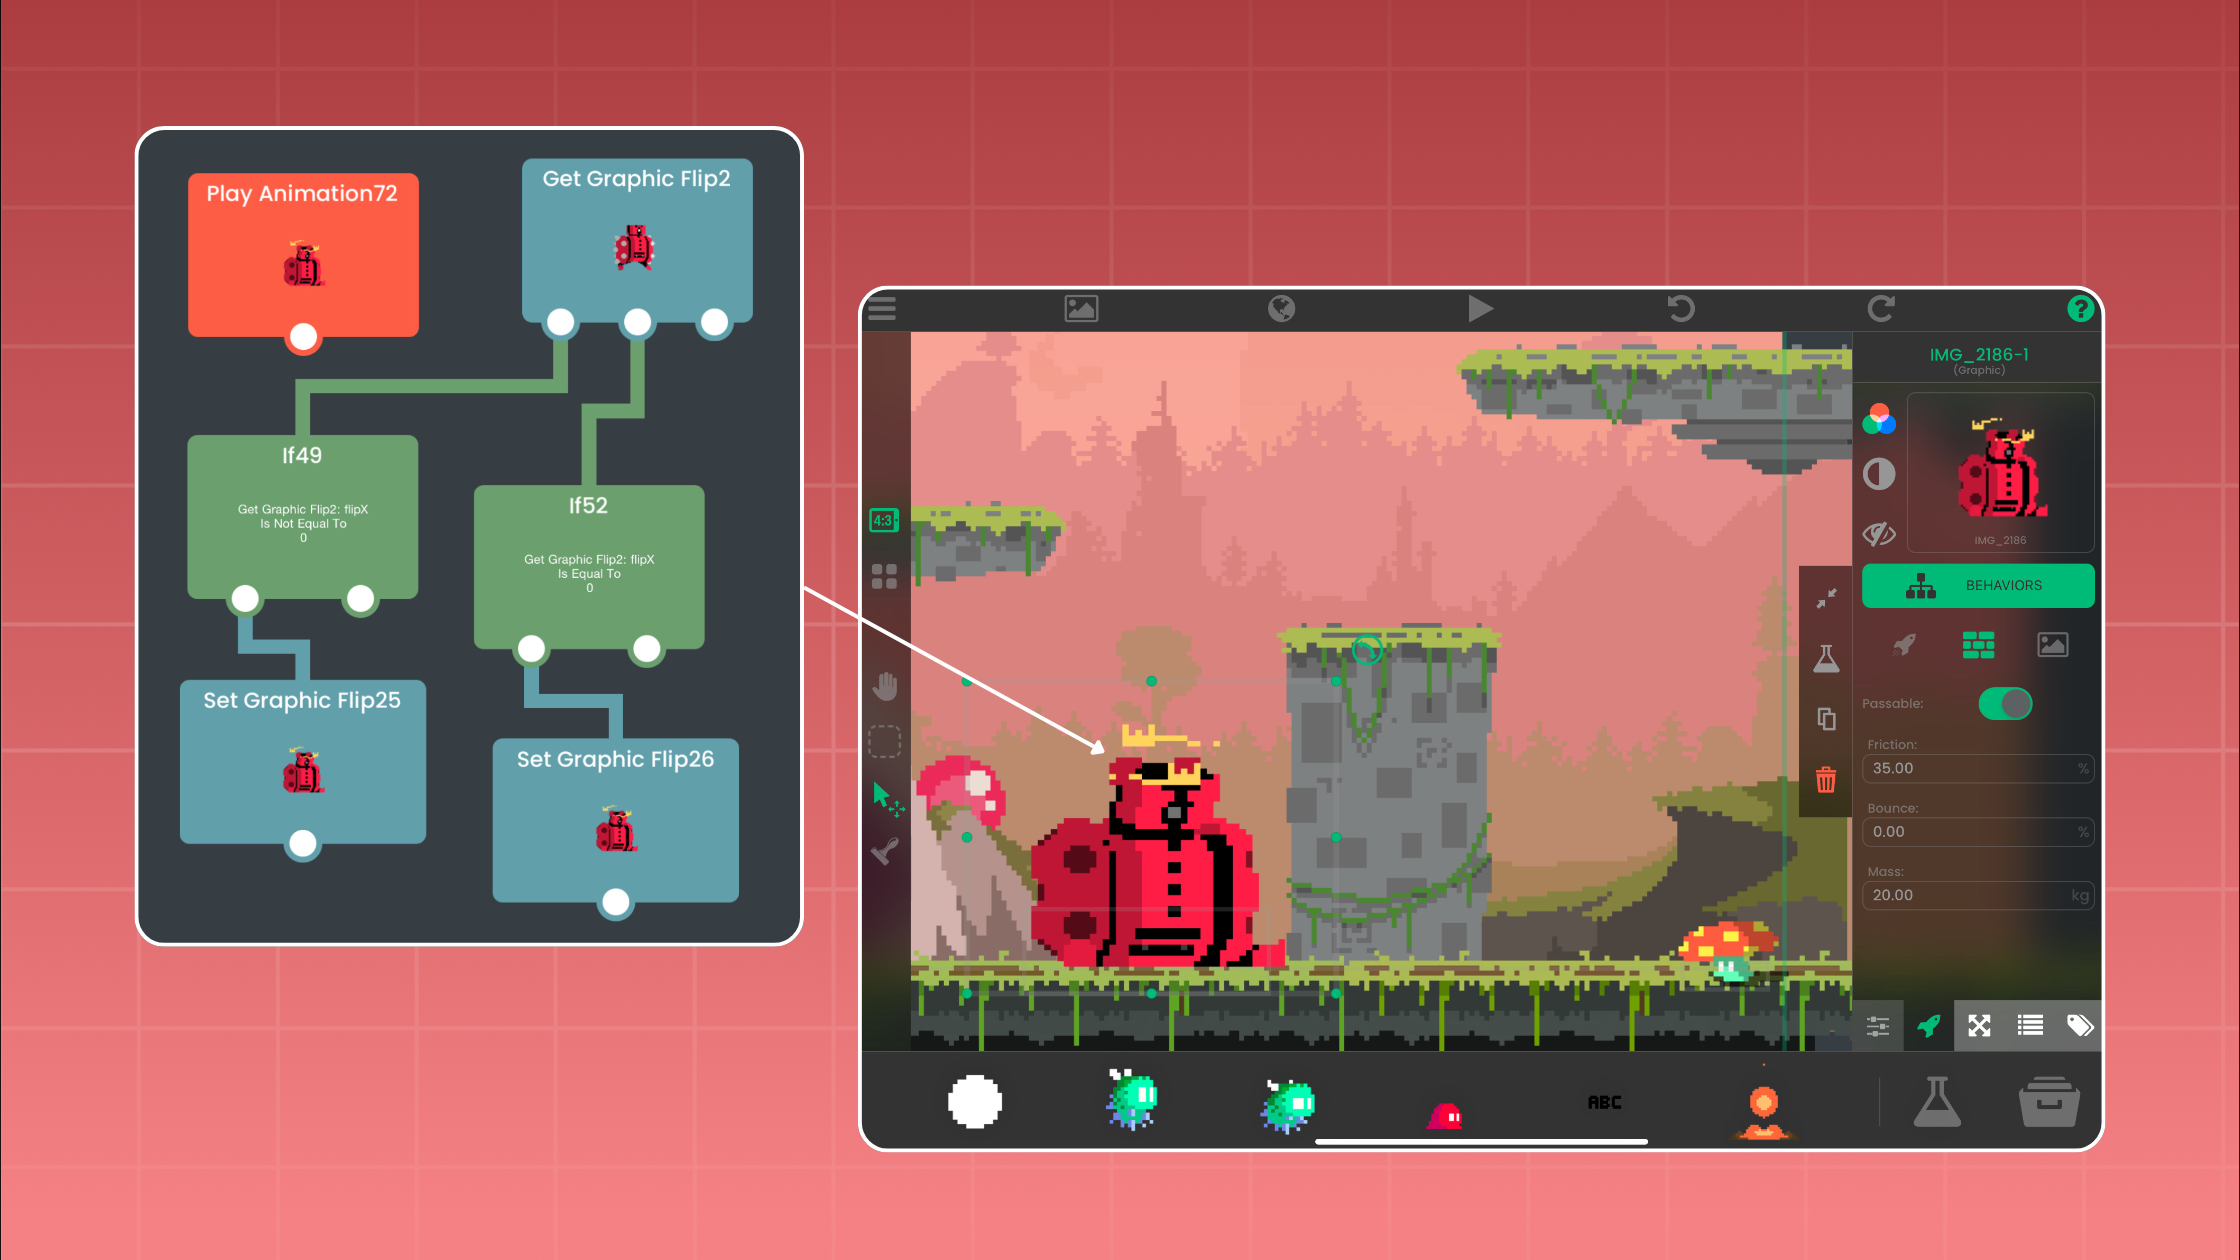
- Connect movement to the documented Play Animation Behavior.
- Run the Scene on the iPad and watch the sprite at the size a player will actually see.
This is where an attractive image becomes a usable game asset. A sprite may look sharp in an editor but feel too small, flicker between frames, or blend into the background during play.

Build one playable pixel-art mechanic
A small collectible loop is enough to test the visual style:
- The player moves toward a coin.
- A Collision Event detects contact.
- The coin plays a short animation or effect.
- An Attribute stores the score.
- The coin is removed or moved to a new position.
- A UI label displays the updated value.
Keep the first Scene small. You are checking whether the sprite scale, animation speed, collision area, and feedback work together. Add enemies, tiles, and larger environments after that loop feels readable.
Test the art as part of the game
Review the build on the target iPad as well as in the editor.
| Check | What to look for |
|---|---|
| Silhouette | The player remains recognizable over every background. |
| Scale | Important objects are readable without hiding the play area. |
| Animation | Frames stay aligned and the speed matches the action. |
| Collision | The collision shape matches what the player sees. |
| Feedback | A hit, pickup, or button press produces a visible response. |
| Consistency | Outlines, palette, lighting, and perspective agree across assets. |
If a generated asset fails one of these checks, revise it before you build more of the game around it. The best asset is the one that communicates the mechanic clearly.
From prototype to App Store build
You can create and test the Project in hyperPad on iPad. When the game is ready for the App Store, the paid hyperPad app exports an Xcode project, and you complete Apple’s publishing steps with Xcode and App Store Connect on a Mac.
Before you export, play the whole game once more against the checklist above. Then share an early version on the hyperPad Hub and ask players one specific question, like “Could you always see your character?” A focused question gets you feedback about the art instead of general reactions.