How to Make a Game on iPad for Free

Creating a game used to require expensive software, powerful computers, and years of programming experience. That’s no longer the case. With hyperPad , you can design, build, and publish your own games directly from an iPad, without writing a single line of code.
This guide walks through how to get started and actually finish a playable game using hyperPad Starter, all for free.
Get Started with hyperPad Starter
hyperPad is a visual game development platform built specifically for touch devices. Instead of coding, you use a behavior system—like logic blocks—that let you define how your game works.
Key advantages:
- No coding required (fully visual logic system)
- Built for iPad (touch-first workflow)
- Free to start
- Supports publishing and sharing
- Active community and asset library
If you’re new to game development, this removes the biggest barrier: programming.
Step 1: Install and Set Up
Start by downloading hyperPad from the App Store. Once installed:
- Create an account (this allows you to save and share projects)
- Open the app and explore the interface
- Browse featured projects to understand what’s possible
Take a few minutes here, understanding the layout will save you time later.
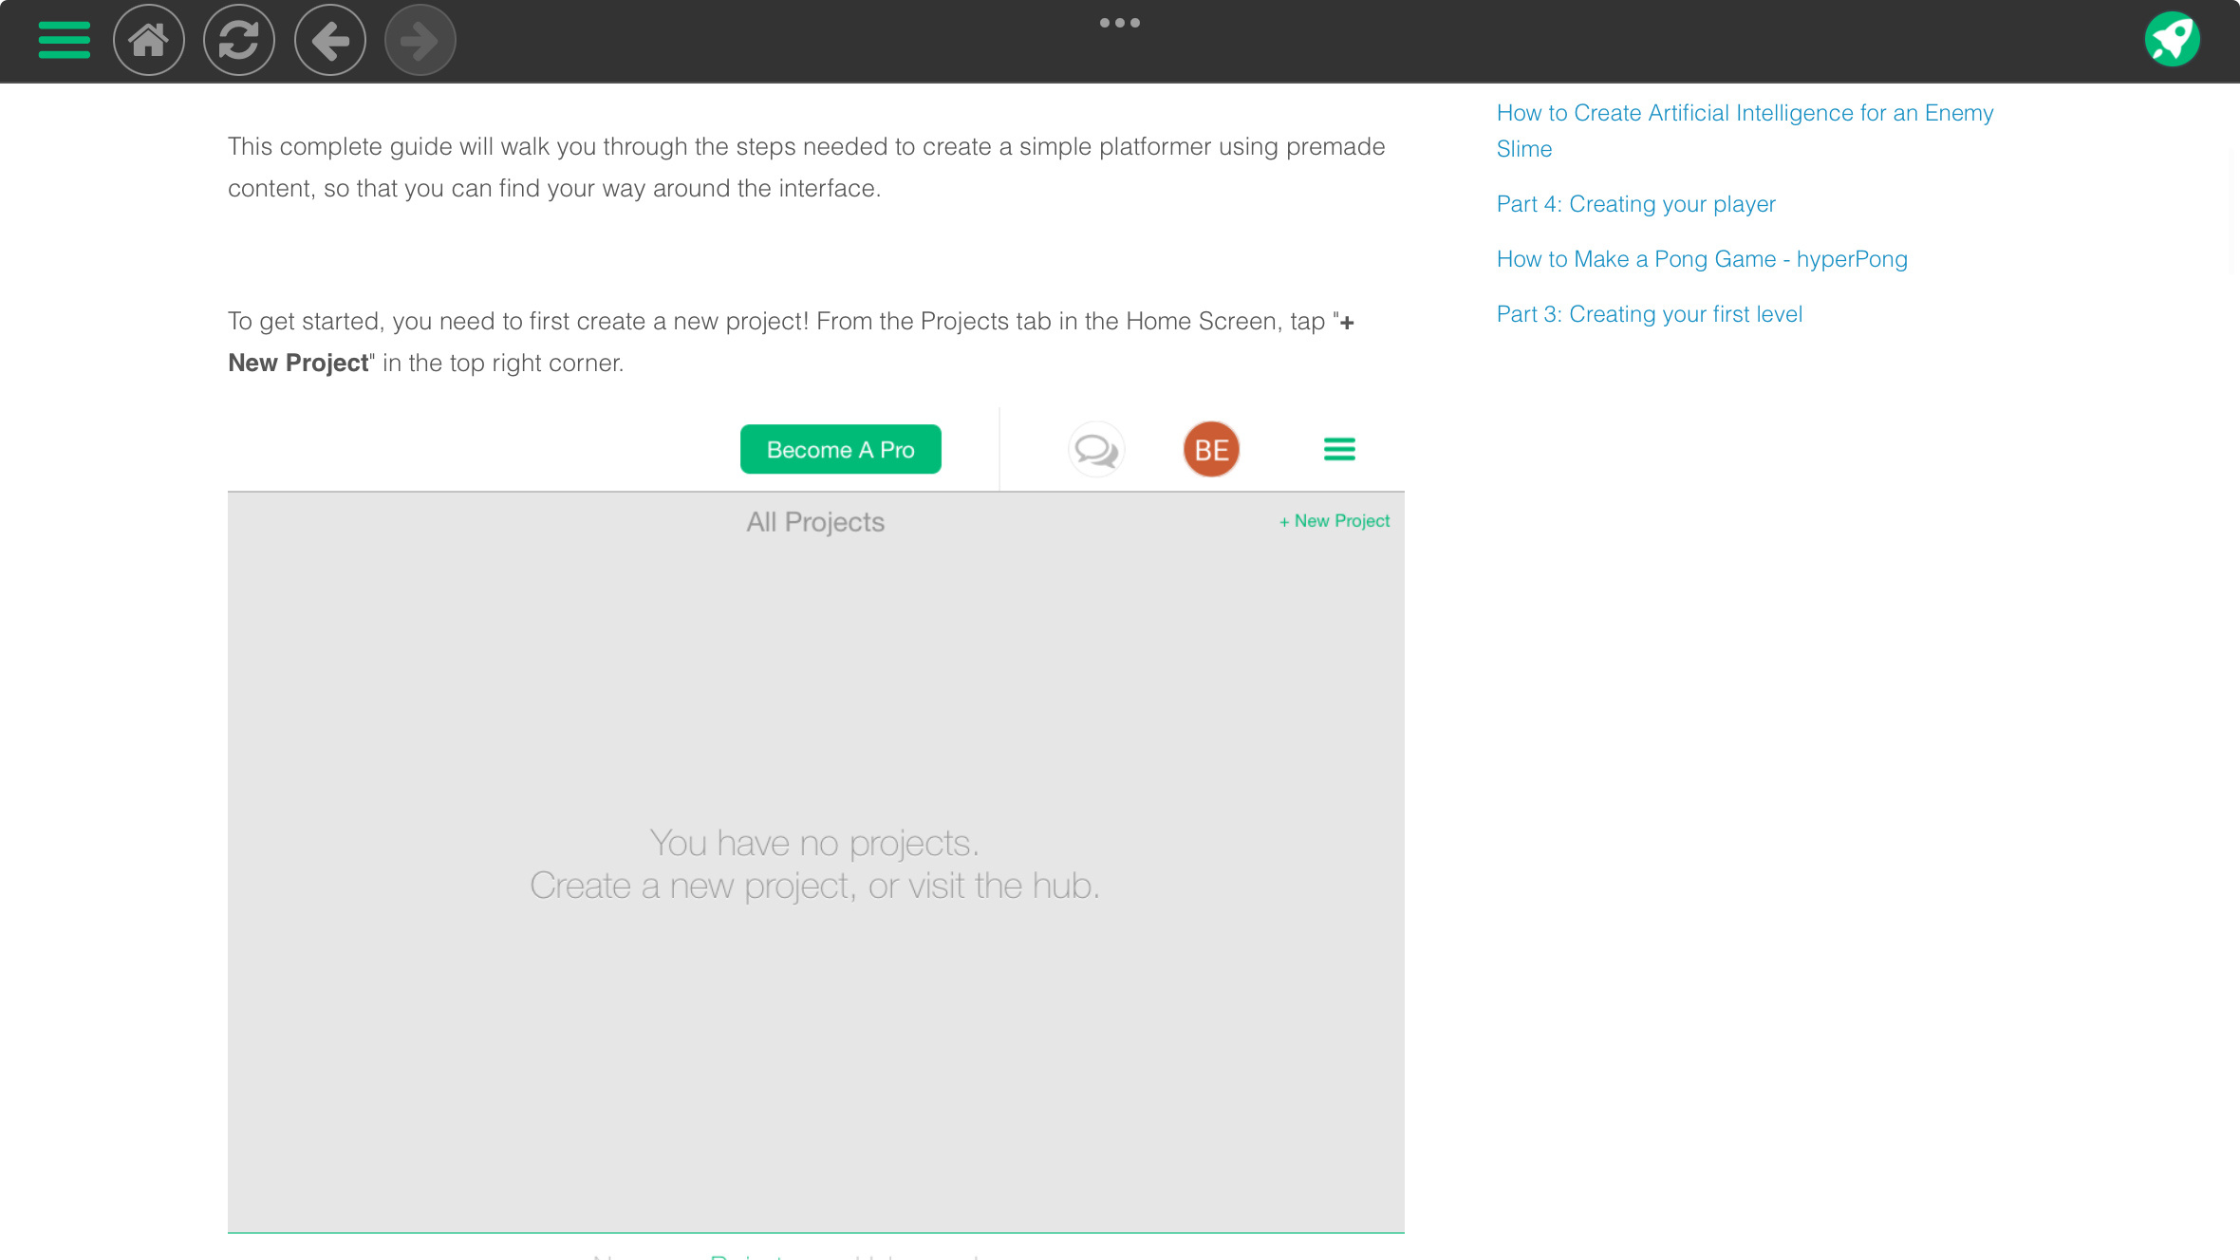
Step 2: Create a New Project
Tap “New Project” and choose a template or start blank.
For beginners, templates are useful because they include:
- Pre-built movement systems
- Camera setup
- Basic UI elements
If your goal is to learn quickly, start with a simple platformer template.
Step 3: Design Your Scene
Your scene is your game world. You can:
- Add sprites (characters, platforms, objects)
- Import your own images or use built-in assets
- Adjust size, position, and layering
Keep it simple at first. A small level with:
- A player character
- A floor
- One or two obstacles
is enough to build a complete game loop.
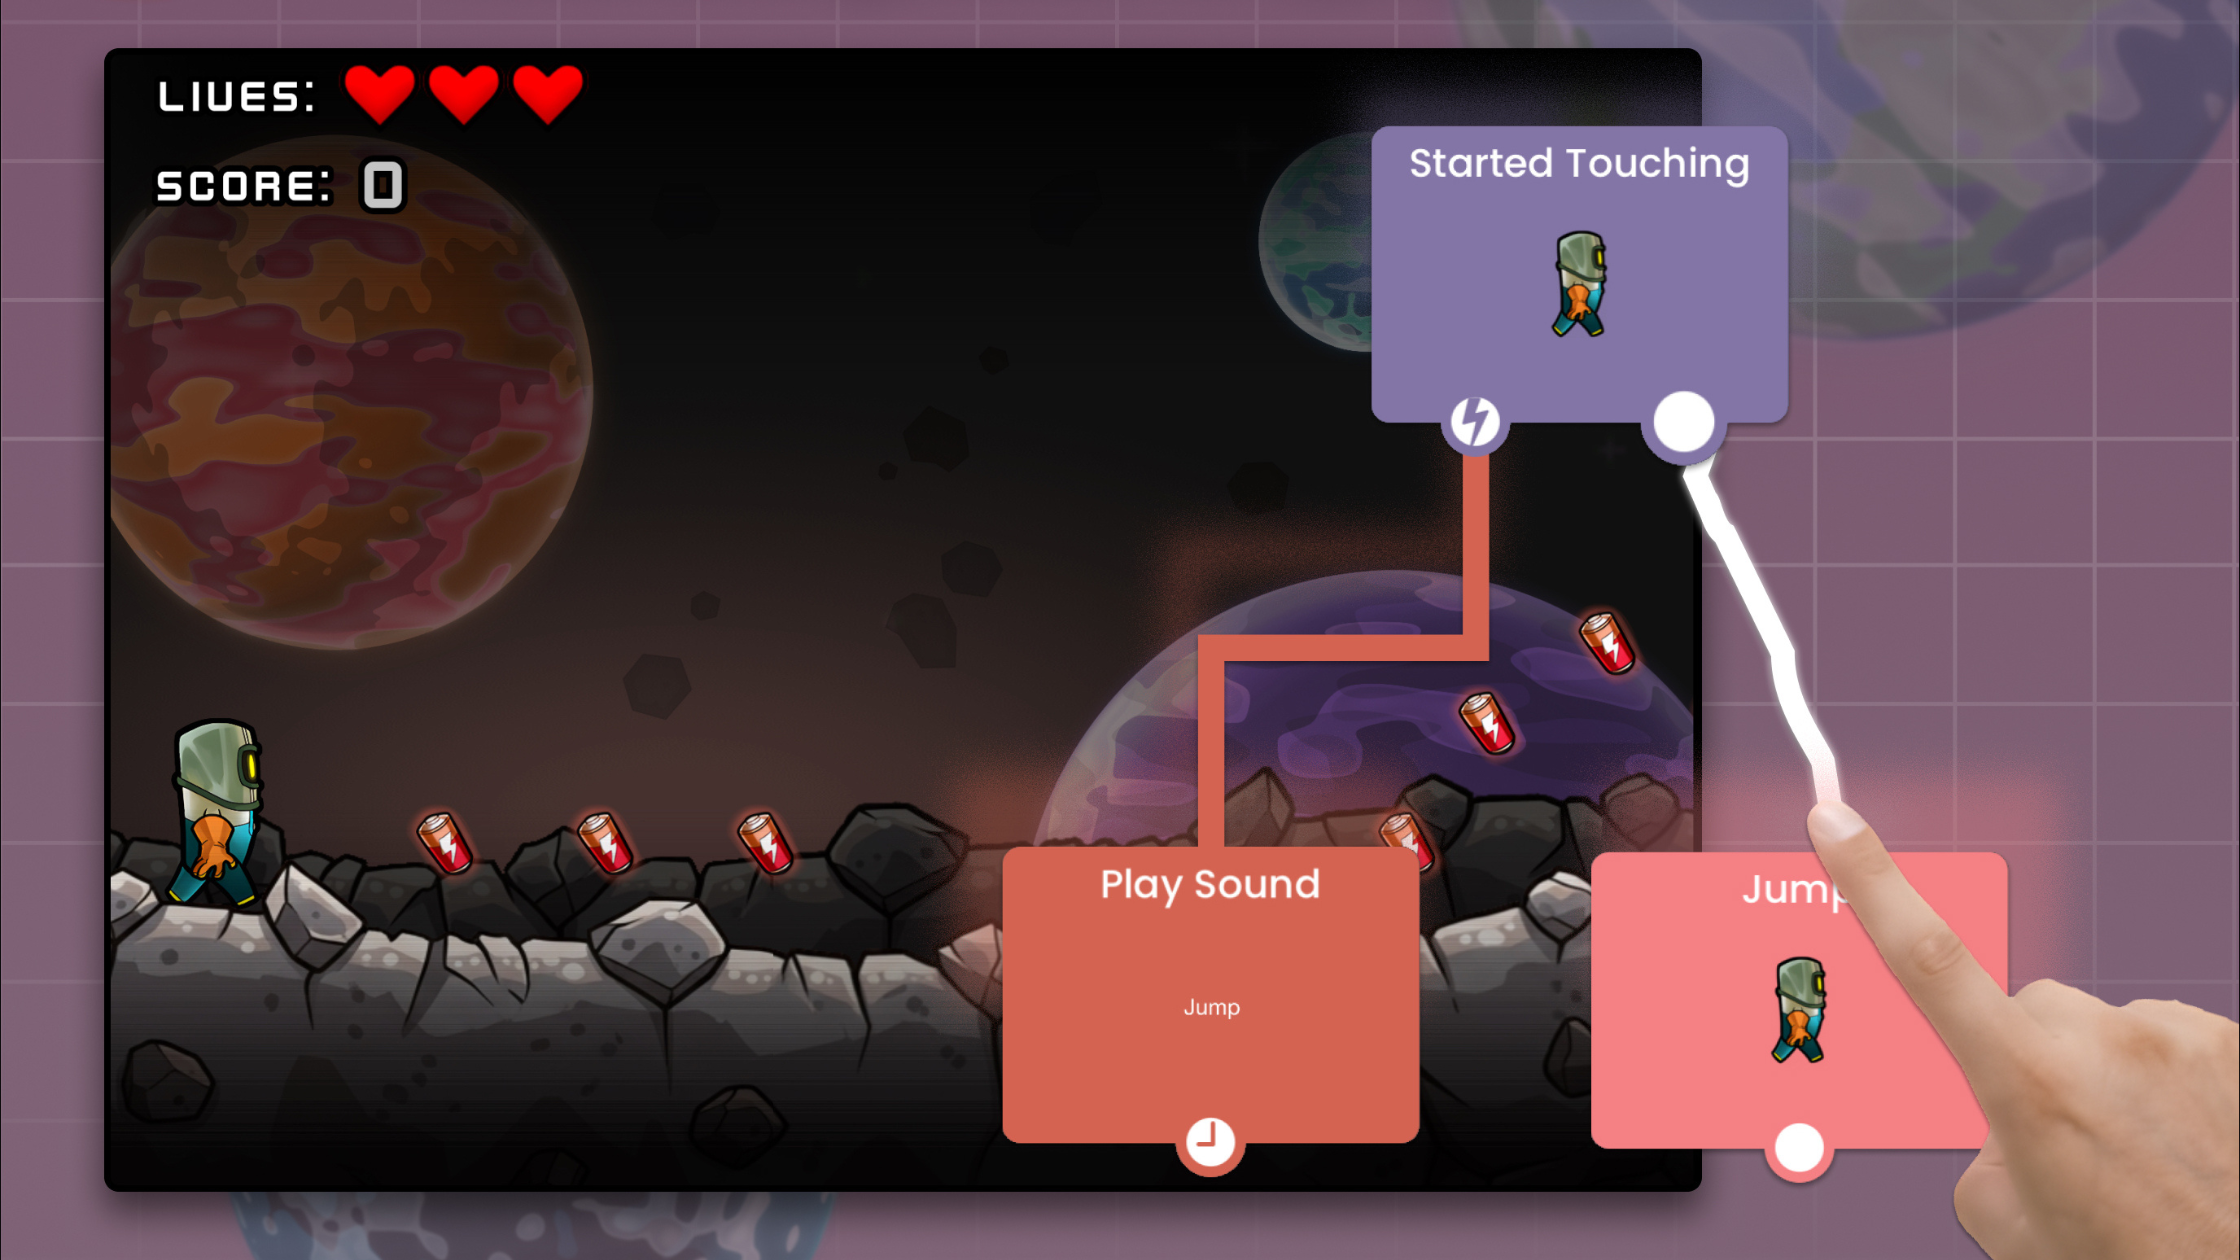
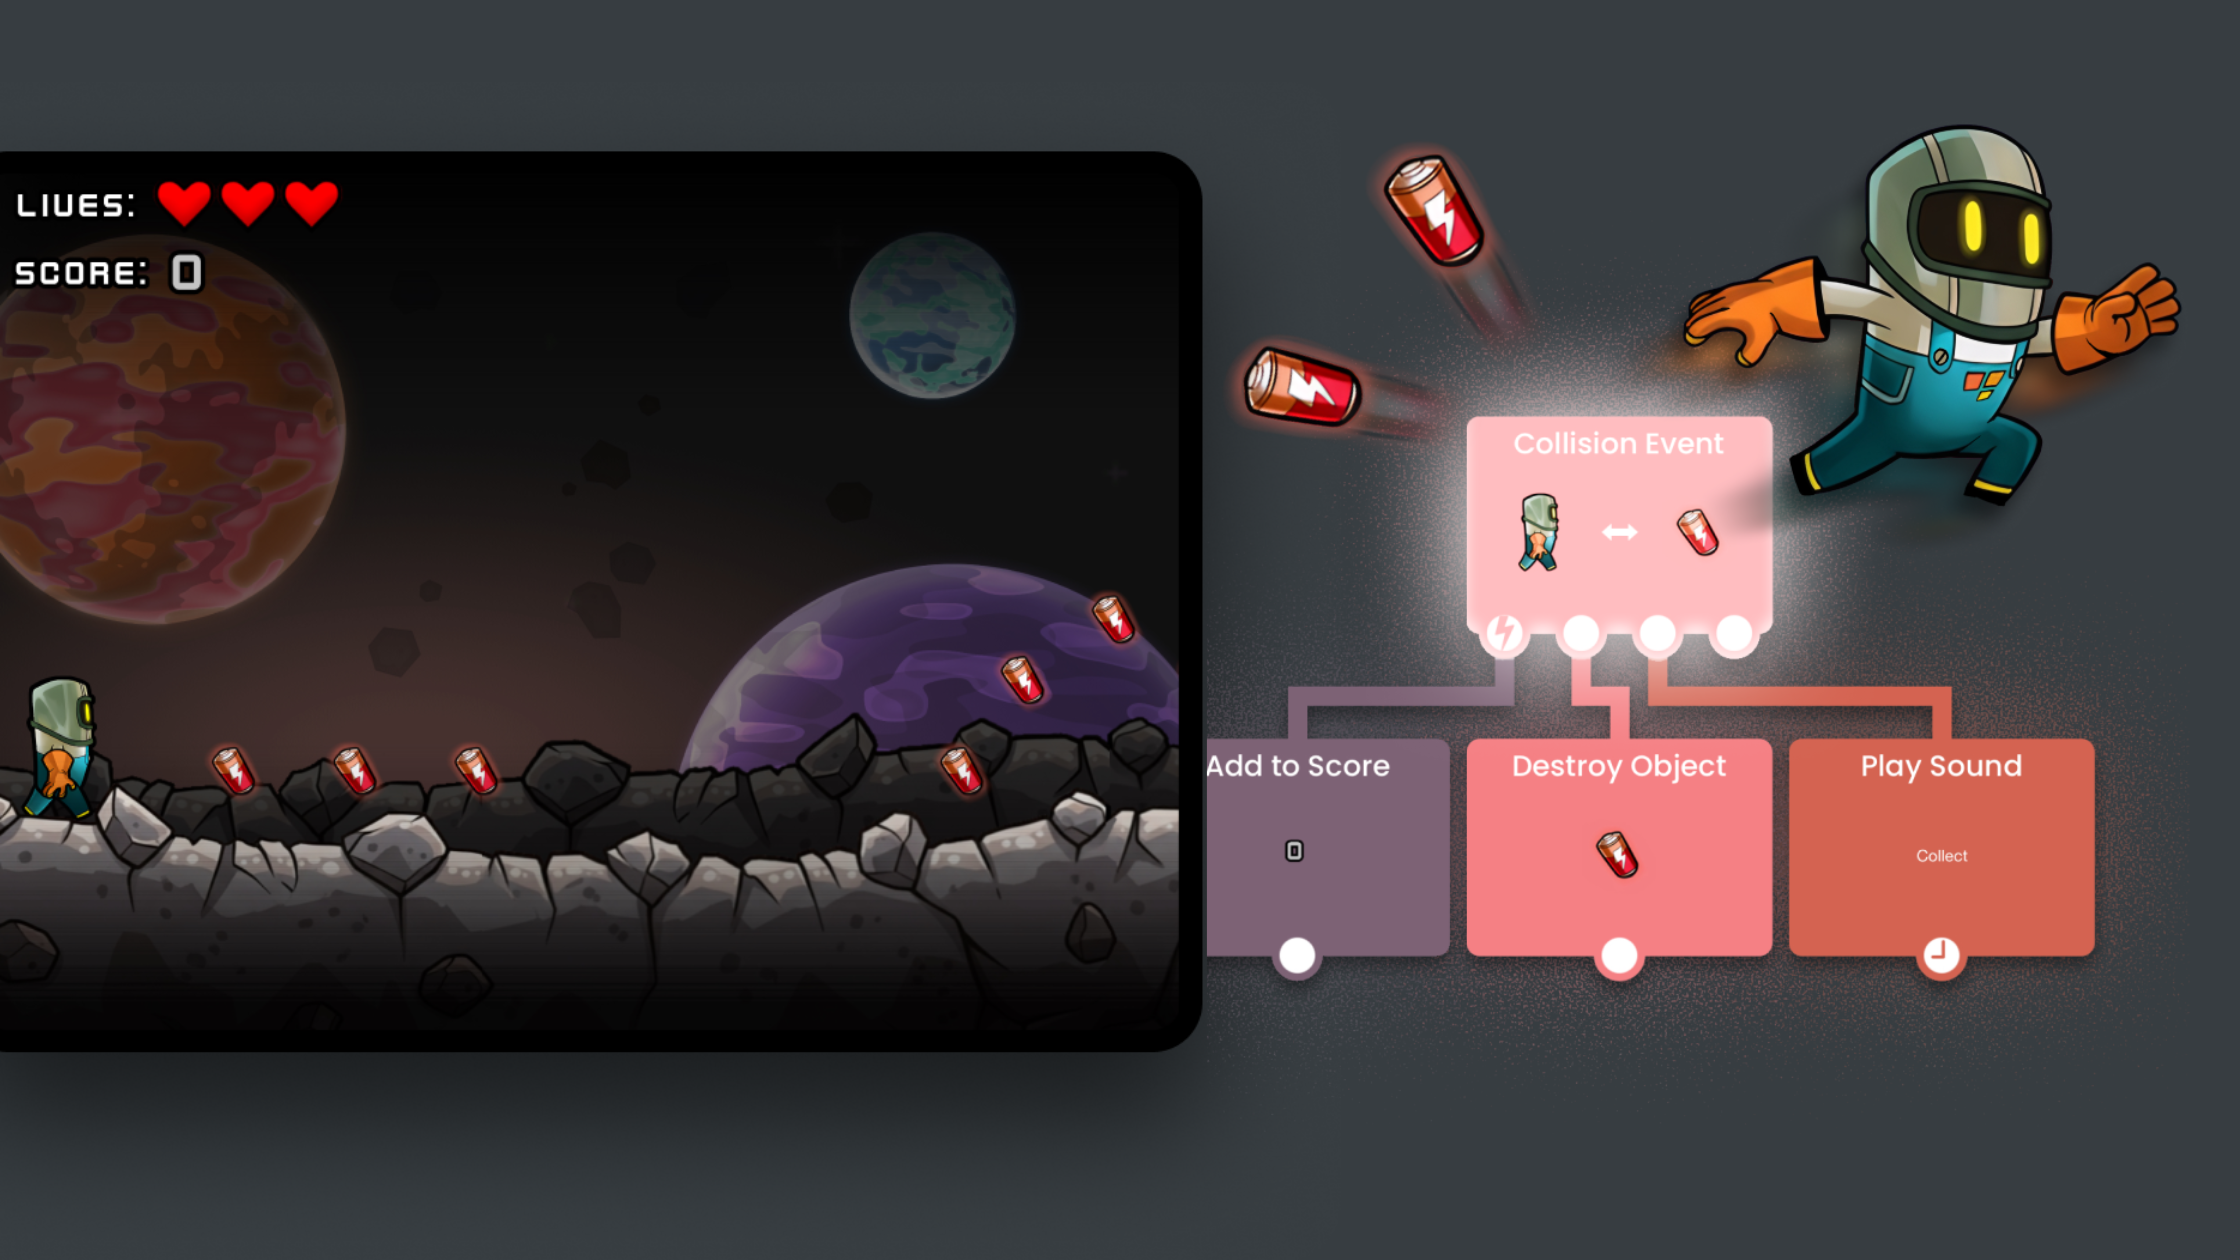
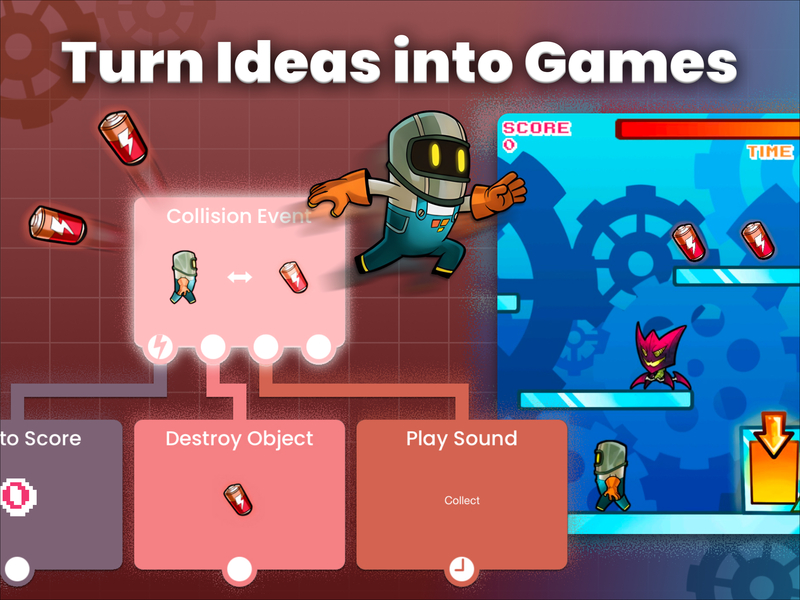
Step 4: Add Logic with Behaviors
This is where your game comes alive. Instead of code, hyperPad uses behaviors :
- “When tapped → jump”
- “When colliding → lose health”
- “When timer ends → spawn enemy”
To add logic:
- Select an object
- Open the Behavior Editor
- Drag and connect behaviors
Think of it like building a flowchart. Start with essentials:
- Player movement
- Gravity/jumping
- Collision detection
Step 5: Build Core Gameplay
Focus on a simple loop:
- Player moves
- Player avoids or interacts with something
- Player wins or loses
Examples:
- Reach the end of a level
- Collect all items
- Survive for a set time
Avoid overcomplicating early. A polished simple game is better than an unfinished complex one.
Step 6: Add UI and Feedback
Good games communicate clearly. Add:
- Score counters
- Health bars
- Start and game over screens
Use visual and audio feedback:
- Sound effects for actions
- Animations for movement or collisions
This makes your game feel responsive and complete.
Step 7: Test and Iterate
Play your game often while building it. Look for:
- Bugs (things not working as expected)
- Difficulty balance
- Clarity (is it obvious what to do?)
Iteration is where most of the quality comes from. Small tweaks can dramatically improve gameplay.
Step 8: Share Your Game
Once your game works:
- Publish it to the hyperPad community
- Share it with friends
- Gather feedback
This step matters, real players will notice things you didn’t.
Tips for Success
- Start small (finish one simple game before making a big one)
- Reuse assets and templates
- Learn by remixing existing projects
- Focus on gameplay over visuals early on
Get Started Now
hyperPad turns an iPad into a full game development studio. You don’t need coding skills or expensive tools—just time, curiosity, and persistence.
Your first game won’t be perfect. That’s expected. What matters is finishing it, learning from it, and improving on the next one.
If you stick with it, you’ll go from experimenting to building fully interactive games faster than you might expect.